


Real estate photography is all about business. You often get to work for high-end clients that are willing to pay a little extra. In return, they expect equally good results from you. If you’re looking to sharpen your interior photography skills, this video from photographer Serge Ramelli will surely be of help. Here, he shares five proven tricks for great interior photography:
1. Use an Existing Element for White Balance
White balance is crucial for interior photographs. The camera can easily be confused by light reflecting off the walls, the floor, and the furniture. This can result in color casts appearing in the photographs resulting in inaccurate colors.
To overcome the issue,make sure that you’re shooting in raw. Doing so easily lets you change the white balance in post. Then in Lightroom, using the white balance picker simply click on a white or neutral grey element in the image. You can easily get rid of color casts this way.
2. Wait For the Blue Hour If You Want to Show Outside
The blue hour is that period of the day when the sun is below the horizon. The light gets really soft during this time and everything looks magical. So, if you want to create a photograph with a view of the inside as well as the outside, waiting for the blue hour is worth it. This way, you can show the ambiance of the interior, while the outside takes on a cool blue tone.
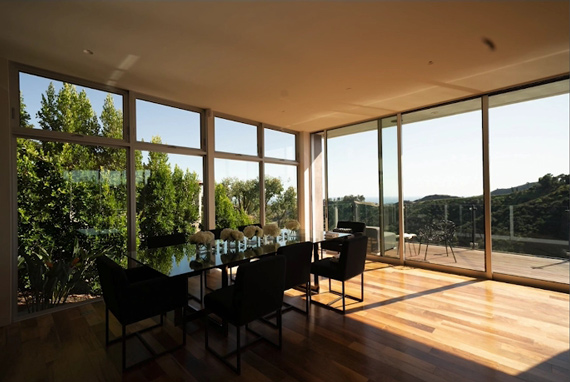
The daylight makes the image unflattering
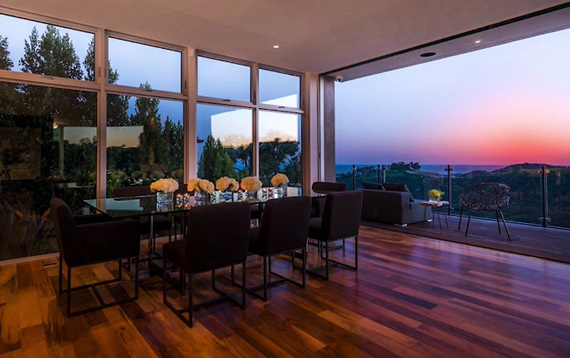
“But don’t wait too late because then it gets really contrasty.”
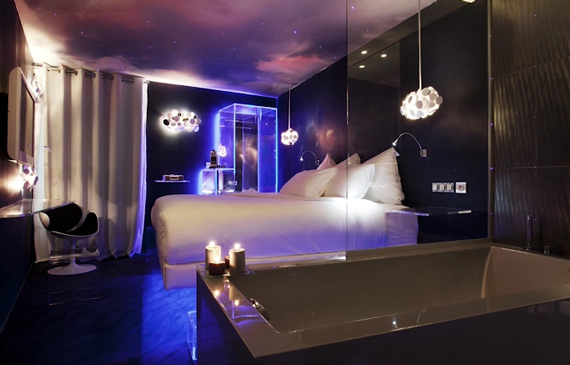
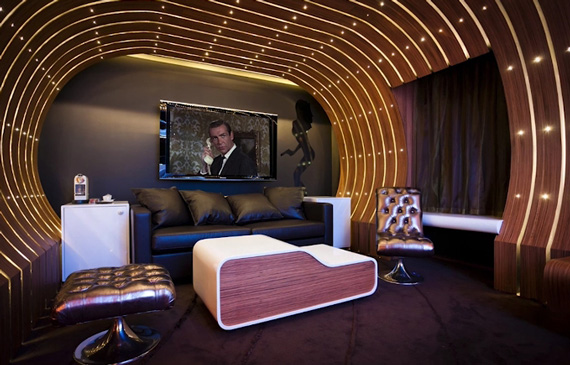
3. Close The Curtains If You Have Great Interior Lights
If a room is designed with great practical lights, then flaunt it. Closing the curtains and turning on all the lights will set a different mood. When taking such images, closing the curtains is important so as to avoid distractions from the city lights outside.
4. Police Border Your Photos
When composing your shots, pay ample attention to the edges of the frame. Avoid unnecessary elements creeping into the shot. Also, make sure you’re not cropping out furniture or decorative items in the wrong places.
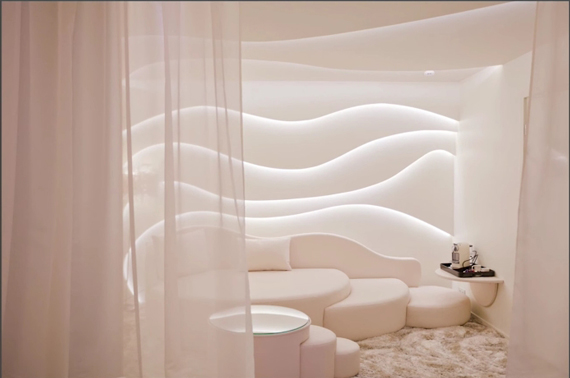
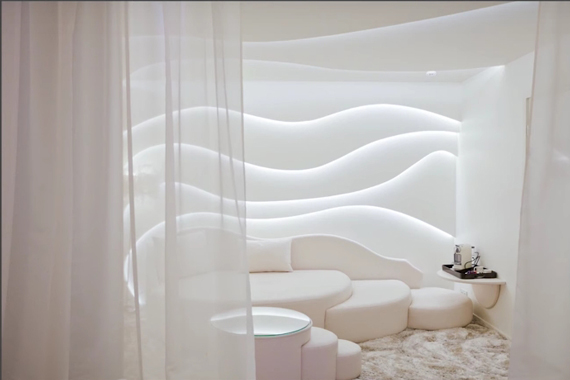
5. Slightly Dodge and Burn Your Photos
“An object which is partially lit is more interesting than an object which is fully lit.”
You can create interest in an element of your photo by dodging and burning it. In simple terms, dodging means to add light, and burning means to remove light. In Lightroom, you can use the brush tool to locally increase or decrease exposure to create the dodge and burn effect respectively.
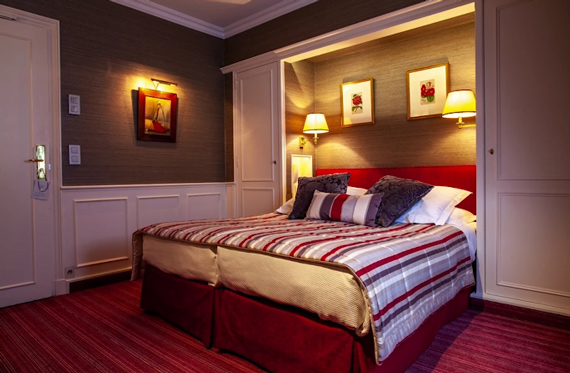
Image before dodging and burning
Take note of the light sources around the room. If there’s any surface that is evenly lit, get creative and see how you can dodge and burn it to generate interest. This will add dimension to the image. However, be sure not to overdo it or the image will turn out looking fake.
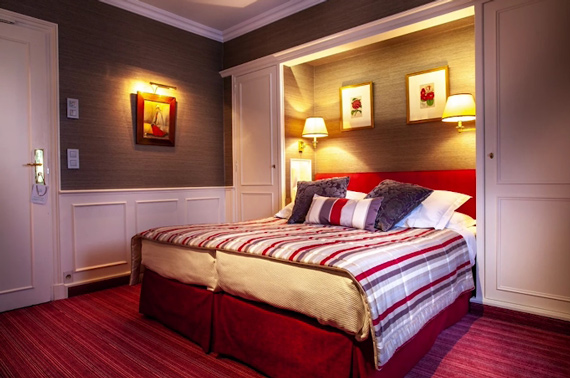
Image after dodging and burning
Be sure to try out these interior photography tips! They’ll help you improve your real estate interior photography in no time.
Go to full article: Interior Photography: 5 Tricks
What are your thoughts on this article? Join the discussion on Facebook
PictureCorrect subscribers can also learn more today with our #1 bestseller: The Photography Tutorial eBook
The post Interior Photography: 5 Tricks appeared first on PictureCorrect.


from PictureCorrect https://ift.tt/2qblPnt
via IFTTT


0 kommenttia:
Lähetä kommentti