If you’re an analog photographer, scanning your film allows you to get your photos in digital form, too. However, the type of scanner used can really affect the quality. Jay P. Morgan from The Slanted Lens shares six tips to get great film scans at your photo lab:
1. Choose the Scanner That’s Right for You
Depending on what make of scanners are being used, the operator can either preview individual or multiple images at a time. While working with a single image allows the operator to pay special attention to each image, working with multiple images at once makes the work faster and more consistent.
When choosing a scanner, go with the look that you love. If you like a style that a particular photographer uses, try to find out which scanner they’re using and go for it.
2. Communicate with the Lab
Once you identify the look that you want to go with, it’s important that you communicate the same to the lab. If you have a photographer whose look you admire, share the online portfolio or some sample images with the lab. Or, if you have your own preference for color tones, exposure, tonality, or anything else, make sure that you let the lab know.
“Whatever lab you’re using, communication with the lab is key so they know what it is you’re after, and they are going to get the image that you want.”
3. Get Exposure Right for Film
“A good negative will render a terrific scan, and it’s really hard to work with a bad negative.”
Film doesn’t play very well when it’s underexposed. This is why many film photographers tend to meter for the shadows and overexpose by a stop or two to make sure shadows aren’t crushed. It doesn’t matter much if the highlights are slightly overexposed as the scanner can work to recover the highlight details.
4. Be Consistent
Not being able to preview the images right away can freak you out when starting out. But don’t worry too much about changing your settings frequently with the aim of getting a correct exposure. Instead, shoot a consistent exposure to ensure a consistent scan.
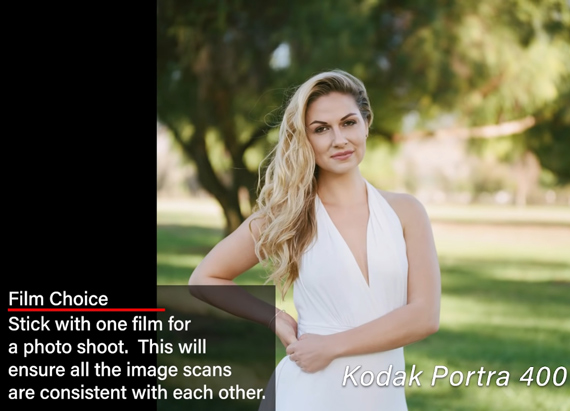
5. Stick with One Type of Film for a Shoot
Don’t switch film halfway through a shoot. The results will be inconsistent. Film differences are more apparent than scanner differences.

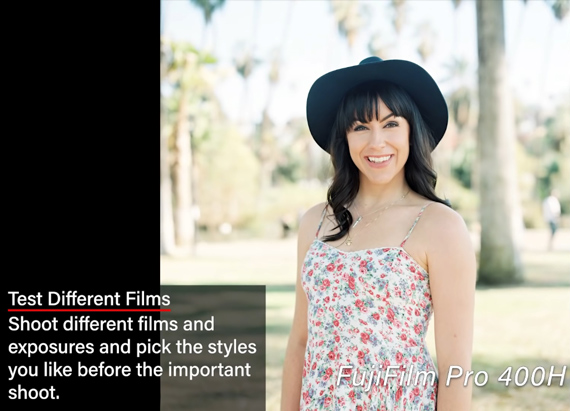
6. Test, Test, Test
Before you settle on a particular film, test the results you get with different film types and see what you like. Also, try out different exposures. Some films work great when they’re metered correctly, while others deliver better results when over or under-exposed.
“Find where your sweet spot is and then you can repeat those results over and over again.”

If you’re not satisfied with the scans you’ve been getting from your lab, you now know what to look out for. Keep these tips in mind and they’ll help you get consistent scans of your film.
Go to full article: Photo Lab Film Scanning Tips for Photographers
What are your thoughts on this article? Join the discussion on Facebook
PictureCorrect subscribers can also learn more today with our #1 bestseller: The Photography Tutorial eBook
The post Photo Lab Film Scanning Tips for Photographers appeared first on PictureCorrect.
from PictureCorrect http://bit.ly/2IhCdYH
via IFTTT


0 kommenttia:
Lähetä kommentti