Overhead portrait photography isn’t just about laying the subject on the ground and taking photos from above. You can achieve some great overhead portraits by controlling the light and paying a little more attention to the background. In the following video, photographer Gavin Hoey from Adorama shares his tips for taking great overhead portraits on location:
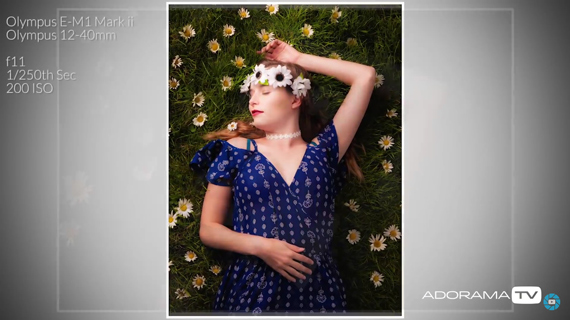
Hoey starts off by asking the model to lie down on a green patch of grass in the shade. He uses some steps to gain height and takes a photo using natural light. As you can tell, the image looks quite good but lacks any kind of WOW factor.
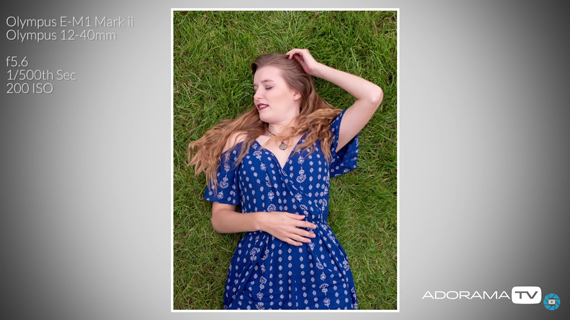
Lighting
To add some punch to the image, he adds some artificial light using his Flashpoint Xplor 600. Since the subject is low on the ground, it’s important to make sure the light source is placed low, too.
Once the light is in place, it is now critical that you take control of the light. To do so, Hoey underexposes the scene and fills in the shadows with flash.
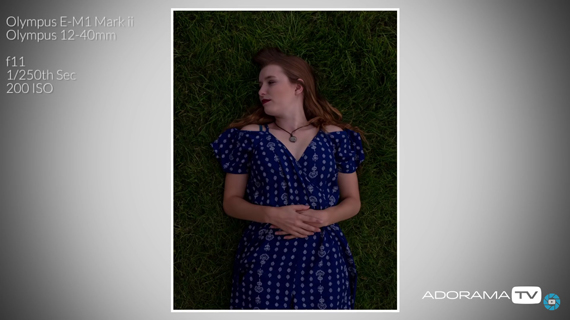
Background
Once you’re happy with the exposure, you’re all set to start taking some pictures. But make sure that the background is clear of anything unwanted. It’s always better to get things correct in-camera than it is to correct mistakes in post.
To make the photos look more beautiful, you can add in props like flowers or books.
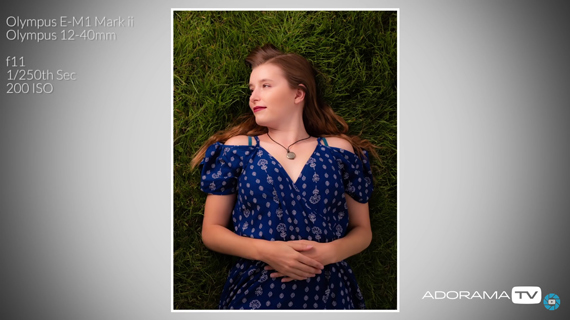
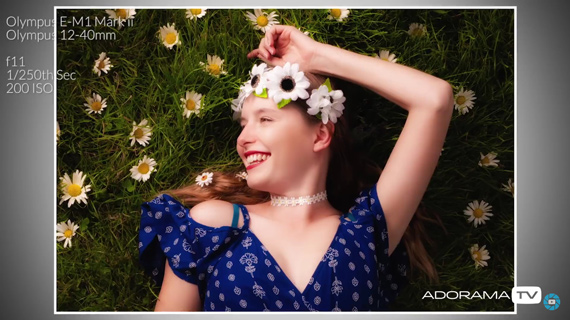
Processing Overhead Portraits
These images look a whole lot better than the one taken with natural light. However, with the model lying down on the ground, the image may require some slight touch-ups.
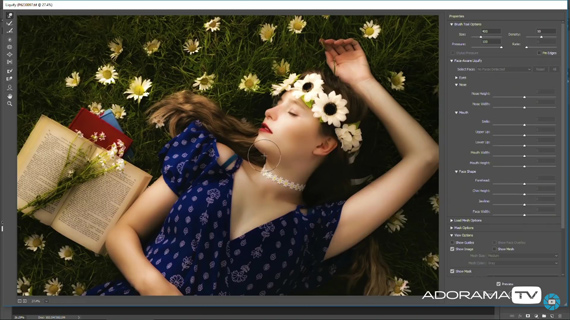
To start with, Hoey uses the “Forward Warp” tool (Filter > Liquify…) to gently nudge in the model’s neckline. He also pushes the chin slightly inwards because these are the areas where gravity plays its role, and affects the appearance of the model in a wrong way.
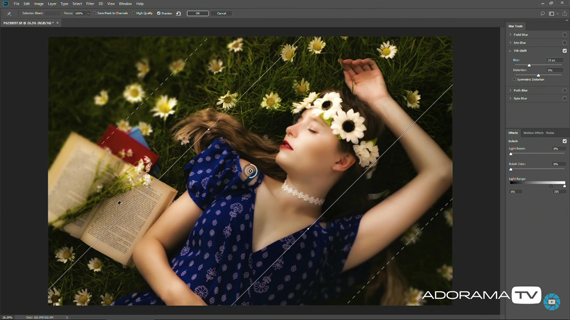
Hoey proceeds to give the image a dreamy effect. He starts off by giving the image the illusion that it was shot with a shallow depth of field. To achieve this look, he does the following:
- Filter > Blur Gallery > Tilt-Shift…
- Rotate and adjust the focal plane indicated by lines so the subject is in focus while other elements gently blur away.
- Control the amount of blur by using the control on the right-hand side of the on-screen display.
- Click Okay when done.
And finally, Hoey adds a sun bleach look using the following steps:
- Layer > New Adjustment Layer > Levels…
- Slide the slider at the black end toward the right until the output level is around 30. This step ensures that there is no pure black in the image.
- Next, slide the slider at the white point of the histogram by about 10 points.
- To add the warm tone effect, go to Layer > New Adjustment Layer > Color Balance…
- Then simply add some yellow and plenty of reds to get a warm tone.
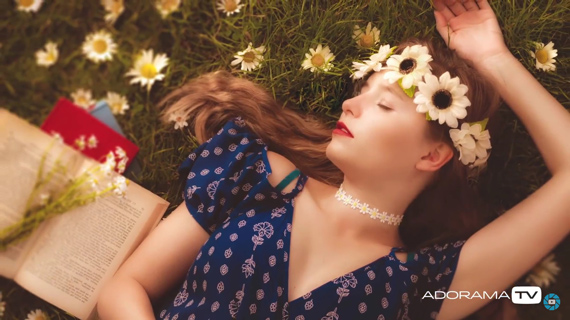
By adding in a simple flash and some props, you can make an image really stand out. Keep these simple tips handy the next time you’re shooting overhead portraits.
Go to full article: Tips for Taking Great Overhead Portraits
What are your thoughts on this article? Join the discussion on Facebook
PictureCorrect subscribers can also learn more today with our #1 bestseller: The Photography Tutorial eBook
The post Tips for Taking Great Overhead Portraits appeared first on PictureCorrect.
from PictureCorrect http://bit.ly/2VjZRcI
via IFTTT


0 kommenttia:
Lähetä kommentti