Creating a preset of your photo editing style in Adobe Lightroom allows you to apply your preferred adjustments to multiple images quickly and consistently. Here’s a step-by-step guide on how to create a preset in Lightroom Classic and Lightroom CC (the cloud-based version):
Relevant reminder: only 1 day left for the Signature Preset Collection Launch Sale

Lightroom Classic:
- Import and select the photo you want to work with.
- In the Develop module, apply your desired adjustments and edits to the photo.
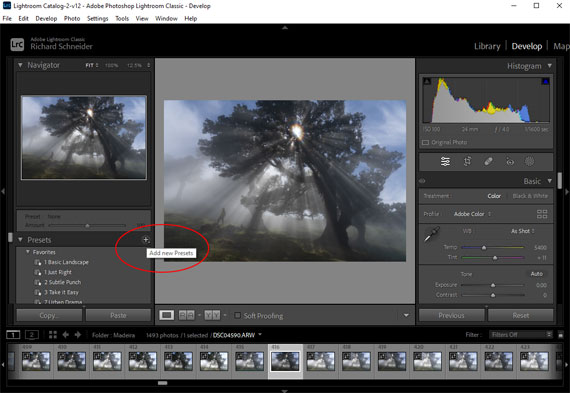
- On the left-hand panel, find the Presets section.
- Click the “+” icon located in the upper-right corner of the Presets panel, and select “Create Preset.”
- In the “New Develop Preset” dialog, give your preset a name and choose a folder to save it in (either an existing one or create a new one).
- Select the settings you want to include in the preset by checking the boxes next to each adjustment. This way, only the adjustments you want to apply to other photos will be saved in the preset.
- Click “Create” to save the preset.
Lightroom CC:
- Import and select the photo you want to work with.
- Apply your desired adjustments and edits to the photo using the editing panels on the right side.
- Click on the “Presets” button located at the bottom of the editing panels.
- In the Presets panel, click the three-dot icon in the upper-right corner, and select “Create Preset.”
- In the “Create Preset” dialog, give your preset a name.
- Choose a group to save your preset in (either an existing one or create a new one by selecting “New Group”).
- Select the settings you want to include in the preset by checking the boxes next to each adjustment. This way, only the adjustments you want to apply to other photos will be saved in the preset.
- Click “Save” to save the preset.
Now your preset will be available in the Presets panel, and you can apply it to other photos by simply clicking on it. Keep in mind that you might need to make minor adjustments to individual photos, as the same settings might not work perfectly for every image.
Launch Sale Ending Soon:
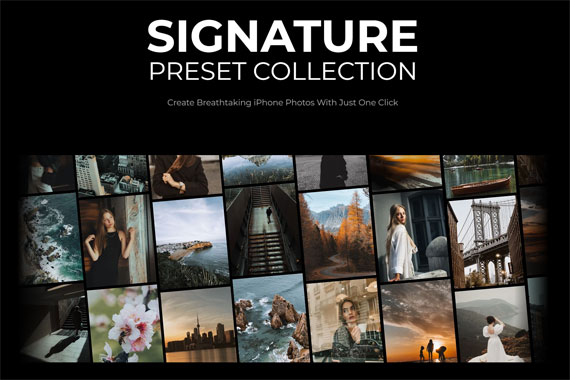
Are you curious about enhancing your iPhone photos with minimal effort? The Signature Preset Collection offers a straightforward solution to improve your photography with a single click.
The presets are compatible with various devices, not just iPhones. They can be used on iPads, Android devices, Macs, and PCs, which adds flexibility. Setting up the presets involves using the free Lightroom app, and the collection comes with instructions to help users get started quickly.
Only 1 day left: The Signature Preset Collection at 86% Off
- - - - - - - - - - - - - - - - - - - - - - - - - - - - - - - - - - - - - - - - - - - - - - - - - - - - - - - - - - - - - - - - - - - - - - - - - -
Photography, like any art or skill, thrives on consistency. The journey to becoming an adept photographer is paved with regular practice. Learn how PictureCorrect Insiders can help.
- - - - - - - - - - - - - - - - - - - - - - - - - - - - - - - - - - - - - - - - - - - - - - - - - - - - - - - - - - - - - - - - - - - - - - - - - -
This post How to Create a Preset of Your Photo Editing Style in Lightroom appeared on PictureCorrect.
from PictureCorrect https://ift.tt/dX1Q6iG
via IFTTT


0 kommenttia:
Lähetä kommentti