The sky is a vital part of most of the landscape photographs. Whether it be colorful skies during sunrise and sunset or cloud patterns, landscape photographers always look to include these elements in their photographs. But nature is ever changing and one cannot expect the sky to be breathtaking every time. So what can you do if the sky presents you with a challenging situation? Landscape photographer Michael Breitung shows three ways to deal with flat, grey skies in landscape photography:
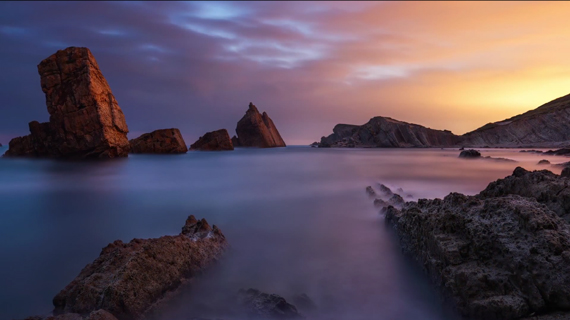
Shoot During the Blue Hour
When conditions are challenging (or just dull), Breitung likes to shoot during the blue hours after sunset or before sunrise. During blue hours, light gets even softer than during a cloudy day, which allows him to take photographs with an even longer exposure time.
Emphasize Mood
To take further advantage of cloudy and foggy conditions, he plans to take gloomy photos with a mystic feel. Emphasize the land structures while making sure that you don’t blow out the highlights in the sky. You can check your histogram to make sure this doesn’t happen. This is important because even if the RAW photo might look flat, the cloud structures can be revealed in post by applying some contrast.

Cloud structure can be revealed in post if you make sure not to blow out the highlights.
Use a Polarizing Filter
Cloudy conditions create diffused light which is a soft kind of light that doesn’t create harsh shadows. This can allow you to create photos with a moody atmosphere and dreamy look. Harsh sunlight creates a high contrast scenario and makes the color appear washed out, whereas on a cloudy or a rainy day, you can make colors pop by using a polarizing filter.
Using a polarizing filter is an especially great way to enhance your landscape photos if you have wet surfaces in the frame. Reflections of the grey or nearly white sky on the wet surface can be distracting and can be eliminated by using a polarizing filter. But sometimes by turning the polarizing filter, the reflection can be maximized to enhance the look of the photo.
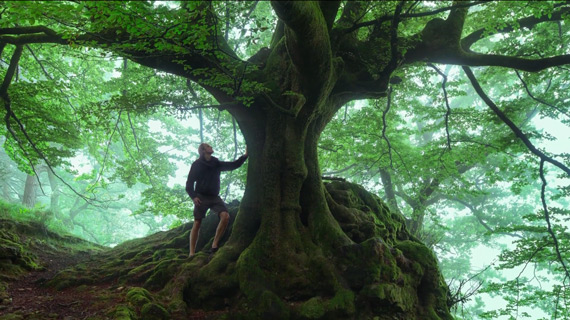
Photograph Forest Scenes and Waterfalls
Cloudy, rainy, and foggy conditions can also be used to your advantage, since they reduce the visibility of the background and put more emphasis on the main subject. Breitung suggests that while preparing the itinerary for your next trip, be sure to include some forest and waterfall areas so that you can take good photographs even if the sky conditions aren’t favorable.

Photograph False Sunrise or Sunset Colors
This technique is particularly important when you want to create a colorful photo with glowing sky even if there is no real sunrise or sunset color. To use this technique, Breitung utilizes the artificial light of a nearby town or city. For this, you will need to identify an interesting scene close to a city. Breitung suggests that you shoot roughly between 45 and 90 minutes before sunrise or after sunset. During these time slots, you can achieve a balance between the artificial orange light and the natural blue light. If you go for a very long exposure, you can even photograph the glowing orange sky transitioning into cooler colors.

To use this technique, Breitung suggests to use the following gear and settings:
- A sturdy tripod
- A cable release to be used with the camera’s bulb mode. Use manual bulb timing so that you have a control over the exposure in case the lighting changes.
- Long exposure noise reduction to fix hot pixels when exposing for a longer duration
Thanks to Breitung and his tips, you won’t return empty handed even if you don’t find the best conditions after investing a lot of time in chasing good light. Use what is presented to you and embrace the challenge instead of running away from it!
Go to full article: Grey Sky Landscape Photography Tips
What are your thoughts on this article? Join the discussion on Facebook
PictureCorrect subscribers can also learn more today with our #1 bestseller: The Photography Tutorial eBook
The post Grey Sky Landscape Photography Tips appeared first on PictureCorrect.
from PictureCorrect https://ift.tt/2LmMCqb
via IFTTT


0 kommenttia:
Lähetä kommentti