Smartphone photography has come a long way since the early days of grainy, low-resolution images. Today’s smartphones are equipped with advanced cameras that rival even some professional equipment. The secret behind this remarkable transformation lies not just in hardware improvements but also in the rise of computational photography.
Related note: super sale going on now for the iPhone Photo Academy
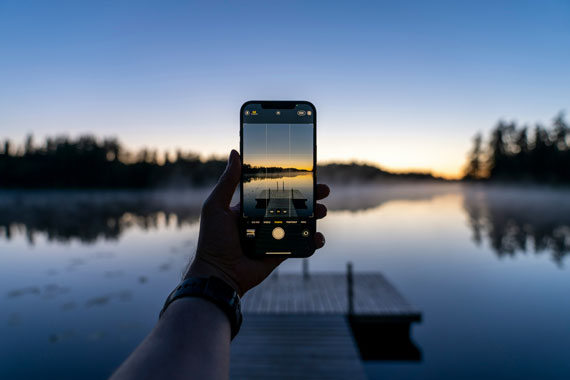
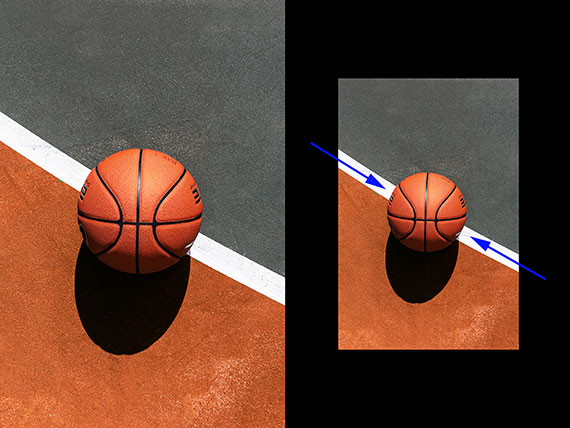
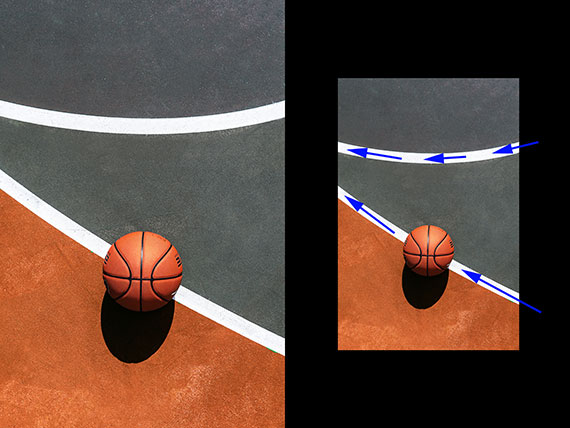
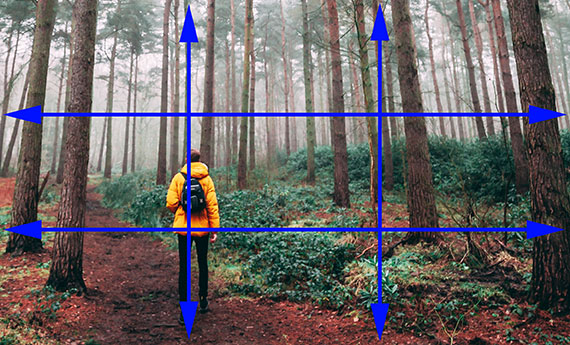
Photo captured by Hendrik Morkel
What is Computational Photography?
Computational photography refers to the use of software algorithms to enhance or create images. Unlike traditional photography, which relies primarily on optical and mechanical processes, computational photography leverages the power of digital computation to process images in ways that were previously impossible. This approach allows for features like HDR (High Dynamic Range), portrait mode, and night mode, which enhance image quality and expand creative possibilities.
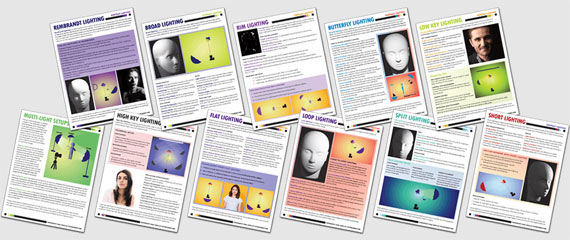
Key Features of Computational Photography in Smartphones
HDR Imaging:
High Dynamic Range (HDR) imaging is one of the most common applications of computational photography. By capturing multiple exposures of the same scene and merging them into a single image, HDR enhances the details in both bright and dark areas. This results in a more balanced and visually pleasing photograph.
Portrait Mode and Bokeh Effects:
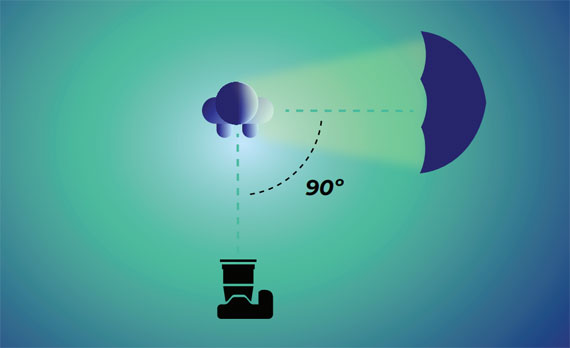
Smartphones use computational photography to simulate the bokeh effect, which traditionally requires a DSLR with a fast lens. By using depth data from multiple cameras or sensors, smartphones can create a background blur effect, making the subject stand out. This feature, often marketed as “Portrait Mode,” is a favorite for portrait photographers.
Night Mode:
Low-light photography has always been challenging, but computational techniques have made it more accessible. Night mode captures a series of images at different exposures and then merges them to reduce noise and improve detail. This results in brighter and clearer images, even in dimly lit environments.
Super-Resolution and Image Sharpening:
Computational photography can also enhance the resolution and sharpness of images. Techniques like super-resolution combine data from multiple images to create a higher-resolution photo. Image sharpening algorithms, meanwhile, can enhance edge details, making the images appear crisper.
AI and Machine Learning:
Artificial intelligence (AI) and machine learning are integral to modern computational photography. Smartphones can now recognize scenes, objects, and faces, adjusting settings in real-time to optimize the shot. For instance, AI can enhance skin tones in portraits or boost colors in landscape photos.
The Impact on Photography
Computational photography has democratized high-quality imaging, making it accessible to everyone with a smartphone. It has also expanded the creative potential for photographers, offering tools and effects that were once exclusive to advanced photo editing software.
However, it also raises questions about the authenticity of images. As software increasingly takes over the image-making process, the line between a captured moment and a digitally enhanced creation becomes blurred. This evolution challenges photographers and viewers to reconsider what constitutes a “photograph” in the digital age.
The Future of Computational Photography
The future of computational photography looks promising, with advancements in AI and machine learning leading the charge. Future smartphones may offer even more sophisticated image processing capabilities, such as real-time 3D scene reconstruction or augmented reality (AR) enhancements. As technology continues to evolve, the possibilities for creative expression in photography are bound to expand even further.
Conclusion
Computational photography has revolutionized the way we capture and perceive images, making high-quality photography accessible to everyone. As smartphones continue to evolve, the boundary between hardware and software in photography will blur even further, pushing the limits of what’s possible. Whether you’re a professional photographer or a casual snapshooter, understanding these technologies can help you make the most of your smartphone camera and take your photography to the next level.
By embracing computational photography, we open up new creative avenues and redefine the art of capturing moments. As we look to the future, it’s clear that this technology will continue to shape the landscape of photography, offering exciting possibilities for both photographers and enthusiasts alike.
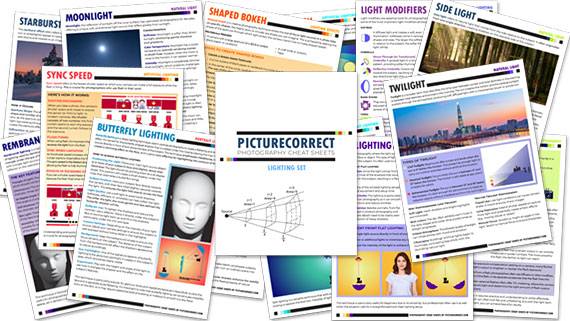
For Further Training:
iPhone Photo Academy is an in-depth online course that will show you how to take incredible iPhone photos. With the right knowledge an iPhone can be used to take photos that are so good that most people would never even believe that they were taken with a phone. It is currently 90% off for their Super Sale which ends soon!
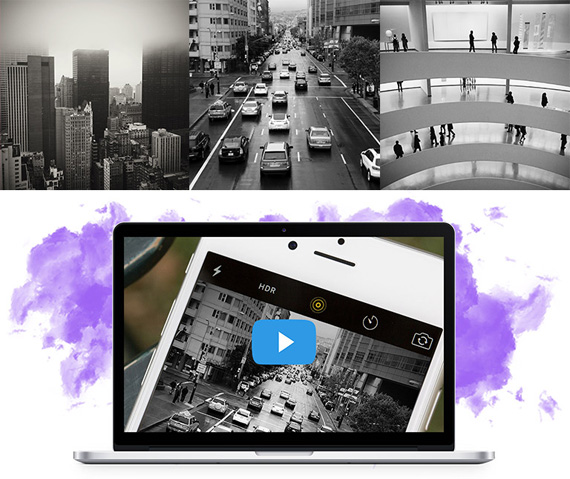
iPhone Photography Tricks (Click to See More Examples)
The best camera is the one that is always with you. But having the iPhone with you is only half of the equation. The other half is knowing how to use it to take outstanding photos.
Deal ending soon: The iPhone Photography Academy at 90% Off
from PictureCorrect https://ift.tt/2ByFcCd
via IFTTT

 Summer Sale