Since the advent of blogs, many people around the world have started to take an interest in food and restaurant reviews. This normally comes in the way of a food blog, where the person either dines at various restaurants and rates them accordingly, or creates dishes at home, explains the process, and rates their own efforts.

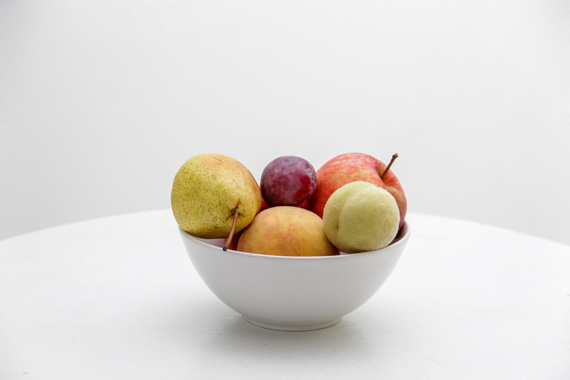
Photo by Nordwood Themes; ISO 100, f/5.6, 1/5 second exposure.
In both of these situations, the blogger normally takes photos of the food in question. Some get it right, others don’t. The top food blogs on the planet, however, do get it right, taking almost ethereal photographs of seemingly god-like food. The results are often marveled at and shared amongst many people who also ponder at how these super-bloggers created such stunning images.
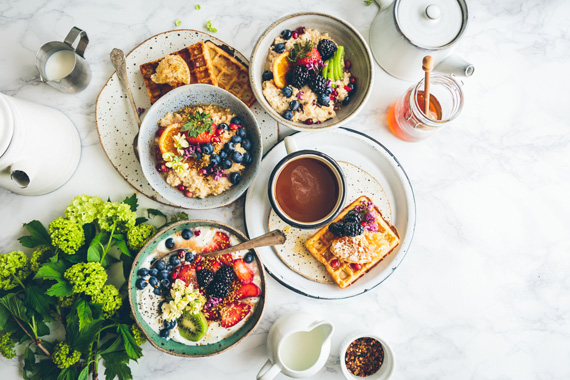
Well, actually, it’s quite simple. In fact, food photography is much simpler than it used to be. We have entered the age of “white!” This is a term I use to describe what most photography—but especially food photography—has become. Food is photographed mostly on a white surface, with white, or off-white napkins, place mats, etc. There may also be infusions of color here and there, but the basic theme is white. The image may be slightly over-exposed in areas, or have tons of natural, beautiful back-lighting. In other words, the whole shabby chic thing has infiltrated food photography in a big way.
And just like the furniture, this has been a great thing for photographers. No longer are food photos stuffed with raw ingredients and glazed over to give an awful shine. No, the food now looks real, earthy, and wholesome.

Photo by Brooke Lark; ISO 640, f/5.0, 1/125 second exposure.
So, how can you create images similar to the images you see on your favorite food sites? Well, despite what others might tell you, it’s quite easy… as long as you have a good eye and can envision a pretty setup. The technical points aren’t very hard at all to master.
The simplest way to shoot is at home where you have space and can shoot comfortably. But I have used these techniques in restaurants as well.
The easiest way to produce stunning, ethereal food photos is to get yourself a light diffuser. These are small, semi-transparent disks that spread light evenly over your subject. So instead of harsh, direct light, diffusers create a soft, more natural looking light. They range in diameter size from about 10 inches to much larger.
Set your diffuser up so that it is between your light source—say, a big window with natural light streaming in—and your subject, like a plate of pasta with raw garlic cloves sprinkled around the plate and a glass of white wine. You’ll notice immediately that your photos will become much more professional and start to look more like those that you see on your favorite blogs and websites.
One more simple way to improve your photography is to place a white or silver reflector to the side of your food to reflect your diffused light. This will make sure that all of the areas get light distributed evenly.
About the Author:
This article was written by Taylor Young Photography. “Whether I am shooting weddings, portraits, landscapes, architecture, interiors, or food for a restaurant, I constantly strive for perfection in order to ensure that my clients stand out and look their very best.”
Go to full article: How to Use a Diffuser to Enhance Your Food Photography
What are your thoughts on this article? Join the discussion on Facebook
PictureCorrect subscribers can also learn more today with our #1 bestseller: The Photography Tutorial eBook
The post How to Use a Diffuser to Enhance Your Food Photography appeared first on PictureCorrect.
from PictureCorrect https://ift.tt/3bjgvnh
via IFTTT


0 kommenttia:
Lähetä kommentti