This article is based on concepts from The Photographer’s Creativity Catalog if you want to dig deeper for further training. It is currently over 82% off leading up to Black Friday if you use the discount coupon photoholiday20 at checkout.
Creative burnout happens to everyone. If you’re feeling like your photo efforts are getting repetitive, I invite you to strap on your creativity cap and climb onto the playground of mixed media photography.
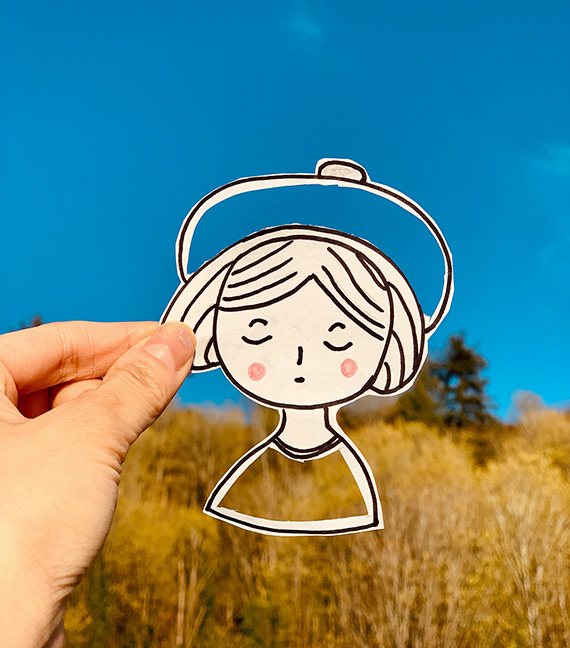
Photo by Yan L
Mixed media photography is an art discipline that seeks to unify a variety of art forms. This purpose is achieved by creatively combining an array of artistic insights and crafts into one final creative photograph.
The example photo above is a very talented use of mixed media. It combines photography with paper cutting and illustration.
Think about all the different shapes that you could cut out of a piece of paper or cardboard! What type of background would you place behind your cutout to create drama or artistic meaning in your final photo?
To get started, let’s concentrate on four forms of mixed media photography:
- Projection
- Paper and Metal
- Paint
- Print Juxtaposition
A Quick Note on Lighting
Mixed media is one of those fringe areas of photography where virtually anything goes when it comes to lighting.
Once you’ve developed an idea, I suggest using testing lighting scenarios, as this may inspire further thinking and depth into your creative process.
Projection
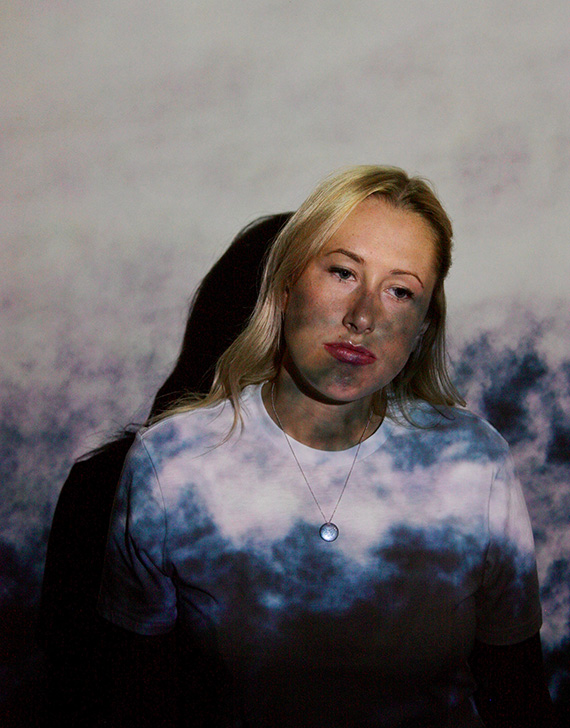
Photo by Isi Parente
In this technique, you project a light source onto your subject. But, unlike regular photography, you place something in front of the light source to create patterns, color or tone.
Getting Started
Find a few light sources. Here are some suggestions:
- Electronic flash
- Photo lights
- Powerful flashlight
- Household lamps
- Work lights (typically found at hardware stores)
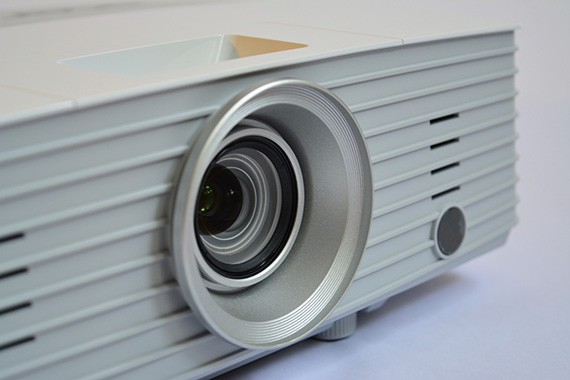
Photo by seagul
Idea: You can find old slide projectors, overhead projectors or video projectors at garage sales and surplus stores for just a few dollars. They make an excellent light source for projection-based mixed media photography!
Location
For your projection to show up, your shooting location needs to be fairly dark. A darkened room would be a good starting point. You could also try outside in the evening.
Once you understand how the projected lighting works, you can begin experimenting with raising the surrounding ambient light for an entirely new set of creative options.
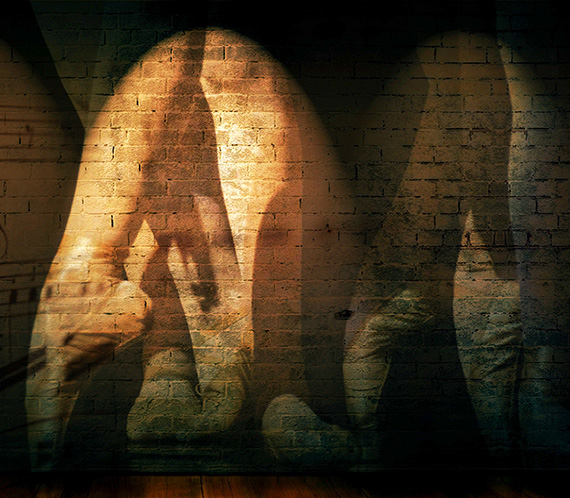
Photo by cocoparisienne
What to Project
This choice is limited only by your creativity. Here are a few ideas to get you started:
- Old photo slides (this one is particularly useful if you have an old 35mm slide projector)
- Clear acetate that you have marked up with markers or paint
- A cloth with holes cut into it
- Old newspapers—with or without holes or tears
- Various types of colored tissue paper to add color
- Glass or acrylic panel that has been painted, cracked, scratched or altered in any way
Idea: Consider mixing and matching different light sources, with various props and different projected objects!
Paper
Paper is an extremely versatile mixed media component because you can do a lot with it very quickly.
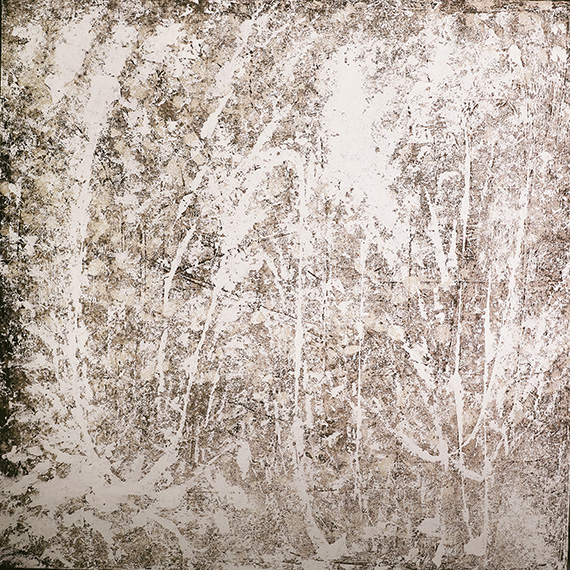
Photo by Jen Theodore
In the example photo above, imagine that you laid out some paper, selected objects that interested you and placed them onto the paper. Then, you lightly sprayed them with a single can—or multiple cans—of spraypaint. This activity creates a look similar to a “photogram.”
You could now photograph your paper, and you already have an interesting mixed media photograph.
You could also take your paper and combine it with other elements to further expand your mixed media artwork.
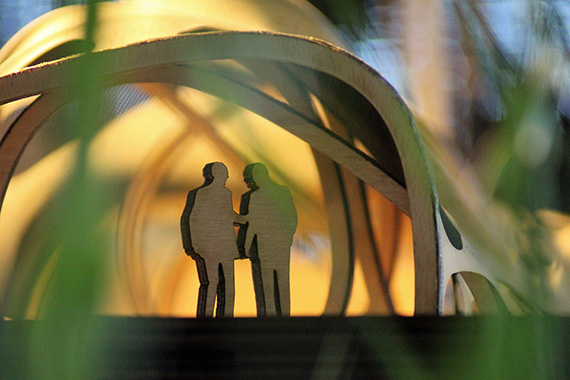
Photo by SPOTSOFLIGHT
Idea: How about using paper or cardboard cutouts, along with other household items, to create a mini-sized realistic set?
Paper and metal are a favorite combination among mixed media artists.
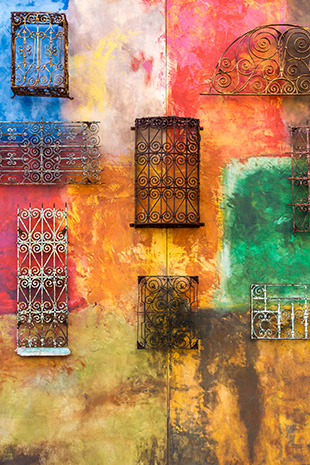
Photo by Jason Leung
One aspect of this suggestion that I particularly love is finding interesting metal objects almost anywhere. You can look for them in specific places, such as:
- Vacant lots
- Digging in your backyard
- Hardware stores
- Surplus stores
- Garage sales
Getting Started
This exercise is easy to get started. Gather some paper, maybe some paint and a few metal objects of interest, and then put them all together onto a set for a photograph.
You are limited only by your ideas.
Try mixing this project with projection for even more intriguing photographs!
Paint
Paint is such an excellent mixed media tool because it can be used in so many ways. Too many ways to list in a single blog post.
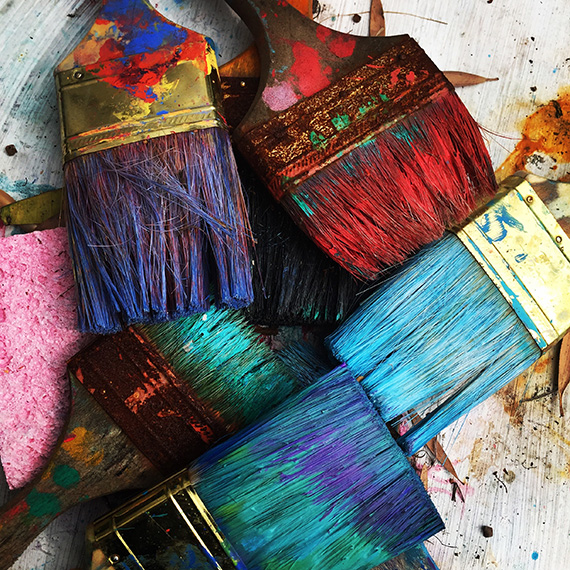
Photo by Rhonda K, Native Florida Folk Artist
Let’s generate some inspiration for you.
Body Painting
Body painting is an art all in itself. As a part of your mixed media photography, it doesn’t need to be a Da Vinci. Just throwing some paint onto a body is a lot of fun—even your own body.
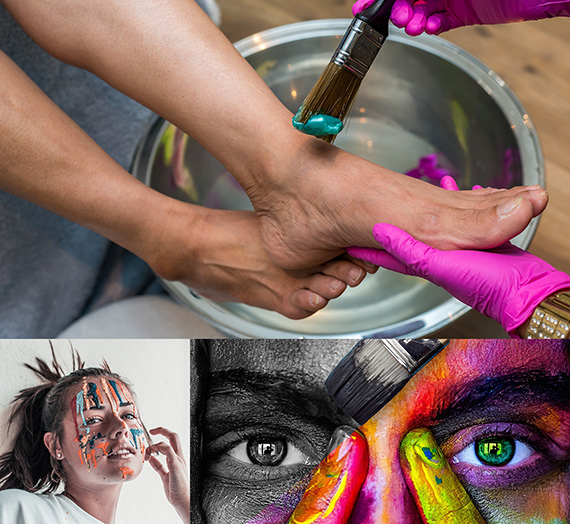
Clockwise from top: Photos by Rune Enstad, Alexas_Fotos and Ben Weber
The bottom left photo above shows a simple mixed media photograph—using paint on a body.
The example photo on the right was more sophisticated in the painting process. That photographer took the artwork a few steps further by creating the body painting image, converting half of it to black and white, and then printing the photo and re-shooting it with a paintbrush lying on top.
Key Thought: That last example illustrates how far you can stretch yourself with the mixed media photography process!
Tips for body painting
- Start small
- You can find body and face paint almost anywhere, from craft stores to Amazon to Etsy
- Keep your equipment clean—don’t use the same tools on different models
- Soft paints are easier to work with than hard paints when first learning
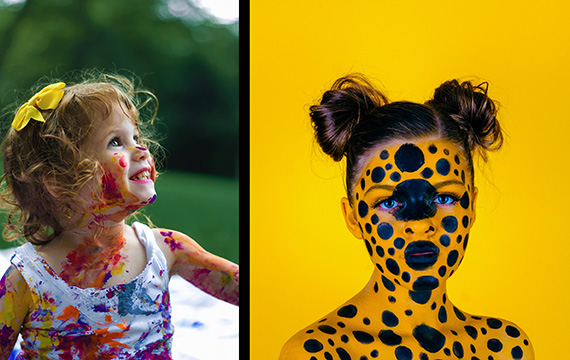
From left: Photos by Senjuti Kundu and Noah Buscher
Using body paint as part of your mixed media photography project can be as straightforward or as complex as you wish to make it.
Painting an Alternate Reality
This idea is easy and fun. Paint objects to change their reality! You’ll find this activity to be simple, creative and easy to get started.
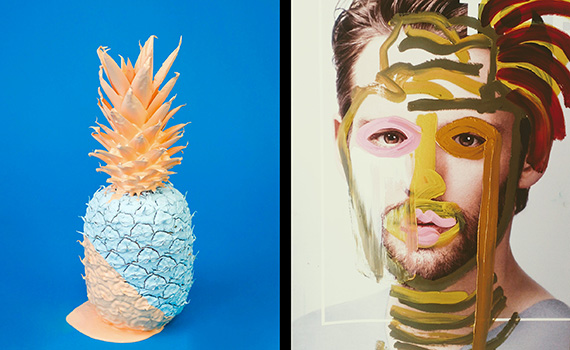
From left: Photos by Cody Davis and Nicola POWYS
Print Juxtaposition
This mixed media photo technique is one of my absolute favorites.
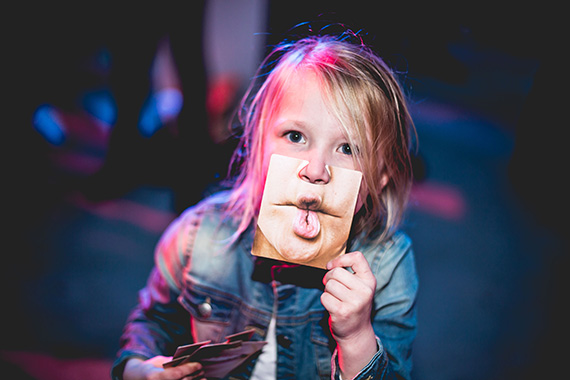
Photo by Christian Gertenbach
How to do it
- Create an original photograph—you can create a photo with a mixed media idea in mind, or simply select an existing photo from your collection.
- Print the photo to an appropriate size that will work for your project. In the example photo above, an approximate 5×6″ print worked fine.
- Now you photograph your existing copy after juxtaposing it against new elements that tell a story!
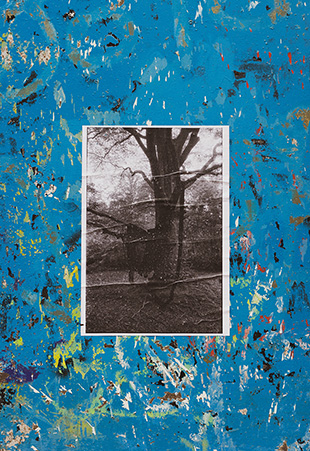
Photo by Crawford Jolly
The print juxtaposition above started with a black and white photo that was printed, defaced and placed over a hand-painted surface.
Idea: Are you beginning to see how you can combine all these different mixed media photography techniques into something new, fresh and uniquely yours?
That is the beauty of mixed media photography. No one can exactly repeat your process. Each photograph that you make will be yours and yours alone.
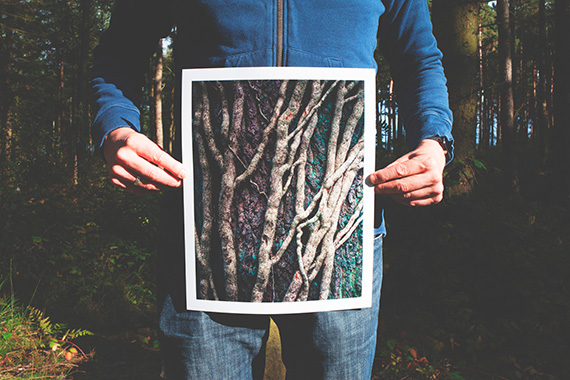
Photo by Jenny Hill
In this example, the original was printed larger and juxtaposed against a similar subject.
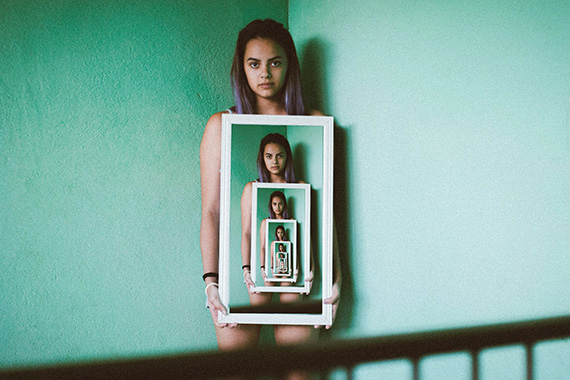
Photo by Talles Alves
The example above gives another idea, that of the “endless mirror” image:
- Take a photograph, print it and frame it.
- Place your framed photograph in a scene and photograph it again.
- Now, using a layering editing program such as Photoshop, place multiple copies of your framed photograph into the re-photographed scene.
- Use this technique to create a semi-abstract image or to convey a message.
To Recap
Mixed media photography involves using traditional photographic techniques and combining them with other forms of artistic expression.
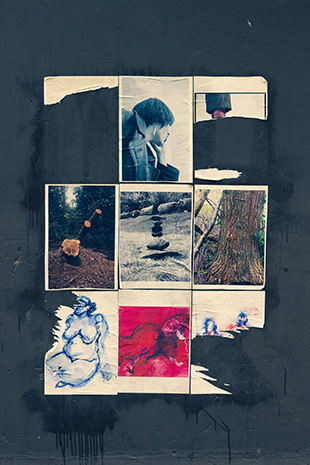
Photo by Crawford Jolly
Your mixed media art can be realistic, semi-abstract or completely abstract. It can convey a message or simply be a visual treat. You are limited only by your imagination.
Three Action Challenges to Get You Started
- Create a photograph that incorporates paint.
- Create three photos that you cut into shapes on white or colored artboard, and then use them to make a visual statement against a background. Don’t go for the easy answer. Think through the process and make the combination meaningful.
- Take a photograph that already exists in your files. Print it. Place it in a scene and photograph it. Use this to test your creativity. Your final image should alter a viewer’s perception of the original shot that you printed.
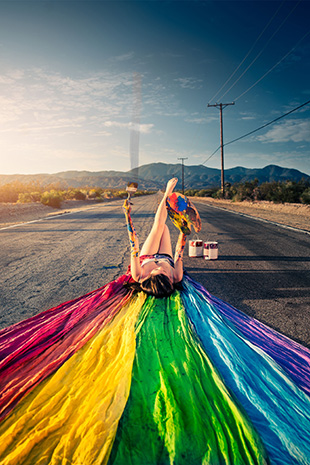
Photo by Tony Ross
How Did You Do?
- Of the three Action Challenges, which one was the most successful for you?
- What three shapes did you use for your cutouts, and why? Did others understand your intended meaning?
- Were you able to change the meaning of your original photo in Action Challenge #3? Share your original photo, and the new picture, with family and friends. Ask them about their opinions. Did they understand your intent?
About the Author:
Kent DuFault is an author and photographer with over 35 years of experience. He’s currently the director of content at the online photography school, Photzy.
For Further Training and Exercises:
You’ve been involved with photography for some time now- haven’t you? Don’t you sometimes wish that you felt more motivated to create pictures? You can’t always be traveling to exotic locations to excite your inner-artist. Enter the Photographer’s Creativity Catalog– which is currently 82% off leading up to Black Friday. Plus you can use the discount coupon photoholiday20 for an even larger markdown.
“We all suffer burnout. The best way to combat burnout is to explore new avenues of personal expression.” – Kent DuFault (Author of the Creativity Catalog)
Deal found here: The Photographer’s Creativity Catalog at 82% Off
Go to full article: Mixed Media Photography Exercises
What are your thoughts on this article? Join the discussion on Facebook
PictureCorrect subscribers can also learn more today with our #1 bestseller: The Photography Tutorial eBook
The post Mixed Media Photography Exercises appeared first on PictureCorrect.
from PictureCorrect https://ift.tt/32SKsFJ
via IFTTT


0 kommenttia:
Lähetä kommentti