maanantai 30. syyskuuta 2019
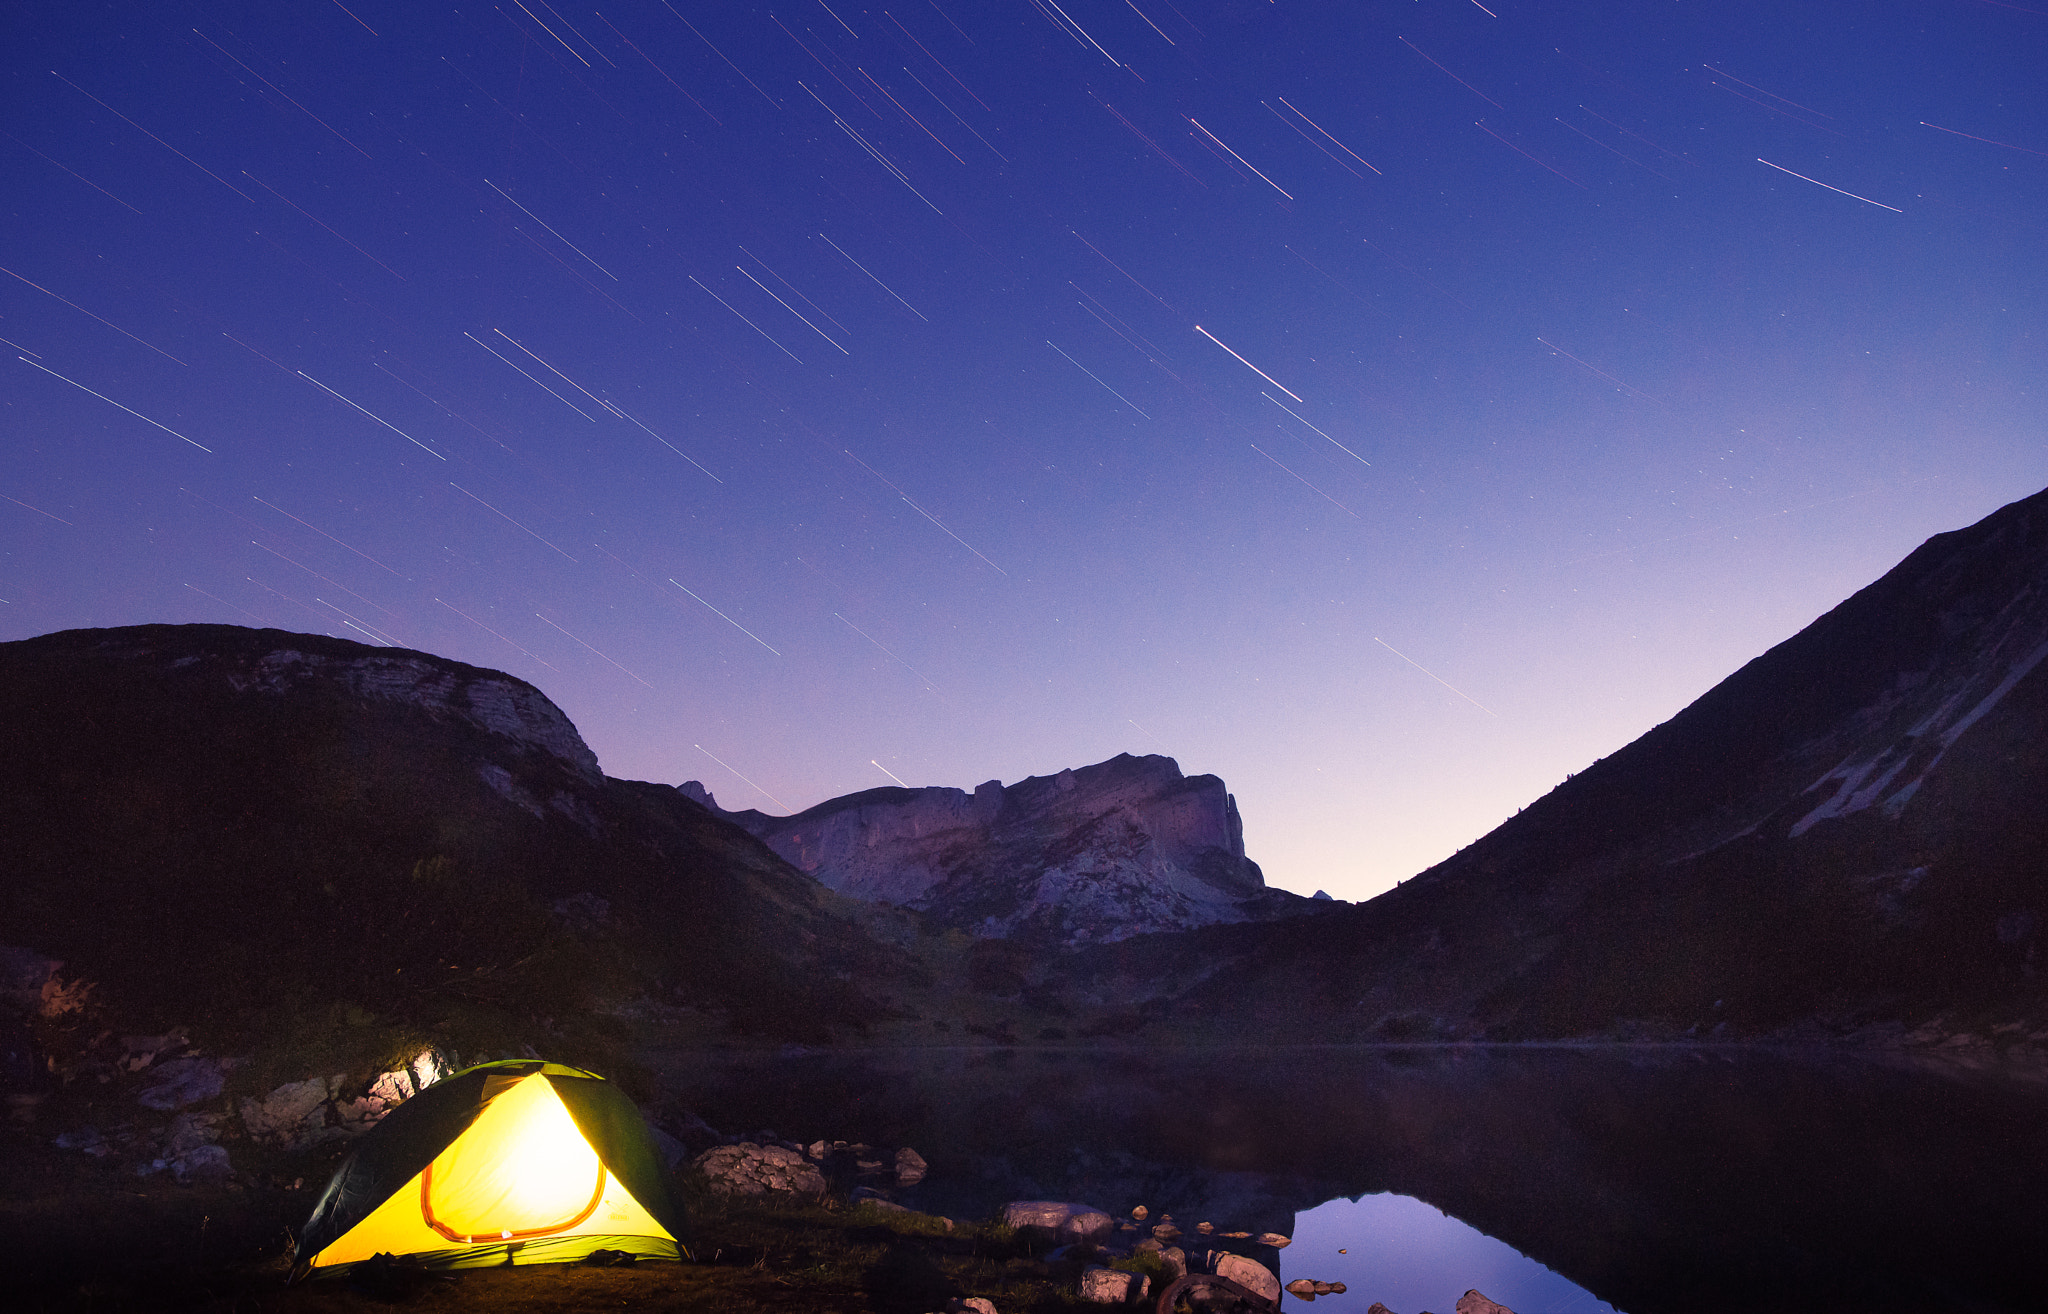
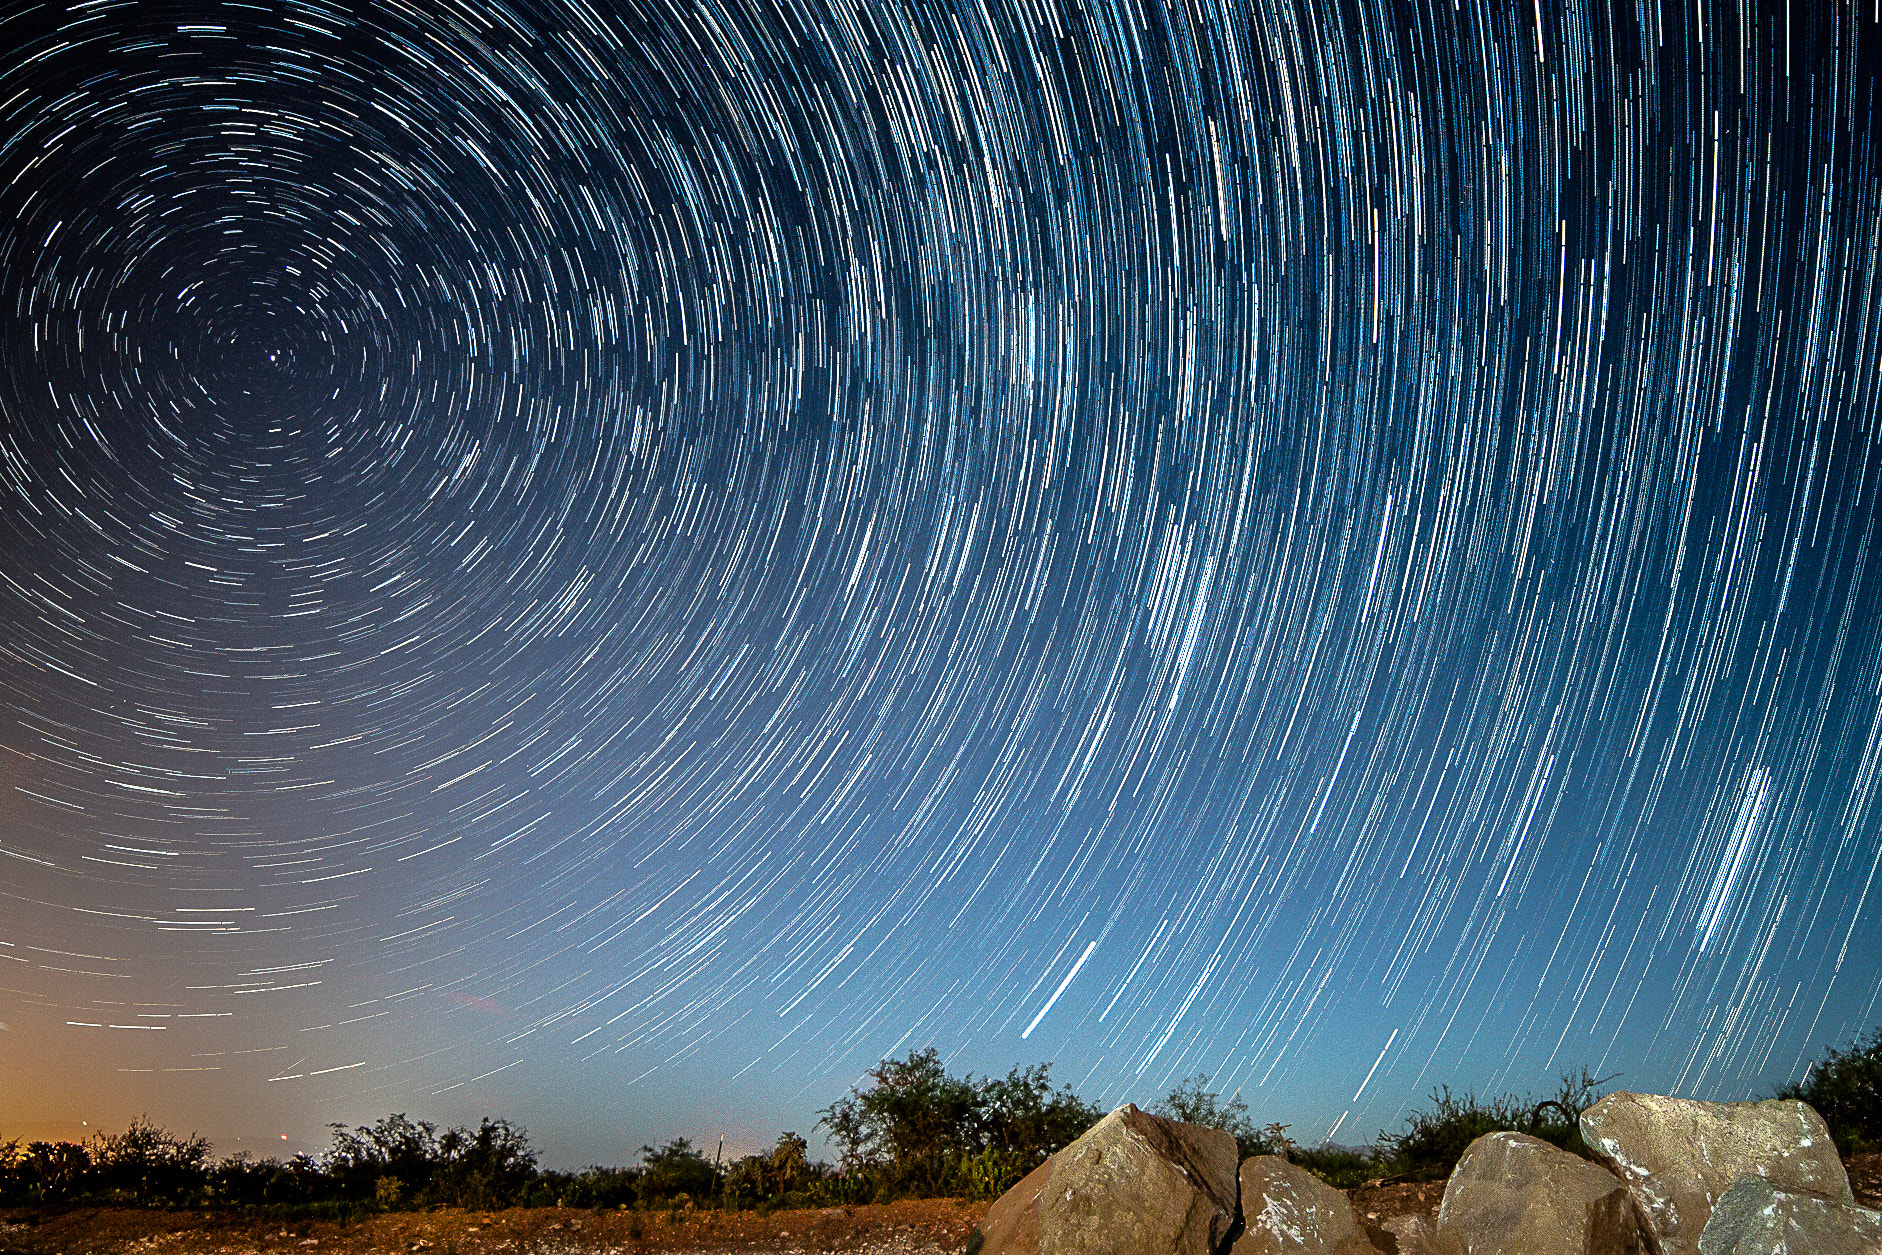
Perseids Star Trails by BGBoydPhoto (500px.com/BGBoydPhoto)

PictureCorrect.com: 10 DSLR Camera Features You Should Know
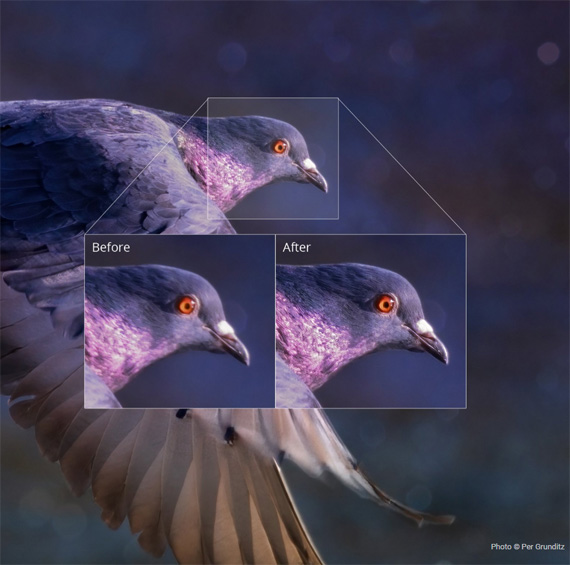
Final reminder: only hours left for Topaz Sharpen A.I. at 25% Off
Here are 10 features of your DSLR camera that you should know. They will help improve you as a photographer.
photo by Scott Symonds
1. Shooting Modes
Aperture Priority Mode
Aperture Priority Mode lets you control / adjust the aperture while the camera takes charge of determining the shutter speed, based upon the other settings (including the aperture). Adjusting the aperture causes background elements in your scene to become either crystal clear or blurred. The wider the aperture, the more the background elements will become blurred, as you focus on your main subject. Conversely, a narrower aperture enables you to include more things in your scene without them being lost to the blurring that occurs with the wider apertures.
photo by Koshy Koshy
Another thing that aperture adjustment does is to brighten or darken the overall image. With a wider aperture, you’re letting more light in through the lens and onto the camera’s sensor, so images will become bright. Go the other way, and your images will become darker as you narrow the aperture, as this time you’re letting less light reach the sensor during the period of the exposure.
Shutter Priority Mode
Shutter Priority Mode lets you control / adjust the speed of the shutter while the camera takes charge of determining the aperture. Adjusting the shutter speed will let you freeze motion if you choose a faster shutter speed. A slower shutter speed will increase the amount of motion blur in your images. A good example would be including a subtle blurring of the wings of a kestrel, as it hovers in the sky. You capture this activity with a slower shutter speed. Adjusting the shutter speed also affects the brightness of the image in a similar way as adjusting the aperture. If you select a faster shutter speed, you’re reducing the time that the shutter is held open, which lets less light into the camera’s sensor, resulting in a darkening of the overall image. Conversely, you will notice images become brighter as you slow down the shutter speed, as you’re causing the camera to hold the shutter open for slightly longer, letting in more light onto the sensor as a result.
Manual Mode
Manual Mode lets you control / adjust both shutter speed and the aperture. Choose this option if you want total control over determining these two settings rather than letter the camera’s algorithms calculate the most appropriate settings. You may be fine with that; but, then again, taking manual control will allow you absolute control over the artistic process and outcome with your photography.
2. ISO
This feature is pronounced “EYE-so”—unless you want to wind-up nerdy-types who get a bit manic over such mispronunciations, in which case treat it as an acronym; call it “I.S.O.”, then enjoy their fit of apoplexy. As for what this feature does, it allows you to control the camera’s light sensitivity based on a numerical system. The lower the ISO number (e.g. 100, 125, 200, 400), the less sensitive the camera will be to light, typically resulting in darker images (unless you have a sufficiently bright light source to compensate, such as an external flash unit). The higher the ISO numbers (e.g. 800, 1600, 2000, and beyond), the more sensitive the camera’s sensor, with lighter images being the result. But, you need to know that this light-enhancing wizardry comes at a cost, and that cost is a reduction in the overall quality of the image as a result of bumping up the ISO setting, particularly above the 1600 level.
photo by Dave Doe
Camera technology is improving all the time, and every generation of camera gets slightly better at processing images with slightly higher ISO settings. In some cases, it can be better to sacrifice overall image quality in order to get a “once in a lifetime shot” (I’m not sure that many complained about the relatively low quality of images from the first moon landings, did they?). However, in general, if you’re in pursuit of quality, then it’s often best to go for the lower ISO values, specifically, the lowest “native” ISO setting your camera lets you select. What I mean by this is that some digital cameras allow you to set the camera into “Extended ISO” mode, which opens up additional ISO settings. For instance, on the Panasonic GH4, the Extended ISO feature lets you drop down to either 80 or 100. Turn off the Extended ISO feature and whatever the lowest value you see is the camera’s true lowest “native” ISO setting. On the Panasonic GH4, this happens to be ISO 200. That’s just how this camera is designed and the engineers felt this camera worked at its most optimum levels with a minimum native ISO setting of 200. Some cameras have 100 as their native setting; others, such as the Panasonic FZ1000, begin at 125.
3. Focusing Modes (Single Point vs. Spectrum)
This relates to how the autofocus system works. You may have the experience of turning on a DSLR camera and, when you go to focus the camera, in order to take a test shot, a bunch of different indicators flash upon the LCD or Electronic Viewfinder (EVF). These indicators are the different points of the spectrum that have been activated and the camera calculates that certain areas are the ones that you may want in focus, and these are typically represented by red or green boxes over different parts of the image. What typically works better (and by that, I mean, is more reliable and less annoying), is to go into your camera’s menu system, turn off the spectrum focusing option, and switch your camera so that it focuses just on a single point (typically in the center of the frame, although you can adjust this, such as placing the single focusing point over the point where a key subject is or will be in your image so that you get that subject in focus).
4. Back Focus
It seems that a lot of DSLR cameras are set up by their manufacturers so that the shutter button handles both the focusing part AND the exposure part of taking a photo. This can be fine, for a while, and you can get pretty adept at subtly pressing the shutter button half way to focus on your target subject before applying a bit more pressure on the same button to take the photo. However, there may come a time when this system ends up costing you valuable photo opportunities. For instance, when doing light painting photography, you’ll be working in relative darkness, taking time to set up your camera and focusing on just the right point in the image where you want tack-sharp clarity. Then comes the moment when you’ll press the shutter button to begin the long exposure so that you can walk out in front of the camera to wave your torch around, to capture the spectacular movements of light. However, just as you go to press the shutter button, you fail to put the right amount of pressure through the button, and the camera treats it like you’ve requested a change of focus, and the autofocus system kicks in, taking the camera out of the perfectly adjusted focus point.
On the more sophisticated DSLRs, you can save yourself this sort of aggravation by decoupling the autofocus feature from the shutter button and assigning the autofocus to one of the other option buttons. The reason why this method is called “Back Focusing” is because the button that is usually selected for the job of focusing is typically on the back of the camera, but in close-enough proximity to the shutter button so that you can easily engage the newly assigned autofocus button with your thumb while your forefinger remains the trigger finger to engage the shutter button. It does take a little getting used to, but it does enhance your workflow and the way in which you operate your camera.
5. Exposure Compensation
You may not use this feature all of the time, but there are certainly occasions when you’ll want to take advantage of the exposure compensation setting to help improve the overall quality of your image. The exposure compensation settings are measured in values, with zero in the middle, then you either go to the plus values, to brighten the image, or into the minus values, to darken the image. Why would you want to do this, when you’ve already adjusted the brightness with either the aperture, shutter speed, and/or ISO settings? The problem is, with modern DSLR cameras, the algorithms they use tend to result in overcompensation of light quality with the resulting image. If you’re photographing in dark conditions, such as at night or in the evening (when you get those darker blues, for instance), without using exposure compensation, the camera will calculate that any source of light, such as street lights, lanterns, etc., will be rendered extremely bright, as the DSLR overcompensates to make sure the light can be seen in the dark environment. Professional photographers will often deal with this by using the exposure compensation feature, and dialing down into the minus values, typically going to -1 of exposure compensation, in order to tone down those light sources in the resulting image. Conversely, when out in a really bright environment, such as in snow, an exposure compensation value of +1, or even +2, will help to combat the camera’s tendency to overcompensate in the other way. What you’ll typically find is that without adjusting the exposure compensation settings, anything that’s white in your scene will most likely be rendered a really ugly grey color. By adding a value of +1 or +2 of exposure compensation, you’re able to bring back that brilliant white.
6. Custom White Balance
I know of some professional photographers who will typically shoot in auto white balance mode, most of the time. However, there are times when they won’t do that, such as at an indoor ice rink, where the indoor light can render the white of the ice rink a different color to what you actually see. So, to combat this, they will instead prefer to dictate to the camera what “white” actually looks like. This generally involves you going into the white balance menu system, selecting a custom preset option, and then you will take a photo of how you want the white to be in all of your photos. For example, you’d point the camera at a bank of snow, or the white of a wedding dress; fill the frame with that color, and take the photo. The camera will then treat that as white, and balance all the other colors in the scene accordingly, until you reshoot with a different custom white balance, or return it to one of the preset white balance modes, such as AWB (Auto White Balance), or the Cloudy or Sunny settings.
photo by greg westfall
7. Highlight Control (The Blinkies)
Some DSLRs allow you to turn on a highlighting feature that is often referred to as “The Blinkies” (because when you go to take a photo and have the camera’s settings such that it might result in part or all of the image being washed out or lost in brightness, the LCD screen will “blink” at the areas that will become overexposed). This is something you wouldn’t want if, say, you were photographing a bride on her wedding day. If you overexpose the wedding dress, you are likely to lose any subtle detail, and you most likely won’t be able to recover the detail in post-production (e.g. Lightroom), because the software won’t have any data for those overexposed parts of the image. So, Highlight Control is often a good warning indicator to have turned on.
8. Metering Modes
Your DSLR will probably allow you to change to one of three different metering modes, depending on what you intend to photograph:
Evaluative Metering (also known as Multiple Metering)
Evaluative Metering gets the camera to measure the most suitable exposure by determining the levels of brightness in the entire frame. This is generally the one you will want to use—most of the time.
Center Weighted Metering
This method is used to focus on the subject in the center of the frame in order to measure the whole screen evenly.

photo by Nathan Siemers
Spot Metering
This is going to get the camera to meter in just one area of the frame.
In certain situations, such as music concert settings, if you were to select Evaluative Metering, you will run into problems because the light typically changes every couple of seconds—either different colors, or sometimes the light will shine on the artist, other times the light will shine elsewhere, leaving the artist’s face in more darkness; sometimes the light will shine on one band member and not another… and all of these light variations gives your camera a really hard job of trying to calculate how to measure the light to help create a really nice image. When you go to photograph music concerts, Spot Metering is generally the option you want to go with, because you’re going to be targeting the musician’s face. That’s who you’ve come to see, so you want to make it clear in your photograph who the artist is, and that means capturing them in the best possible light by using the most appropriate metering mode—Spot Metering, in this case.
photo by photophilde
9. External Flash Control (From Your Camera)
Some of the more modern DSLRs, typically at the higher price range, allow you to operate the functions of a compatible external flash unit right from the menu system of your camera. This is a really great feature, especially if you’ve got multiple flash units set up all over the place, or you set your single flash unit up in a perfect, but awkward-to-reach spot, where it’s difficult to see the LCD display and buttons on the flash in order to adjust the settings. Rather than going back to each individual flash unit and having to fiddle about with the settings, which might be troublesome if they’re in a typically high-up, awkward position, you are able to turn your flash unit(s) on or off, raise or lower the power setting, or change how the flash responds, all from the menu system of your DSLR. Both the Panasonic FZ1000 and GH4 cameras have this wireless feature, but you need their compatible wireless external flash units in order to take advantage of this—it is definitely worth the investment.
10. The Beep
If you want to make yourself really unpopular, go into any quiet setting and start taking photos with your camera’s system of beeps fully audible. Don’t do this; it can become a really irritating and off-putting sound. It’s not necessary to have the camera audibly tell you when it has something targeted with its Autofocus system, so it’s best for everyone if you find out where the sound controls are located in your camera’s menu system and turn it off (or, at the very least, as low as possible, if there’s such a volume control option on your camera).
So, those are ten features of your DSLR camera that will help you improve as a photographer.
About the Author:
Graham Wadden created and maintains the Creative Commons photography website, WaddenCCPhotography, specializing in creating stock photography primarily for home educators and those in education.
For Further Help Achieving Crisp, Sharp Photos:
Currently on sale, Topaz Sharpen A.I. is the first sharpening and shake reduction software that can tell difference between real detail and noise using artificial intelligence and neural networks. It was trained with millions of images so it could learn the characteristics of detail vs. noise – and then enhance just the detail. In some cases, it can even recover image detail.
It is currently 25% off which ends tonight at midnight, plus our readers can save even more by using the coupon code picturecorrect at checkout.
Final day of sale: Topaz Sharpen A.I. at 25% Off
Go to full article: 10 DSLR Camera Features You Should Know
What are your thoughts on this article? Join the discussion on Facebook
PictureCorrect subscribers can also learn more today with our #1 bestseller: The Photography Tutorial eBook
The post 10 DSLR Camera Features You Should Know appeared first on PictureCorrect.
from PictureCorrect https://ift.tt/2DyjqEN
via IFTTT
Perseids Star Trails by BGBoydPhoto (500px.com/BGBoydPhoto)

sunnuntai 29. syyskuuta 2019
Perseids Star Trails by BGBoydPhoto (500px.com/BGBoydPhoto)

PictureCorrect.com: How to Photograph Birds in Flight
Related reminder: only 1 day left for Topaz Sharpen A.I. at 25% Off
Being able to capture good images using a DSLR (Digital Single Lens Reflex) camera can be extremely rewarding. And some of the best pictures that we can take tend to be the hardest. Once we have a pretty good understanding of some of the camera’s functions both on automatic and manual mode, we can focus on the job of putting this information to good use. One of the hardest images to capture tends to be of something that is moving, but there are ways to make it a little easier to master.
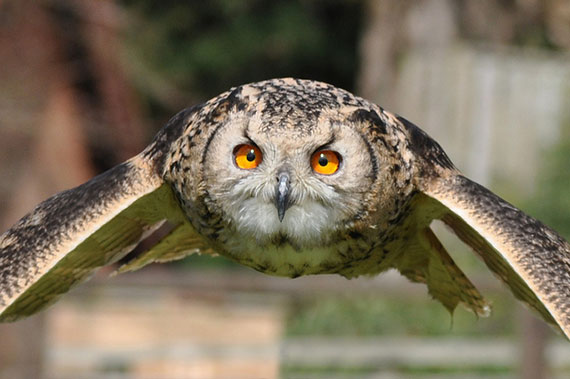
Photo by dingopup; ISO 200, f/5.6, 1/1250-second exposure.
Photographing inanimate objects really is the place to start and by using the same object in totally different settings and light can give us a lot of information and feedback. It’s also a good idea to place some objects up high so as to see what is needed to make these a clear and focused picture.
Moving on from static objects with more knowledge, we now want to explore the world of moving objects and photography. The technique of photographing a moving object is known as panning. This involves leveling the camera with the subject, finding it in the viewfinder (this is best done by first having the zoom completely in showing the object furthest away), zooming in, and then focusing either automatically or manually.
When starting out using panning photography, it’s best to first revert back to the automatic settings until confident that being on manual will not be the difference between capturing the shot and missing a great shot. Once you have the image firmly locked on start to follow the images motion slowly with the camera, while at the same time zooming until the image is now the size that you want for your picture. Take the shot and review.
Learning to take good pictures panning can be achieved on a gradual progressive basis like this. Find a road that you can stand a reasonable distance from and not be in any danger from passing cars. For best results you want to find a fairly long road where you will have plenty of time to locate a car in the viewfinder focus, zoom and shoot.
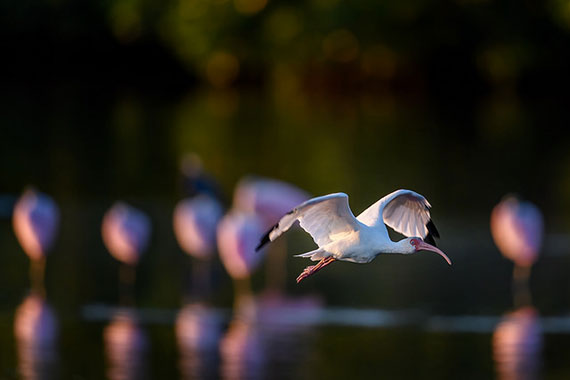
Photo by Diana Robinson; ISO 1600, f/4.0, 1/1250-second exposure.
A good result should show the car as clear as if it was standing still and you captured the image using a tripod, while the foreground and background should be blurred from camera motion and not aperture settings.
Try the same method on a motorbike, this is improving your technique as it is not only a smaller object to focus on, but also tends to be moving a lot faster. Taking pictures of anything outdoors on the ground is always made better when the sun is behind you and certainly Not in front of you, this is essential to great results for panning photography, unless you want the images to be silhouettes.
Moving on again we are now going to focus on objects that fly. With anything flying it is always best to try where possible to capture the image from a side angle and with the subject as low down as is possible. This is because whether the sun is behind you or not if you photograph something in daylight looking straight up in will more than likely have the silhouette effect.
A good way to hone your panning skills of flying objects is to visit air-shows, or even by getting close to an airport. Air shows are good, as they have a variety of aircraft that you can practice on.
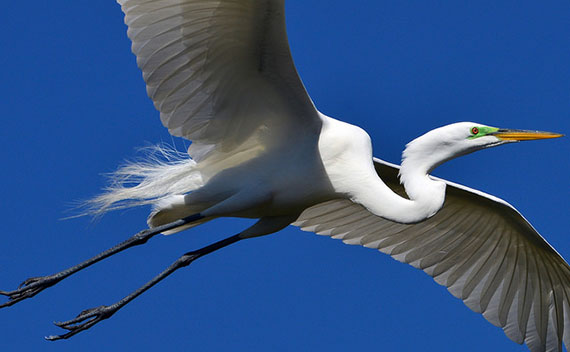
Photo by Barry Goble
One of the main reasons it’s a good idea to start photographing flying objects by using aircraft is due to their overall size.
Now onto birds in flight. Using the car and aircraft theory we want to start off with something that is not only big, but also slow and graceful. That way we will find it much easier to keep track of and photograph while also making sure we can get the timing and lighting right. One of the best birds to start learning panning skills on is the seagull; they tend to tick all the boxes when it comes to getting a great shot.
The seagull is fairly slow in flight and tends to glide more than fly. Not only that, but they also do a lot of low level flying when it comes to catching fish or hovering in a bay on the thermals.
Moving on from the seagull should be a natural progression, but as a rule of thumb, the bigger the bird the easier it is to capture in flight. When you move down to smaller birds it can often be the case of hit and miss many times, but one little trick I have learned is that if there is a specific bird in your area that you are trying to photograph it is well worth simply watching his/her movements a few times before you actually try to photograph him/her.
By knowing which tree he/she is going to fly to or from can often give you an upper hand due to knowing the direction or target of his/her flight. Also setting up shots for birds is a good way of getting great pictures too. Using food to entice them or even a stick strategically placed on a riverbank can reward the photographer with a stunning image of a kingfisher.
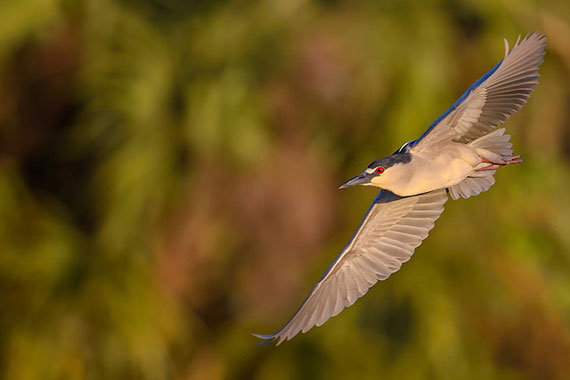
Photo by Diana Robinson; ISO 280, f/4.0, 1/1600-second exposure.
Panning photography is certainly an art, but if the photographer studies and learns from initial attempts the end results can be pretty staggering in a relatively short period of time. Keeping the camera steady and smooth at all times is critical to the overall results, and it is even possible to use a monopod in some instances for even more clarity, but panning free hand should be mastered first.
About the Author:
Article written by Clive Anderson (myphotographblog). Photography is not just a great hobby and interest that people can enjoy and share with each other, it can be seriously relaxing and in some cases therapeutic.
For Further Help Achieving Crisp, Sharp Photos:
Currently on sale, Topaz Sharpen A.I. is the first sharpening and shake reduction software that can tell difference between real detail and noise using artificial intelligence and neural networks. It was trained with millions of images so it could learn the characteristics of detail vs. noise – and then enhance just the detail. In some cases, it can even recover image detail.
It is currently 25% off which ends soon, plus our readers can save even more by using the coupon code picturecorrect at checkout.
Only 1 day left: Topaz Sharpen A.I. at 25% Off
Go to full article: How to Photograph Birds in Flight
What are your thoughts on this article? Join the discussion on Facebook
PictureCorrect subscribers can also learn more today with our #1 bestseller: The Photography Tutorial eBook
The post How to Photograph Birds in Flight appeared first on PictureCorrect.
from PictureCorrect https://ift.tt/2iWKPv4
via IFTTT
Perseids Star Trails by BGBoydPhoto (500px.com/BGBoydPhoto)

Perseids Star Trails by BGBoydPhoto (500px.com/BGBoydPhoto)

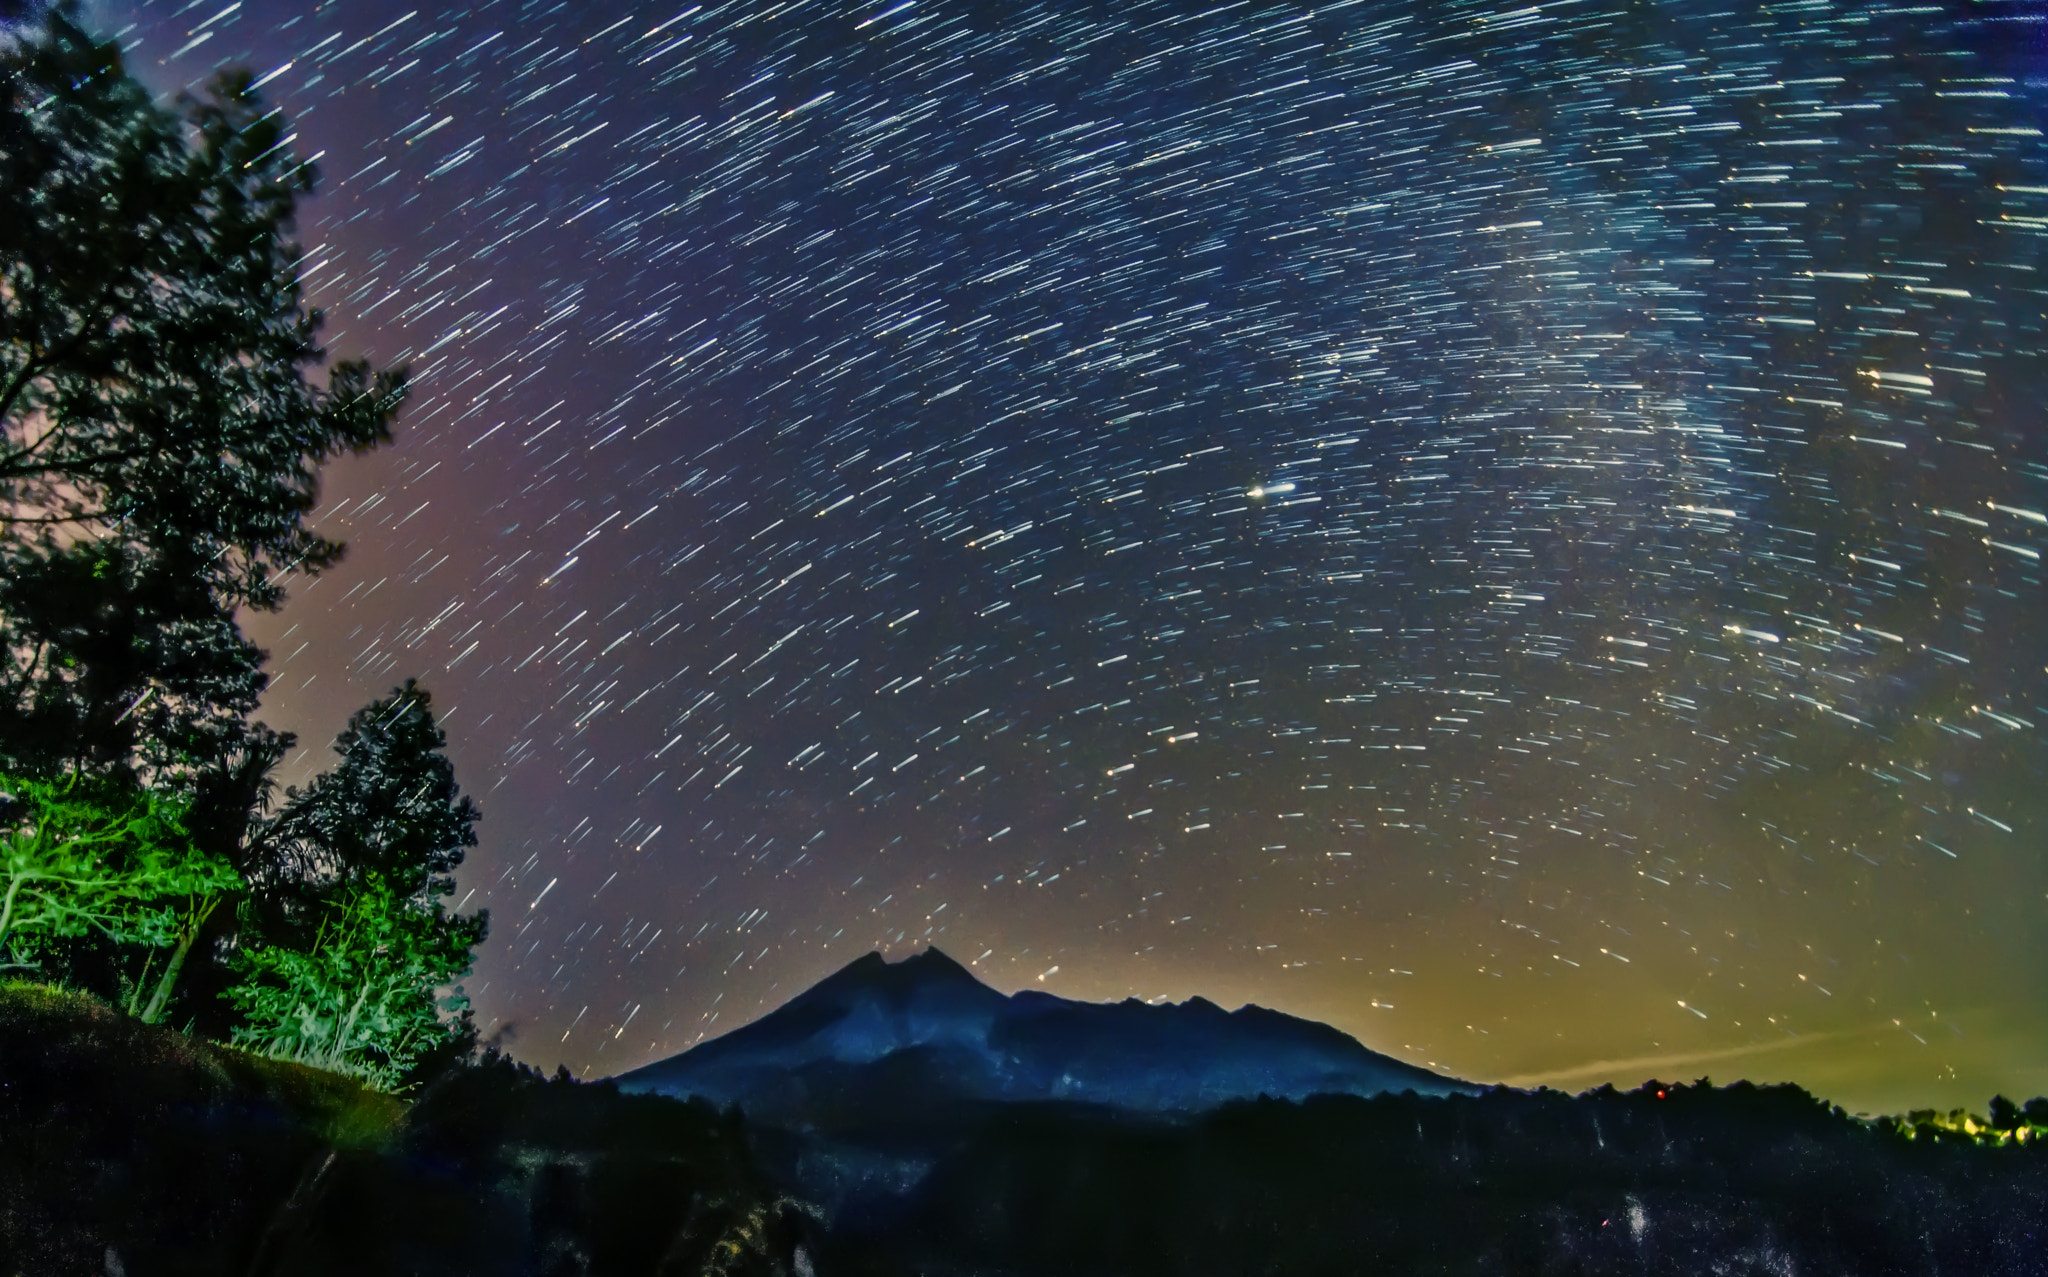
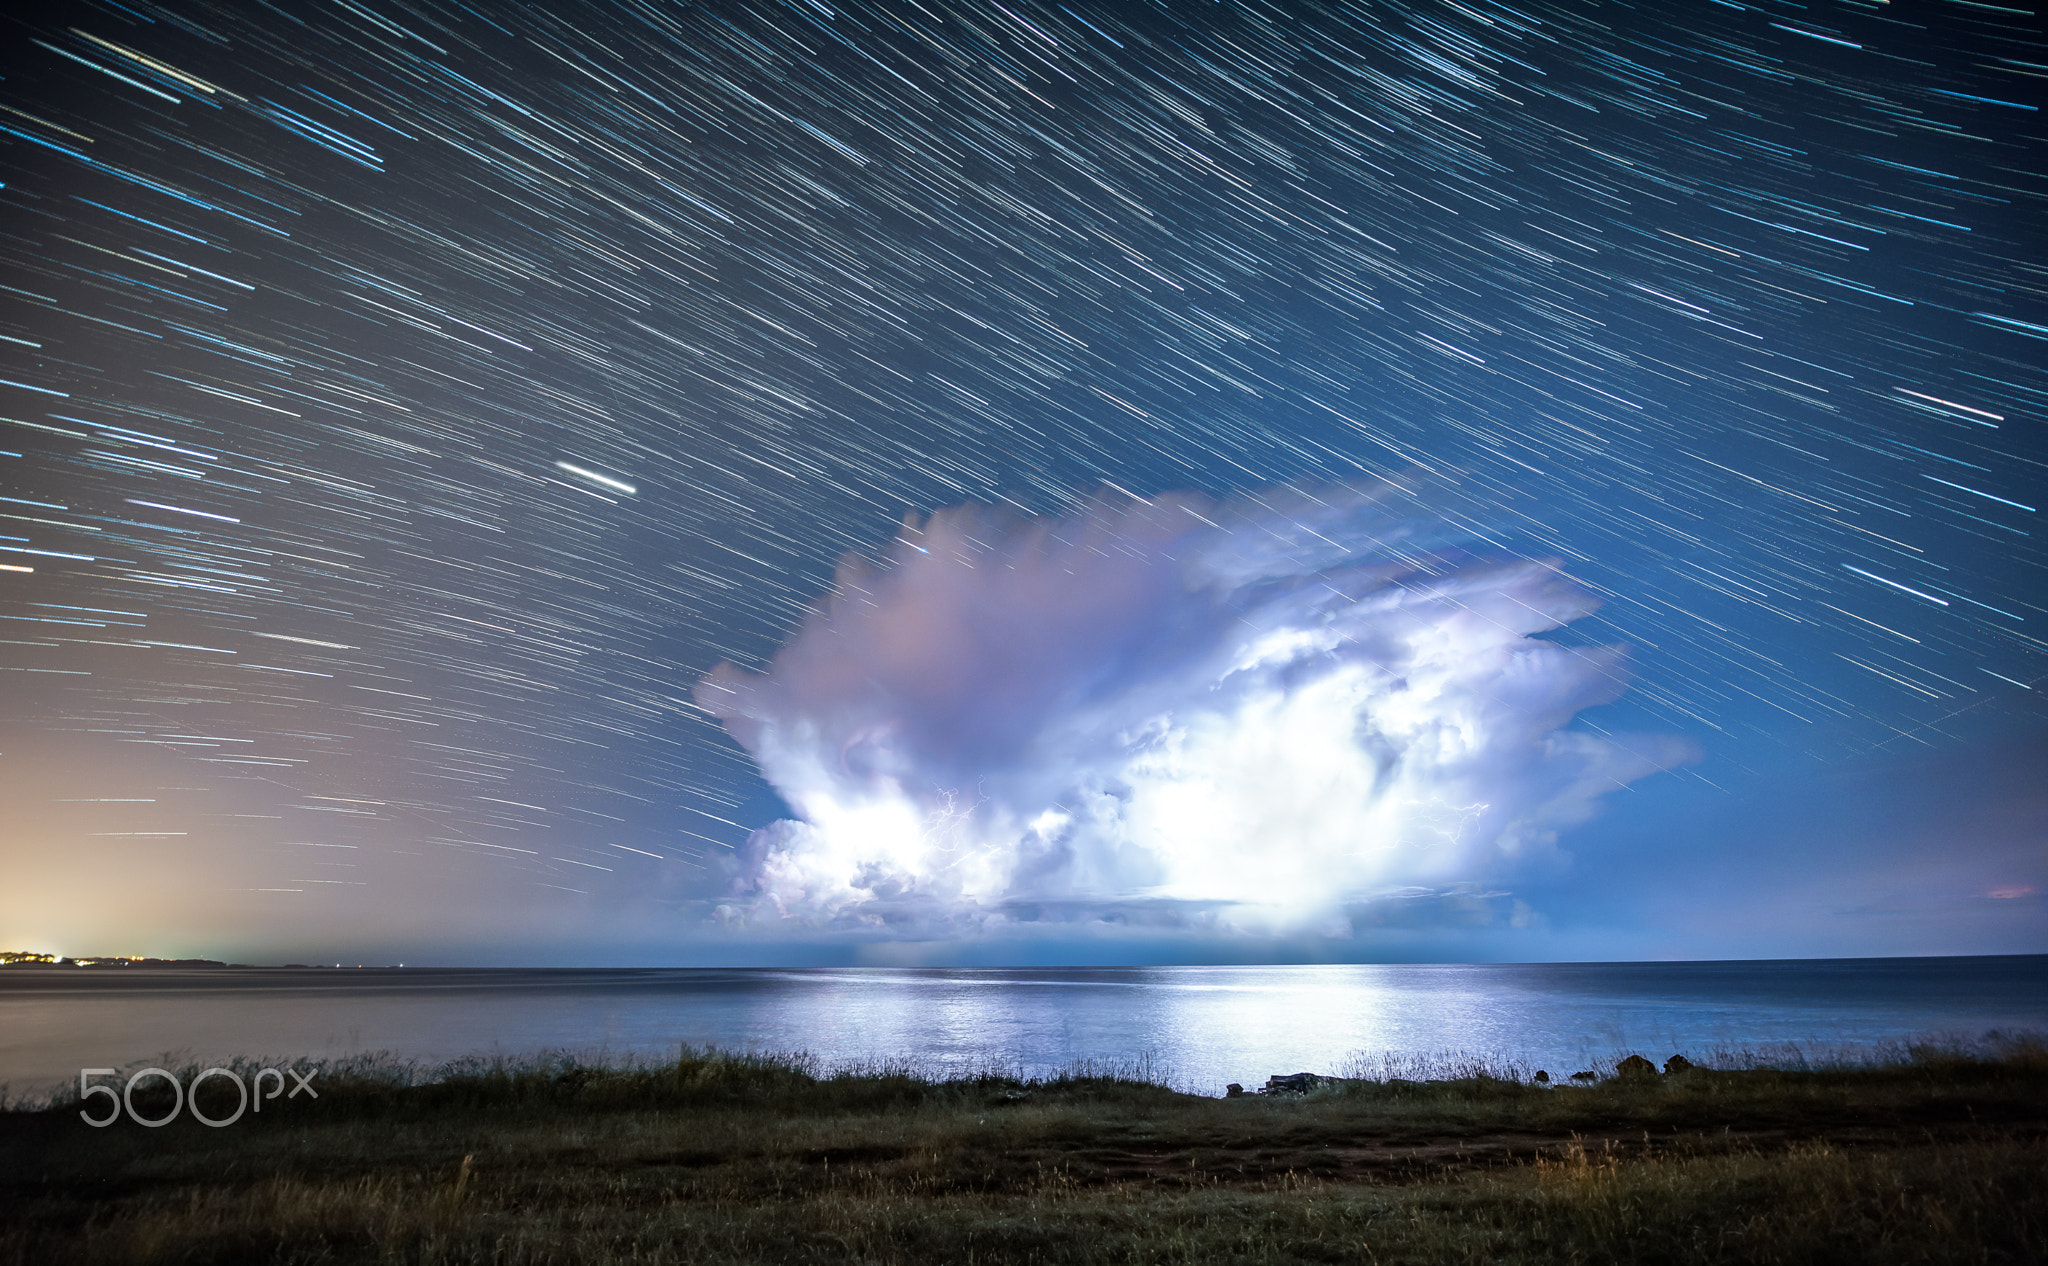
storm startrails by apaljuh (500px.com/apaljuh)
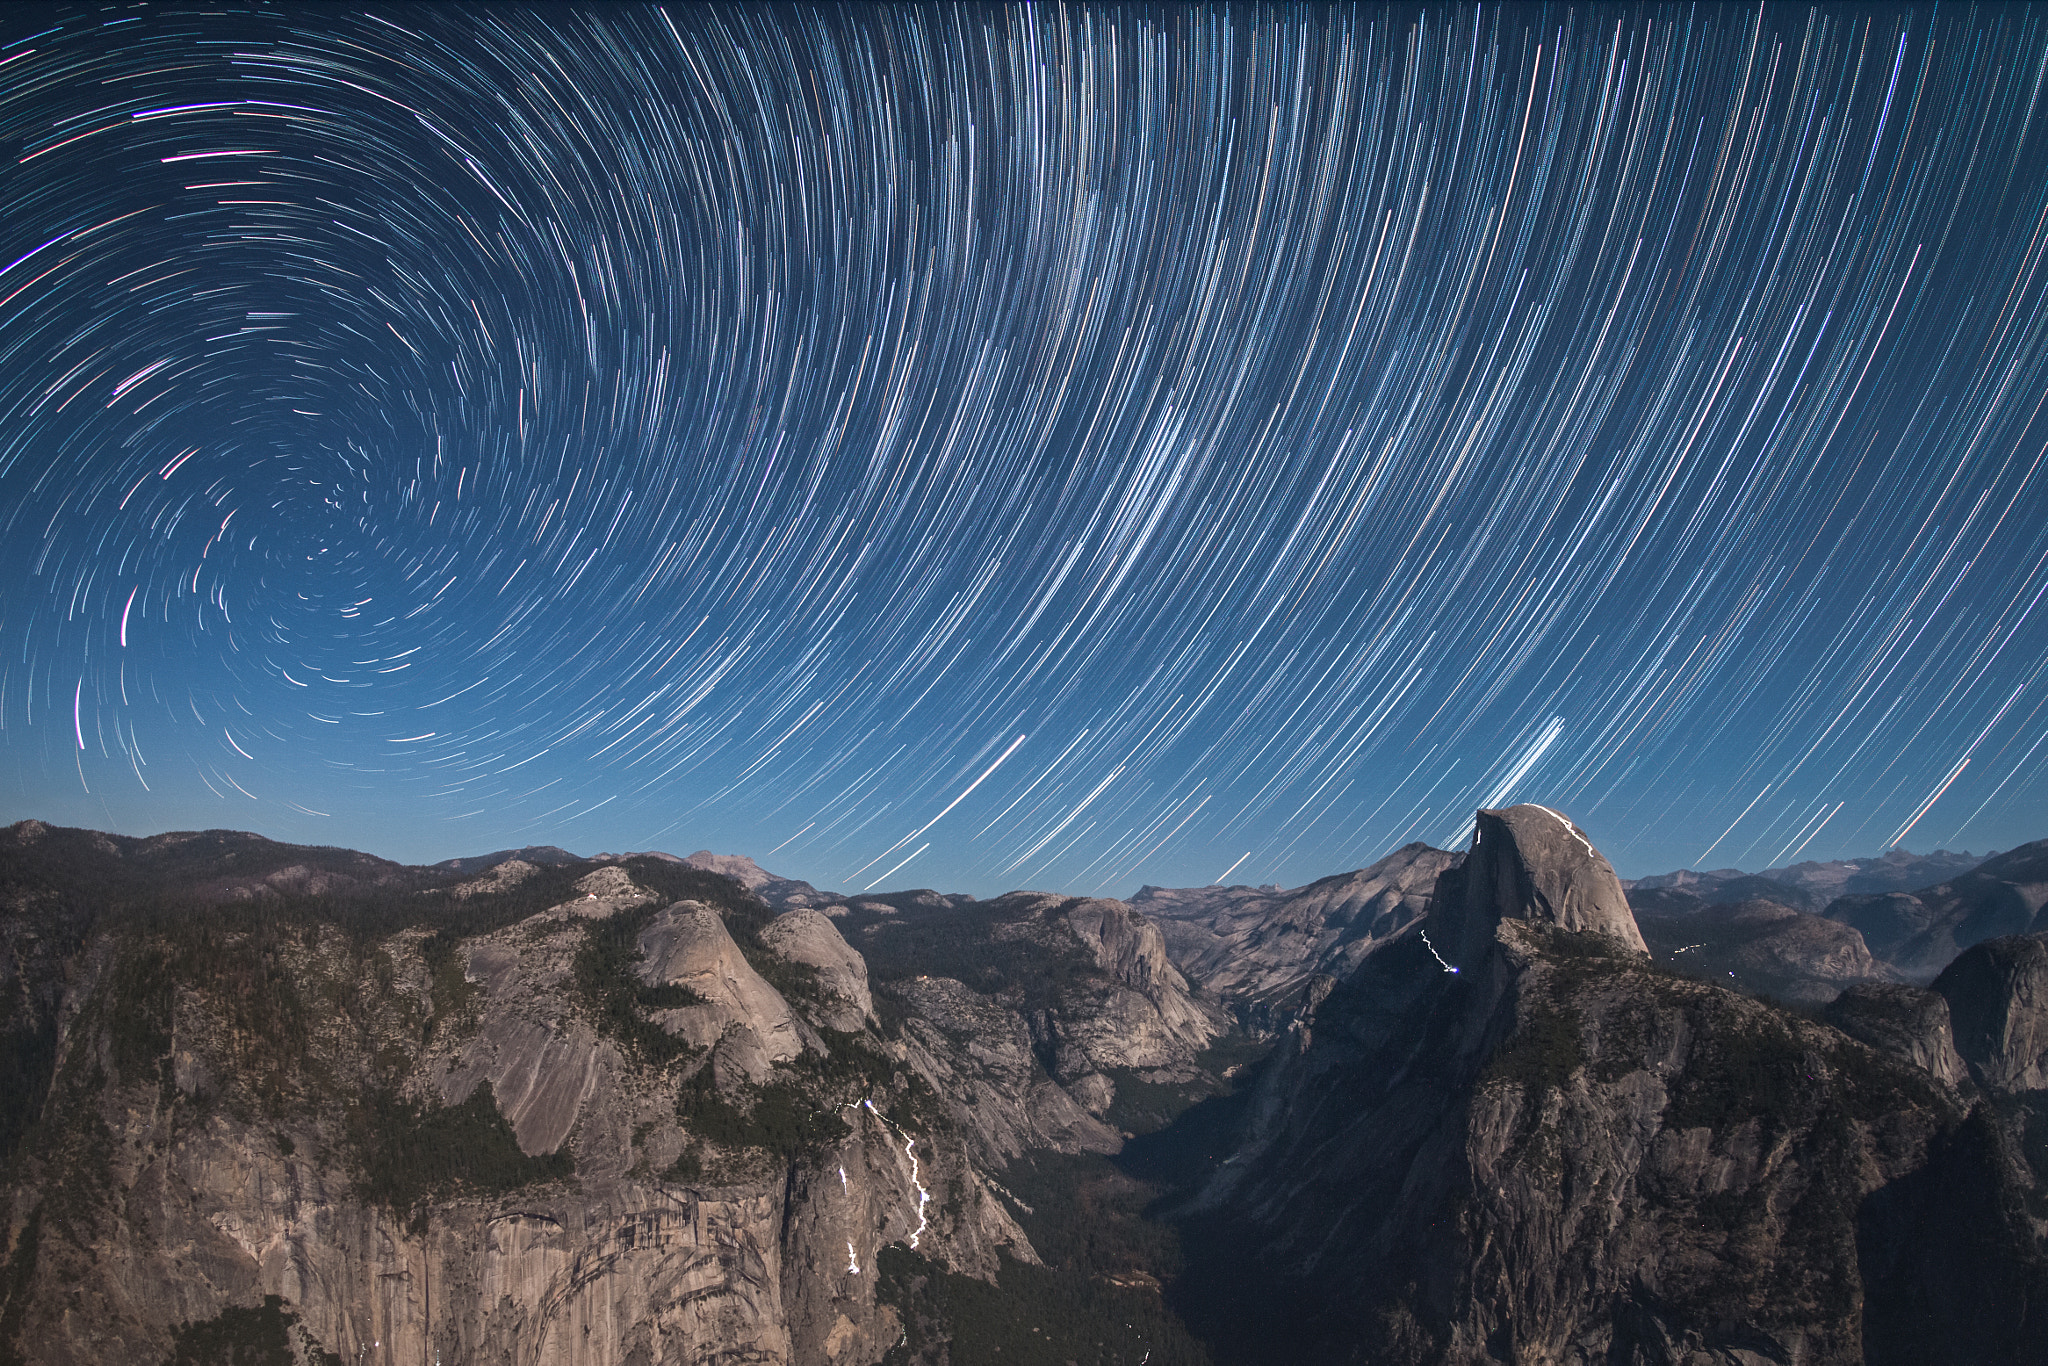
yosemite vortex by christoph-schaarschmidt (500px.com/christoph-schaarschmidt)
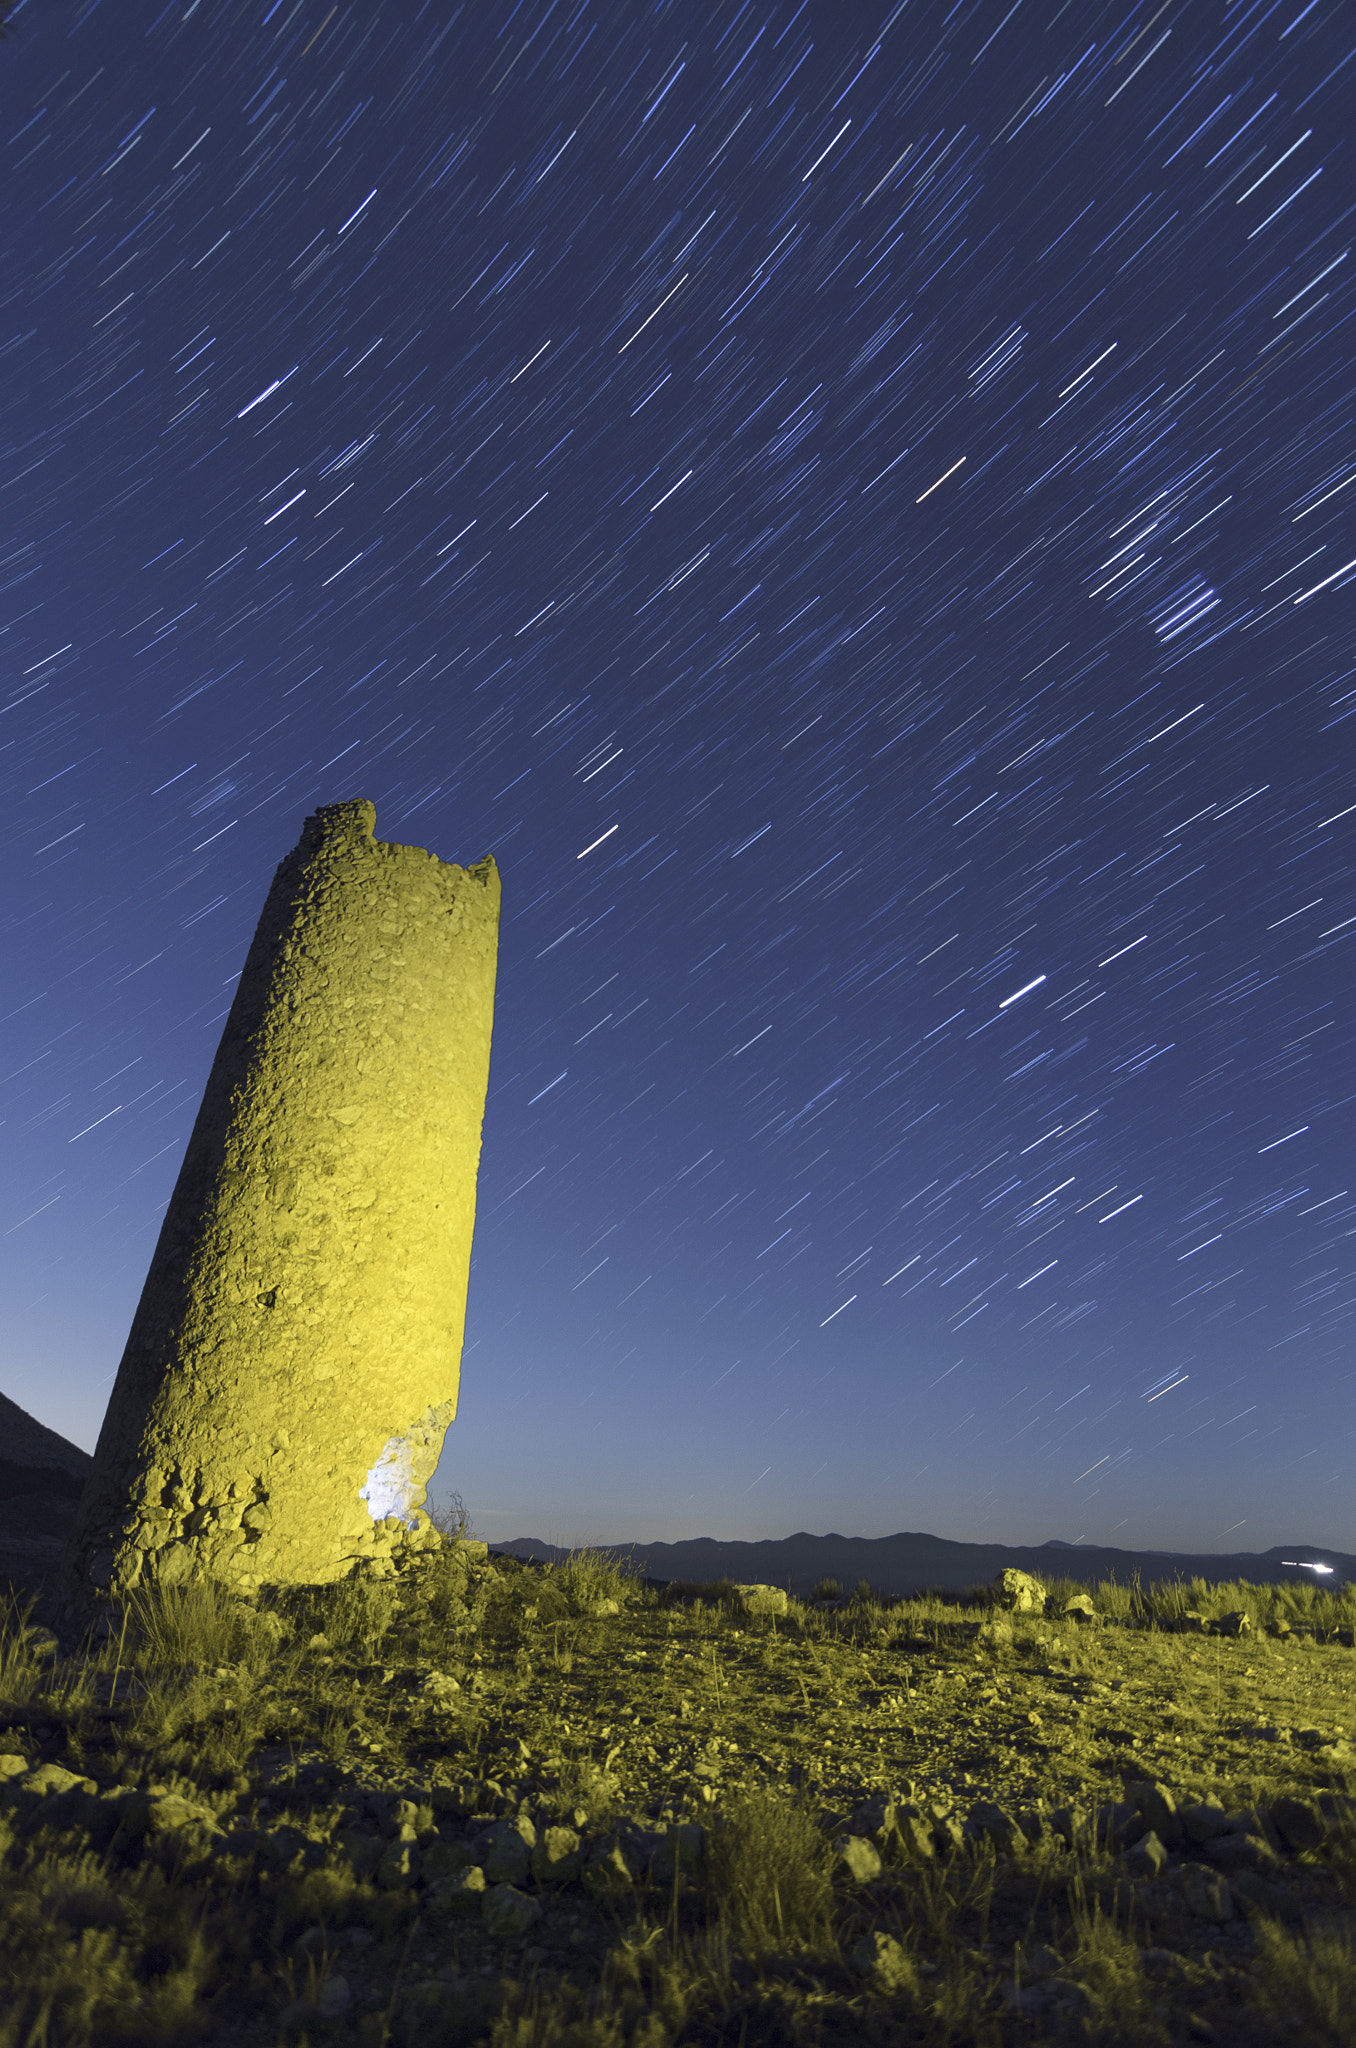
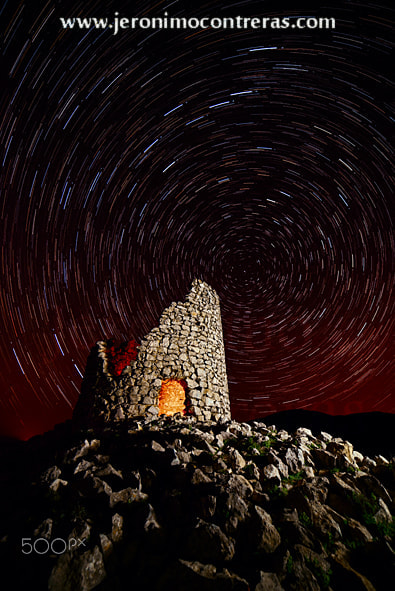
Torre El Gabar by ser-y-star (500px.com/ser-y-star)
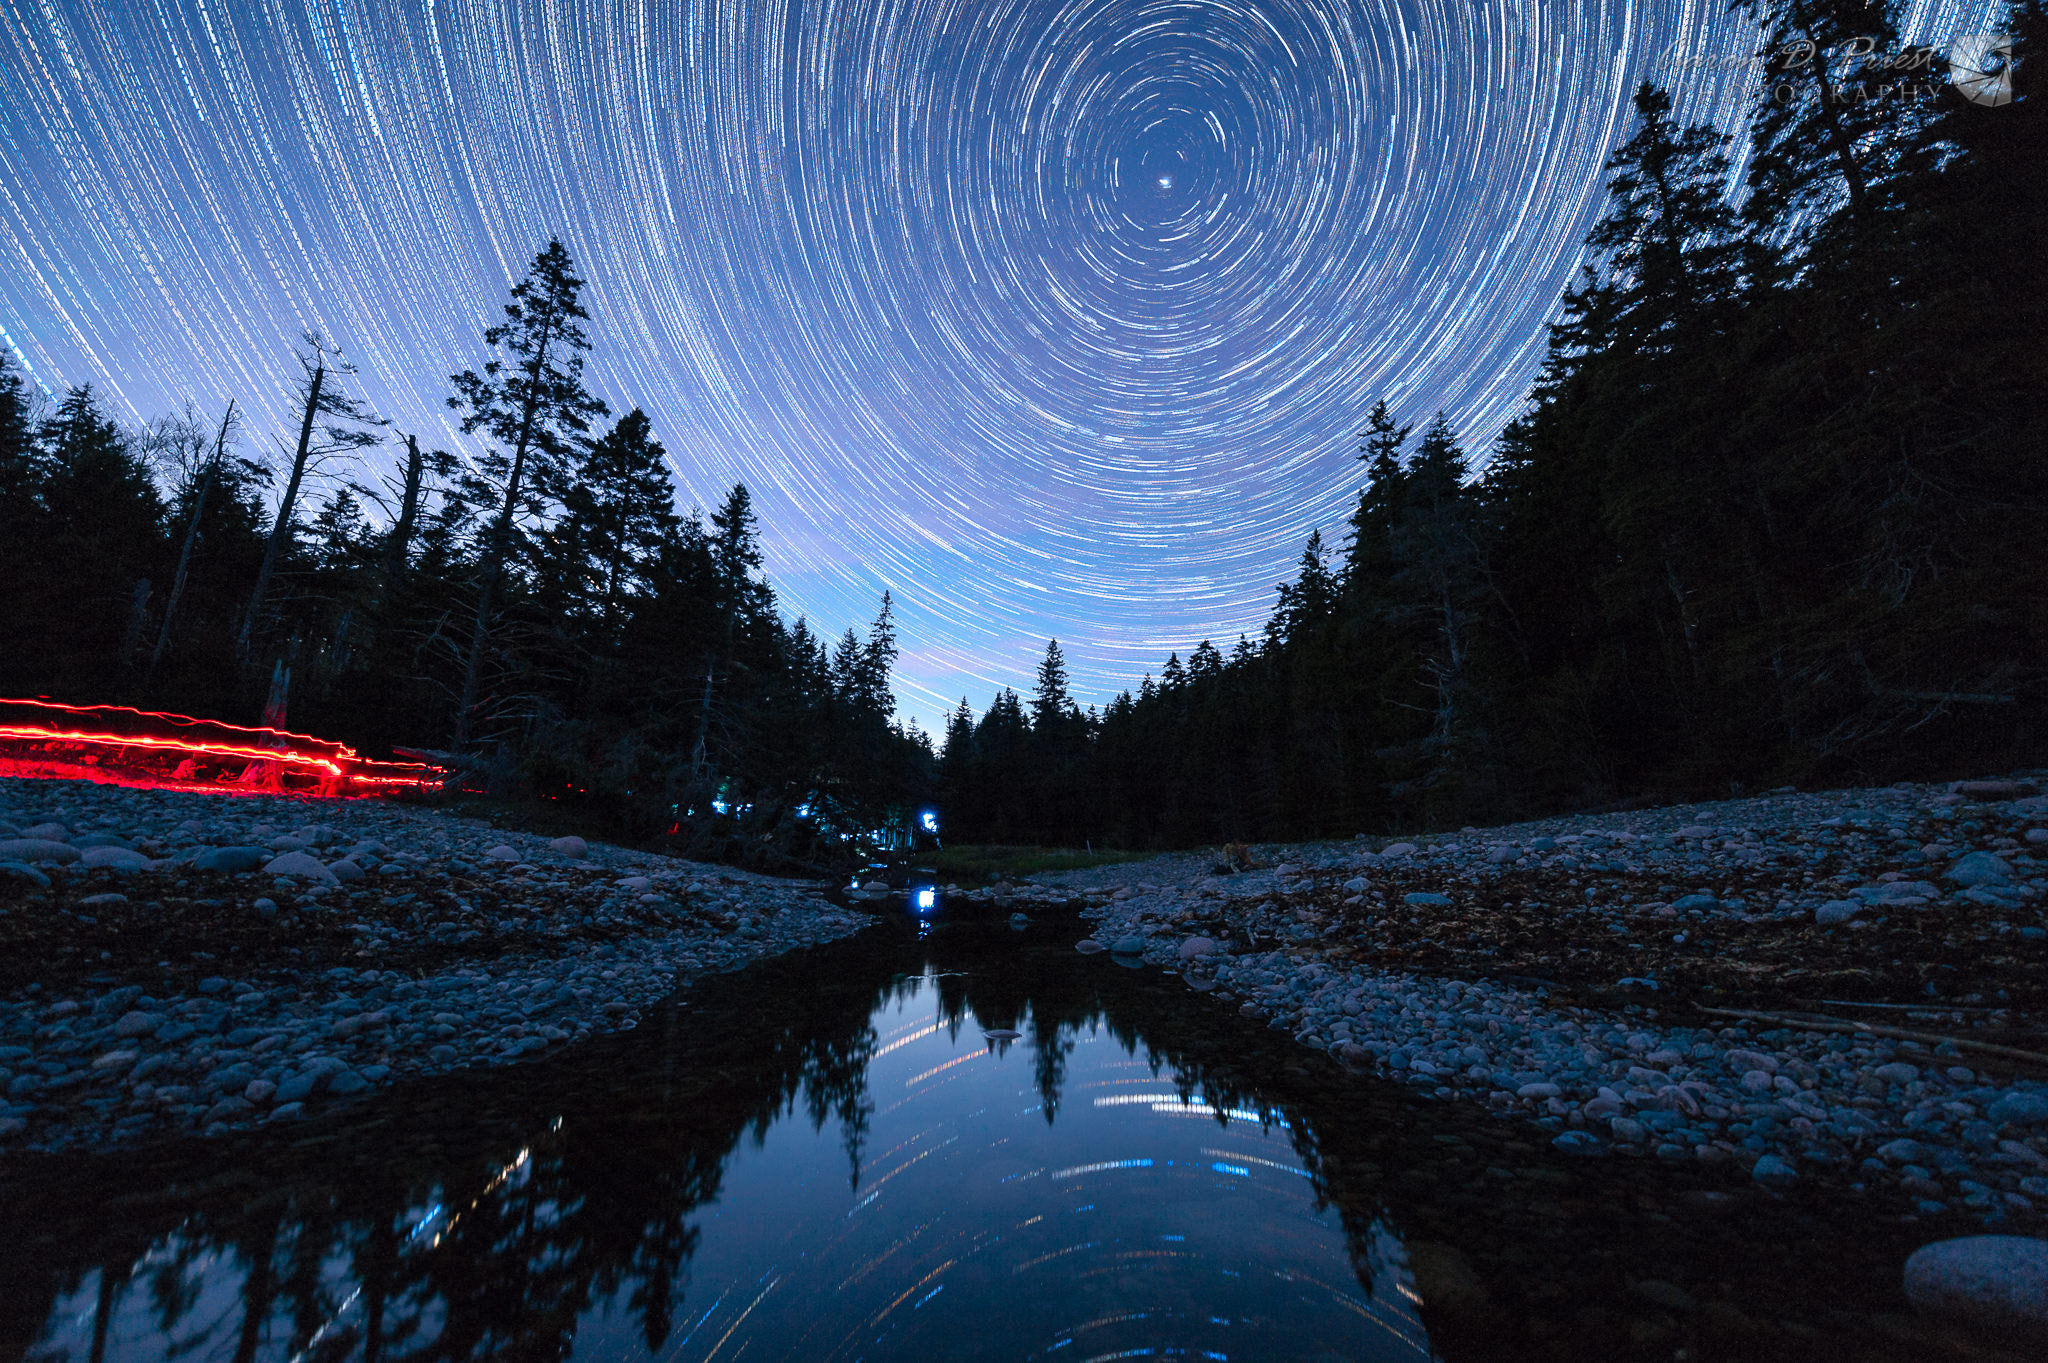
Star trails over Hunter's Brook by AaronPriest (500px.com/AaronPriest)
lauantai 28. syyskuuta 2019
Perseids Star Trails by BGBoydPhoto (500px.com/BGBoydPhoto)

Perseids Star Trails by BGBoydPhoto (500px.com/BGBoydPhoto)

perjantai 27. syyskuuta 2019
yosemite vortex by christoph-schaarschmidt (500px.com/christoph-schaarschmidt)

yosemite vortex by christoph-schaarschmidt (500px.com/christoph-schaarschmidt)

storm startrails by apaljuh (500px.com/apaljuh)

Torre El Gabar by ser-y-star (500px.com/ser-y-star)

Perseids Star Trails by BGBoydPhoto (500px.com/BGBoydPhoto)

Star trails over Hunter's Brook by AaronPriest (500px.com/AaronPriest)

Night Photography – Light & Composition: Cold Mountain Night Sky by Ali Khanlariyan
Cold Mountain Night Sky by Ali Khanlariyan
In a beautiful two-day trip in beautiful nature we spent the night at a cliff, and the light of the sky gave way to the darkness of the night, revealing another face to nature, and the beauty of the night with its shining stars brightened my eyes. I took this picture with my camera. The pictures speak to us.
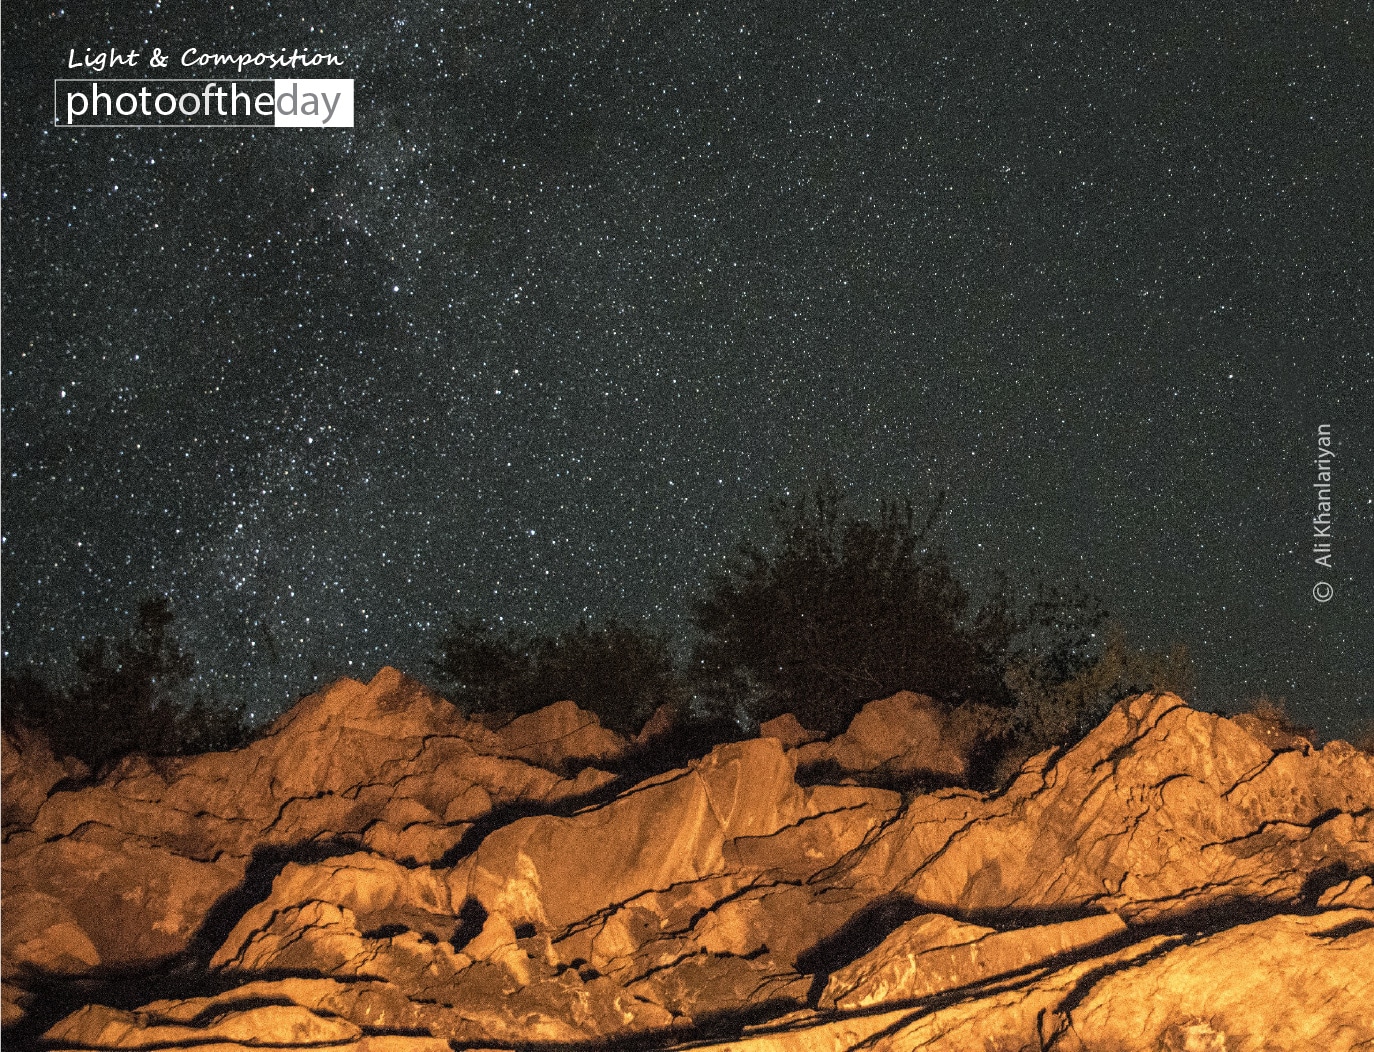
Nikon D5600 with 18-140mm | Exposure 15 sec @ f/3.5 | ISO5000 | Focal Length 22mm
Award Winner
Photo of the Day
Award Date
January 19, 2020
65
AWARD SCORE
Value 12
Clarity 12
Composition 17
Style 12
Skill 12
Award Category
Night Photography
Photograph Location
Mazandaran, Iran
Ali Khanlarian is from Iran, he loves traveling, nature, as well as doing photography. The camera is his best friend. He believes the photos he take capture his memories, and stories from his heart. With his photos he wants to communicate what is in his surroundings. Sometimes he also makes memories for himself, recording the best moments of his life with his best friend – a Nikon camera.
Current Location
Iran,Mazandaran, Province,babol
Instagram
https://www.instagram.com/alikhanlarian/
Instagram
https://www.instagram.com/jabbarjamil/
The post Cold Mountain Night Sky by Ali Khanlariyan appeared first on Light & Composition.
from Night Photography – Light & Composition https://ift.tt/2m92pOa
via IFTTT
PictureCorrect.com: Street Food Photography Quick Tips
I love to travel. I love the whole idea of soaking in new cultures, meeting people, trying out new delicacies and savoring the sights, sounds and smells of a land I am visiting. If I could do one thing, that would be to travel and live out of a suitcase for the rest of my life. I am a big foodie too. I love trying local delicacies when I am travelling, which invariable lands me at markets and eateries in every city I travel to.
photo by naim fadil
Markets give me an indication of the food that I can expect at the local joints, but there’s more to it than just eating. Markets and street food stalls present the best opportunities to shoot authentic shot of local cuisines, as big restaurants are often skeptical about allowing guests to take pictures inside their premises. Street food stalls have no such inhibitions and most proprietors love being photographed in fact. This article covers the best cities for foody photogs that I have uncovered during my travels.
photo by Dave See
While street food joints don’t mind being photographed, you need to remember a few things when shooting them. First, light can be a major problem when shooting street food stalls. This is because they often use make-shift tarpaulin covers to avoid direct sunlight or dust and rain. This keeps their food dry, but it makes shooting problematic by limiting available light. A wide aperture lens is a must have in such conditions; kit lenses will not do. You’ll need something that can open up to f/1.8 or wider.
photo by if you love me
Plan your shoot in advance and know the operating hours of the stalls you are going to shoot. Don’t arrive too early or too late and know that the lunch and dinner rush hours can be perilous. Take a friend who speaks the local dialect or a local guide who can bail you out in case you get into trouble, always have a smile on your face, show appreciation of the food you are shooting and offer to show them the pictures you take. Hand signals work well and a thumbs-up or OK sign are universally recognized (though the thumbs up is considered offensive in some Middle Eastern cultures, so do your research first.)
Hong Kong
Hong Kong’s history brings with it a confluence of different food styles from all over the world. This is undoubtedly one of the most diverse cities in the world and probably the most diverse in the East. The street foods of the city reflect this diversity, and an evening spent rummaging through the street stalls of Hong Kong will reveal everything from rickshaw noodles, to deep fried squid to chili crab to the ubiquitous roasted goose. Don’t forget to wash it all down with a local beer. No matter what decide to eat, photographing your meal is an excellent way to savor your moments long after you are back home. Carry a camera that shoots great images in low light.
photo by Anna & Michal
Quick Tips: Don’t set your camera’s white balance to auto; set it to incandescent or tungsten depending on lighting instead. Above all, always shoot in RAW. Shoot with a small aperture as Hong Kong street food is always prepared fresh, right in front of you and you will have ample opportunities to photograph your meal while it’s still crawling or swimming around!
Bangkok
Bangkok’s night life is as legendary as its wide array of culinary choices. As a foodie and travel photographer, I find that Bangkok is a haven for both. People in Bangkok live to eat, and for the average working class citizen a three quick meals at street stalls throughout the day just isn’t enough, and they punctuate these mandatory meal times with short shots of snacks. With the full flavors of Thai food, who could resist?
photo by Johan Fantenberg
Quick Tips: For shooting street food joints at Bangkok, you need quick lenses with wide angle focal lengths—35mm and 50mm primes are the best bet. These lenses are good for any street photography pursuit including shooting street food joints.
Hyderabad
This city is famous for its Biriyani and offers more biriyani joints and varieties of the dish than you’ll know what to do with. Hyderabad’s cuisine has strong influences Mughal with a unique Hyderabadi twist to them. While Hyderabad is also home to many of India’s jewelry traders, without its biriyani the city would be devoid of its main attraction.
photo by McKay Savage
Quick Tips: Use a macro lens. Biriyani is always prepared in advance and served on demand. Thus, you will never get an opportunity to photograph the process of making it unless you are allowed into the kitchen. A macro lens will allow you to get close and capture a very low up-close angle. It will also crop out any distracting elements that may be around the plate or table. Carry a camera that has great high ISO performance.
Istanbul
Be it freshly baked Simit, or the Turkish take on Pizza called Lahmacun, or the delicious Midye Dolma, Istanbul is a haven for the die-hard foodie in you. This city’s myriad streets give way to bazaars that are dotted with small joints dolling out freshly prepared culinary delicacies.
photo by Scott Dexter
Quick Tips: Istanbul’s bazaars and street food joints are mostly under roofs and lack the makeshift nature of those you will see in Thailand or India. This means that lighting is challenging and finding the correct white balance is not easy. Fast lenses are the order of the day, and be sure to dial in the correct white balance settings.
Do you have your own suggestions for a city that should be on the list? Go ahead and let us know in the comments.
About the Author:
Brandon King writes about cameras and photography at The Cam Critic.
Go to full article: Street Food Photography Quick Tips
What are your thoughts on this article? Join the discussion on Facebook
PictureCorrect subscribers can also learn more today with our #1 bestseller: The Photography Tutorial eBook
The post Street Food Photography Quick Tips appeared first on PictureCorrect.
from PictureCorrect https://ift.tt/2EgVyXC
via IFTTT


