The phenomenon of light pillars plucks at the strings of our imagination, creating a visual symphony that seems almost otherworldly. These ethereal columns of light, reaching skyward in the cold air, offer photographers a chance to capture a rare and mesmerizing spectacle. In this guide, we’ll delve into the science behind light pillars, explore the best locations and conditions for witnessing them, and share expert tips on how to photograph these luminous structures effectively.
Relevant: only a little while left for the Photo Adventure Cheat Sheets Winter Sale
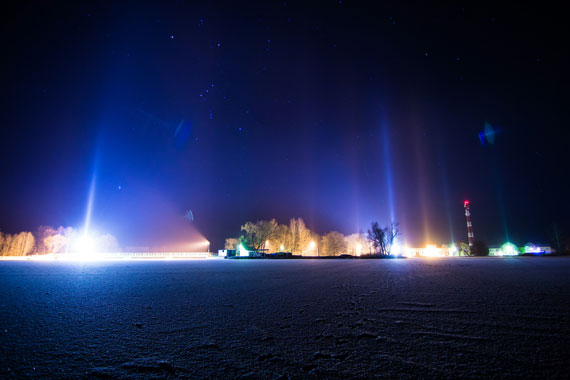
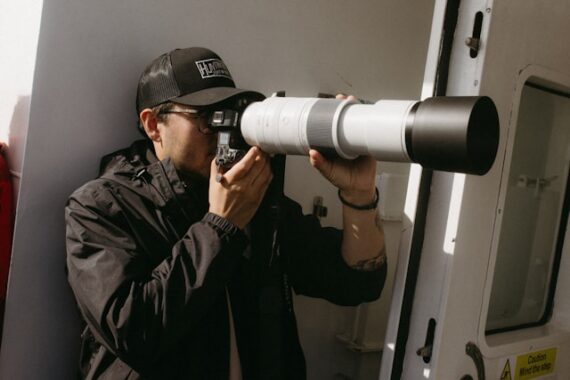
Photo captured by Raivis Razgals; 11mm, f/2.8, 8 sec, ISO 400
Understanding Light Pillars:
Light pillars appear when natural or artificial light bounces off the flat surfaces of ice crystals suspended in the Earth’s atmosphere. This optical phenomenon is most common in polar regions but can occur anywhere provided the conditions are right. Typically, light pillars are seen during cold, calm, and clear nights when ice crystals can form close to the ground and reflect the light sources—be it the sun, moon, or artificial lighting—creating a pillar-like illusion.
How They Form:
The magic of light pillars begins with tiny, hexagonally shaped ice crystals floating horizontally in the air. When a light source illuminates these crystals, the light reflects off their surfaces. Because the crystals are oriented horizontally, they reflect light vertically, creating the illusion of a column of light extending upward or downward from the source. The size, intensity, and color of light pillars can vary depending on the light source and atmospheric conditions.
Where to Find Them:
- Polar Regions: The Arctic and Antarctic regions are prime locations for observing natural light pillars, especially during the winter months when the conditions are most favorable.
- Cold Climates: Northern countries such as Canada, Norway, Sweden, and Russia offer great opportunities to witness this phenomenon, particularly in areas away from city lights.
- Urban Environments: Even in cities, photographers can capture artificial light pillars created by streetlights, billboards, or other sources of light. However, finding a spot with minimal light pollution will enhance the clarity and intensity of the pillars.
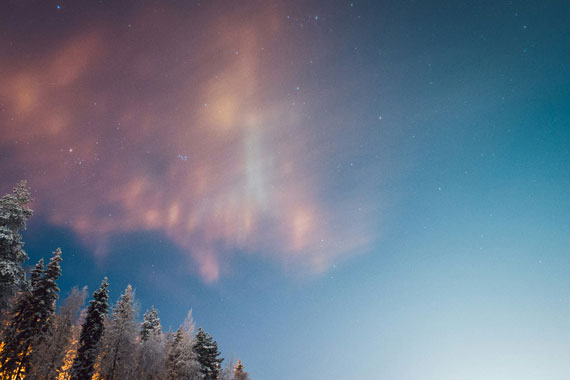
Photo captured by Marc Linnemann; 16mm, f/4.0, 10 sec, ISO 1600
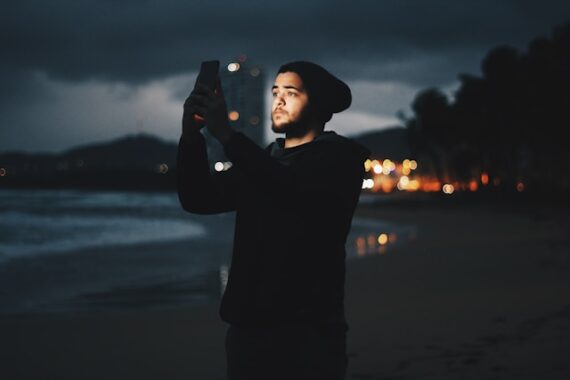
Photographing Light Pillars:
- Gear Up: Use a camera that allows manual control of settings. A tripod is essential to stabilize your camera during long exposures, and a remote shutter release can help avoid any camera shake.
- Camera Settings: Opt for manual mode or aperture priority to have full control over your exposure. Start with a moderately low ISO (around 400) to keep the noise minimal, but don’t be afraid to raise it higher depending on how dark it is. Use a wide aperture (f/2.8-f/4) to allow enough light in and adjust the shutter speed accordingly. Depending on the intensity of the light, you might need exposure times ranging from a few seconds up to 30 seconds.
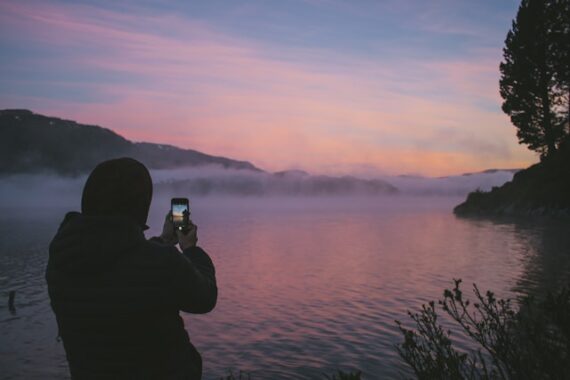
- Composition: Since light pillars are vertical, a portrait orientation often works best. Include some context in your frame—urban landscapes, silhouetted trees, or mountains can add depth and interest to your image.
- Focus: In low light conditions, autofocus might struggle. Use manual focus if necessary, and if you’re photographing artificial light pillars, focus on the light source itself.
- Experiment: Try different exposure times and compositions. Capturing the movement of the crystals can add a dynamic element to your photos, so consider longer exposures to experiment with this effect.
Summary:
Photographing light pillars is an exercise in patience and perseverance, but the reward is a breathtaking image that captures a fleeting moment of natural splendor. By understanding how light pillars form and following these tips, photographers can enhance their chances of successfully capturing this elusive phenomenon. Whether you’re in a remote polar region or an urban setting, the dance of light and ice in the cold night air is a spectacle that’s well worth the effort to document. So, bundle up, venture out, and be ready to capture the magic of light pillars through your lens.
For Further Training:
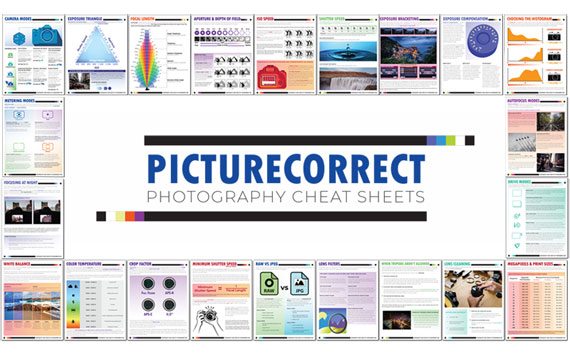
For help remembering the camera settings for difficult situations like this, a set of Photography Adventure Cheat Sheets are designed to help. They are currently 80% off for a winter sale which ends soon if you want to check them out.

New! Cheat Sheets for Your Photography Adventures (see how they work)
The perfect companion for any photographer. Print one out whenever you need it. Whether you’re going on vacation or seeking out a specific photography adventure, these cheat sheets can provide you with the knowledge and inspiration you need to create your best work yet.
Deal ending soon: The Photography Adventure Cheat Sheets Winter Sale
from PictureCorrect https://ift.tt/8ELBO4S
via IFTTT


 Try it for $1 (ending soon) and start mastering your camera
 New Year Sale
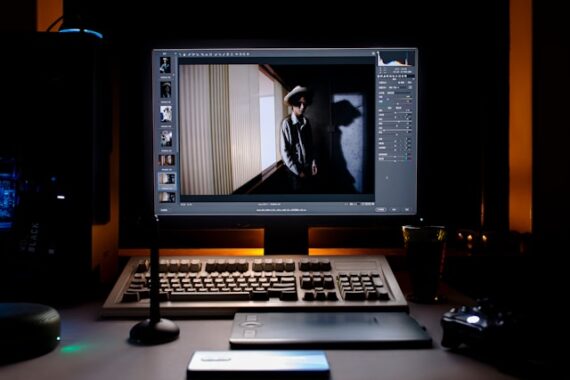

 Winter Sale


 Flash Sale