


The Blur tool effortlessly incorporates three distinct blur styles into your photos: Gaussian, Motion, and Twisted. Additionally, you can fine-tune the blur effect’s intensity, angle, and position while using masking to target your image’s specific areas. Blur serves a dual purpose, enabling you to rectify issues within your image or apply a creative touch. Here’s a quick exploration of the tool and its applications in Luminar Neo.
Gaussian Blur
Gaussian blur is a blurring technique that creates a soft and smooth effect by averaging pixel values within a specified radius. It’s commonly used to reduce noise, enhance skin tones, or create a gentle, dreamy atmosphere in photos.
Here’s a step-by-step guide for applying Gaussian Blur to your image to enhance focus on the subject while softening the background:
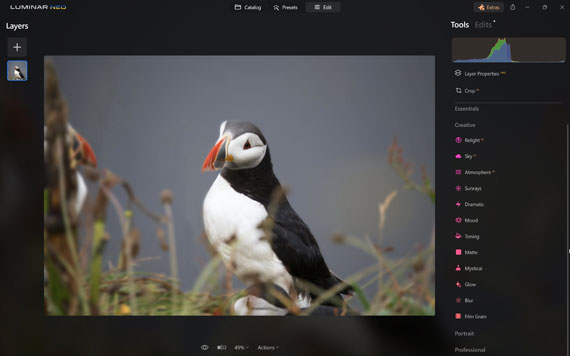
- Access the Edit tab to reveal the editing tools within the window.
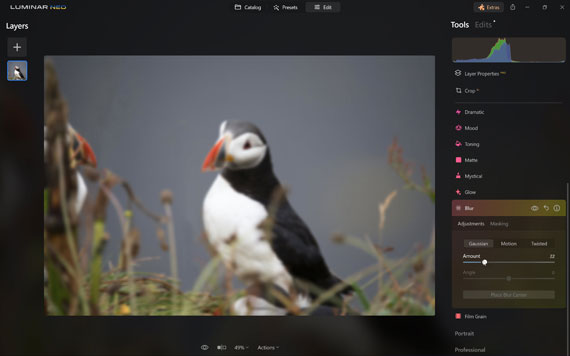
- Next, navigate to the Creative Tools section and opt for the Blur tool.
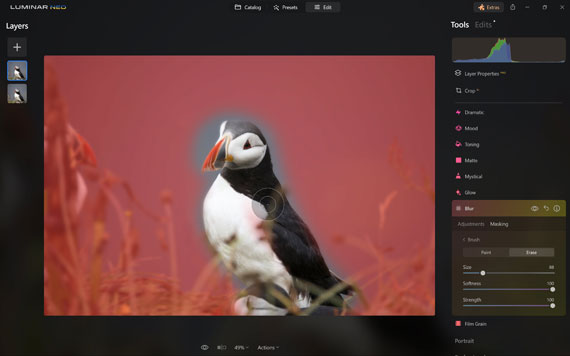
- Select the Gaussian Blur option and gently apply a small amount of blur until the background and surrounding areas achieve the desired softness.
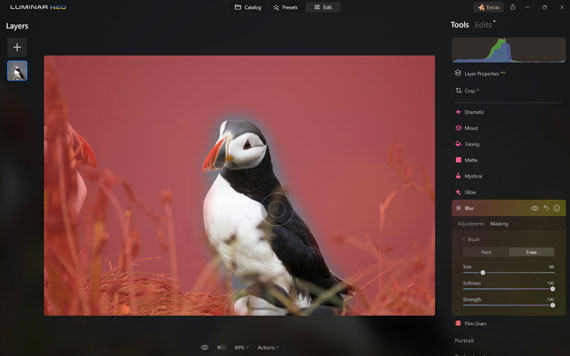
- Now, let’s eliminate the blur effect from the main subject by employing a masking technique. Click on the Masking option, and then choose the Brush tool.
- Confirm that your brush settings are configured with both softness and strength set at 100%, and fine-tune the brush size for precise targeting of the subject. To eliminate the blur effect, switch to the Erase mode.
- As you paint over the subject with the brush, observe how the surrounding areas become beautifully soft while your main subject remains sharply in focus.


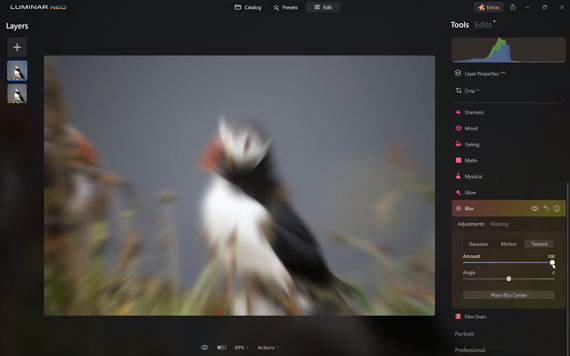
Twisted Blur
Twisted blur is a more artistic and unconventional blur effect. It distorts the image by twisting and distorting pixel data, resulting in a surreal, swirling, or vortex-like appearance. This effect can be used for creative and abstract purposes, turning ordinary photos into visually captivating works of art.
Here’s a step-by-step guide to getting creative with your image:
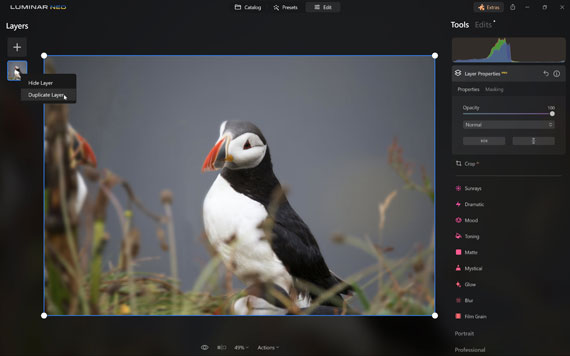
- Begin by duplicating the layer. Right-click on the layer and choose the “Duplicate” option.
- Now, you’ll be working on the new duplicated layer. Select the Blur Tool once more.
- This time, opt for the “Twisted” blur type and apply it at a strength of 100%. You can adjust the angle and center of the blur if needed, but the default settings look good for this image.
- Take note of the artistic effect created in the surrounding areas due to the Twisted blur.
- Just as before, mask out the subject to reveal the bottom layer. Make sure you’re in “Erase Mode” when doing this.
Feel free to embark on further experimentation to enhance the artistic appeal of your image. Consider incorporating additional elements, such as a texture layer, which can introduce intriguing depth and tactile qualities to your composition. Additionally, don’t forget to explore the possibilities of adding a vignette, a subtle shading, or a border effect, which can frame your image beautifully and draw attention to the focal point, adding a finishing touch to your artistic vision.
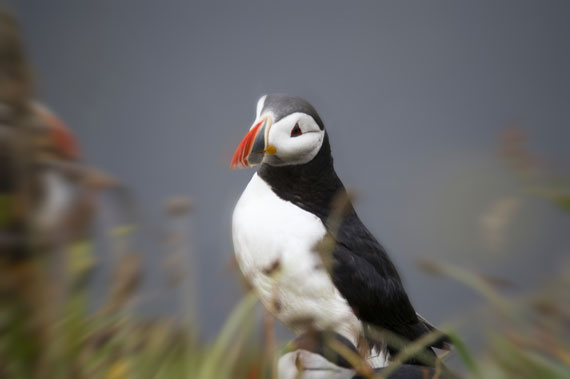
Motion Blur
Motion blur replicates the visual effect of objects in motion, such as a speeding car or a swiftly moving subject. It generates streaks or trails in the direction of motion, adding a dynamic and kinetic quality to the image, often employed in sports or action photography.
Here’s a step-by-step guide to adding a creative motion effect to an image:
- Begin by duplicating the layer. Right-click on the layer and select the “Duplicate” option.
- Next, head to the Creative Tools section and choose the Blur tool.
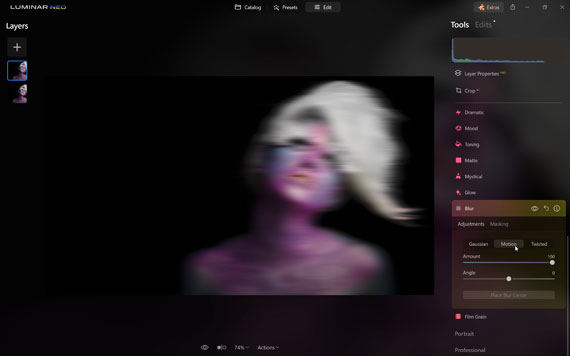
- Within the Blur tool options, select “Motion Blur” and set the amount to 100%. Keep the angle at its default value of 0.
- To make the motion effect more prominent, close the Blur Tool by clicking the “Blur” title and reopen it.
- Reapply the same settings with a 100% blur amount.
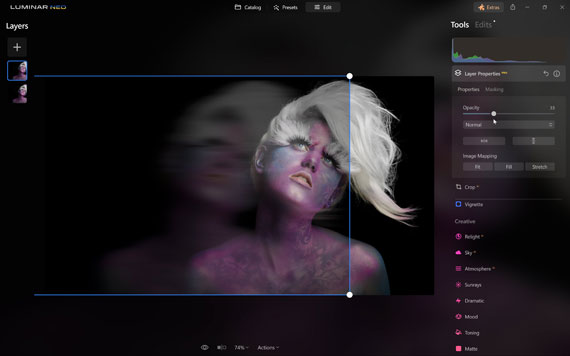
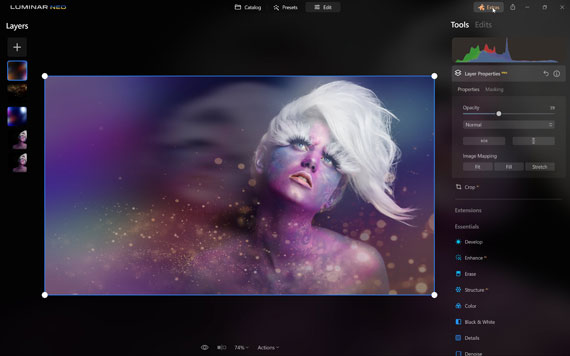
- Now, stretch the duplicated layer. Open the Layer to reveal a bounding box around it. Click on the center point along one side and drag it outward to elongate the image. You can also move the image to the left to reveal the bottom layer.
- Lower the opacity of the stretched layer to reveal the bottom layer more prominently. Adjust the position as needed.
- Like the previous tutorial, mask the subject’s face on the top layer to maintain clarity.


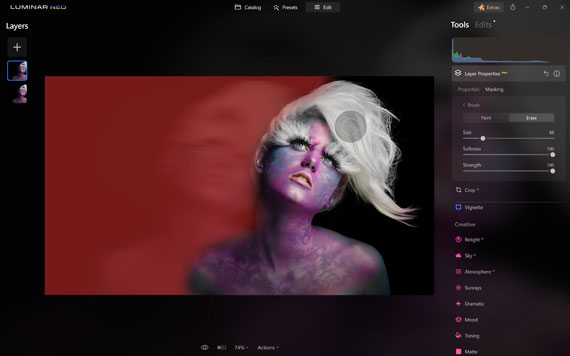
Consider adding light leaks and overlays to enhance the effect further for a creative finishing touch.
Final takeaway
The Blur tool provides a versatile and powerful set of tools for enhancing your photos. With the ability to seamlessly apply Gaussian, Motion, and Twisted blur styles and precise control over intensity, angle, and positioning, this tool offers both practical and creative possibilities. The masking feature allows for selective application, ensuring your edits are tailored to your image’s unique requirements. Whether you’re looking to fix imperfections or infuse artistic flair, the Blur tool is a valuable asset in your photo editing toolkit. This quick exploration has merely scratched the surface of its potential, inviting you to explore further and unlock the boundless possibilities it offers for your image enhancement endeavors.
Learn more: The Luminar Neo Photo Editor
- - - - - - - - - - - - - - - - - - - - - - - - - - - - - - - - - - - - - - - - - - - - - - - - - - - - - - - - - - - - - - - - - - - - - - - - - -
Did you appreciate this newsletter? Please help us keep it going by Joining Our Patreon Supporters
What are your thoughts on this article? Join the discussion on our Facebook Page
PictureCorrect subscribers can also learn more today with our #1 bestseller: The Photography Tutorial eBook
- - - - - - - - - - - - - - - - - - - - - - - - - - - - - - - - - - - - - - - - - - - - - - - - - - - - - - - - - - - - - - - - - - - - - - - - - -
The post How to Use the Blur Tool in Luminar Neo appeared first on PictureCorrect.
from PictureCorrect https://ift.tt/DlX4cZz
via IFTTT

0 kommenttia:
Lähetä kommentti