


Solid color backgrounds work well for portraits, as they separate subjects from their surroundings. Depending on the lights and gels in play, they can be incredibly versatile. But they’re far from perfect, primarily because they have a tendency to be plain and flat. However, a little bit of creativity can take a person a long way and completely transform a setting. Joe Edelman explains a few easy ways to add depth to your studio portraits:
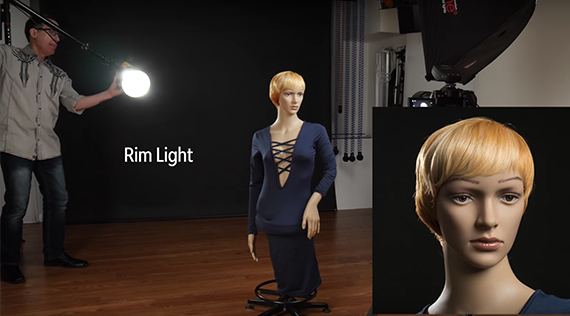
1. Rim Light
Beginners are often instructed to bring in a hair light to avoid winding up with a “floating head” portrait. But light can also be used to liven up a portrait and make it something more. By simply throwing a gel over a rim light, it’s possible to simultaneously differentiate your image elements and add an extra pop of color or contrast to your composition.
2. Flair
Place a semi-transparent object or sheer material between your subject and your background. The extra layer will get the eyes moving and create some depth and texture. Just be sure that things aren’t too busy, otherwise your addition might detract from the main subject. Even something as ordinary as a plastic drop cloth can become an interesting compositional element with a little bit of imagination.

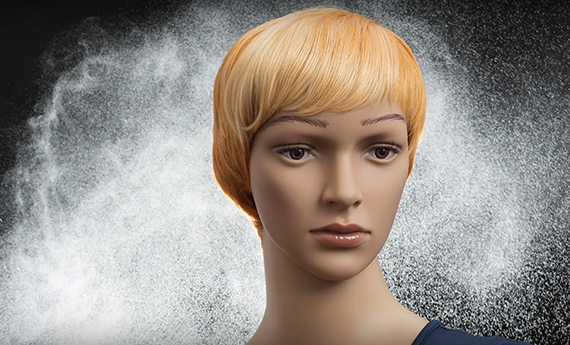
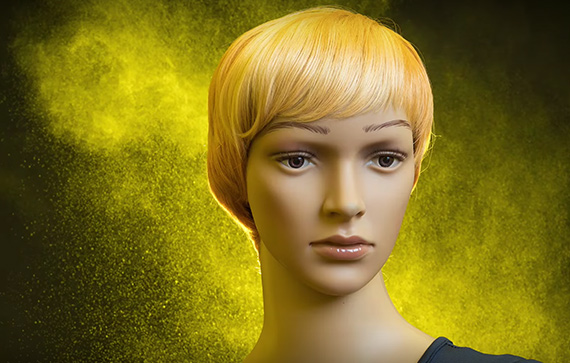
3. Water or Smoke
With a handheld spray bottle and a strobe, you can capture water mid-air and instantly create a misty, magical feel to a photograph. Alternatively, cheap hair spray can accomplish the same job. If you’re feeling particularly adventurous, you can bring in a product such as Atmosphere Aerosol t0 replicate the effects of smoke.
Other Tips for Creating Depth in Portraits
- Experiment with the power of the flash. The brightness of your lights can significantly change the effectiveness and impact of an effect. Take time to observe and investigate what works best.
- Adjust your depth of field. There isn’t any single aperture that’s going to yield the best results in every scenario. Sometimes sharp detail can work to your benefit; other times, throwing the background out of focus can significantly strengthen your shot. Play around in order to determine which look best suits the feelings you’d like to evoke.
- Combine techniques. Don’t bite off more than you can chew, and try to keep things looking logical. That being said, when you find a technique that’s working well, push it as far as you can. One of the best ways to do so is to try incorporating a new technique in with old techniques that you’ve already mastered.
“Even with all the possible combinations of colored backgrounds and gels…sometimes you’re going to want more. A little something to jazz up that background and create some depth.”
Go to full article: 3 Techniques to Create Depth in Studio Portraits
What are your thoughts on this article? Join the discussion on Facebook
PictureCorrect subscribers can also learn more today with our #1 bestseller: The Photography Tutorial eBook
The post 3 Techniques to Create Depth in Studio Portraits appeared first on PictureCorrect.
from PictureCorrect https://ift.tt/2O62rDd
via IFTTT


0 kommenttia:
Lähetä kommentti