Learning how to use a camera and its various modes can significantly improve your photography skills, allowing you to creatively control your camera and adapt to different shooting conditions. Here’s a recommended order for learning camera modes, starting from the basics to more advanced settings:

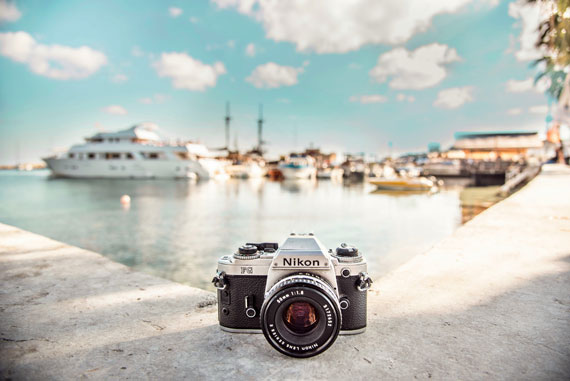
Photo captured by Giannis Agathokleous
Auto Mode (A or Auto): Most cameras have an automatic mode that makes all the decisions for you. It’s a good starting point to begin taking photos without worrying about the settings. Auto mode adjusts the aperture, shutter speed, ISO, and sometimes flash to suit the subject matter.
Program Mode (P): Once you’re comfortable with Auto mode, move to Program mode. It still selects the aperture and shutter speed for you but gives you more control over other settings like ISO, white balance, and flash. It’s a step towards understanding how different settings affect your images.
Aperture Priority Mode (A or Av): In Aperture Priority mode, you select the aperture (the size of the lens opening), and the camera automatically selects the shutter speed. This mode is essential for learning about depth of field (how much of your image is in focus) and for controlling how much light enters the camera.
Shutter Priority Mode (S or Tv): Here, you choose the shutter speed, and the camera selects the appropriate aperture. This mode is crucial for understanding how to capture motion in your images, allowing you to freeze action with fast shutter speeds or create motion blur with slow shutter speeds.
Manual Mode (M): Manual mode gives you full control over the camera settings, including shutter speed, aperture, and ISO. It requires a good understanding of how these settings interact. Start experimenting with manual mode in different lighting conditions to see the effects of your adjustments.
ISO Sensitivity: Alongside learning about modes, it’s essential to understand ISO sensitivity, which controls the camera’s sensitivity to light. Higher ISO values are used in darker conditions but can increase the graininess or “noise” in photos.
Bulb Mode (B): This is a specialized mode that allows for long exposures, useful for night photography, star trails, and other low-light conditions. In Bulb mode, the shutter stays open as long as you hold down the shutter button, allowing for exposure times longer than the camera’s preset limits.
Start with Auto and Program modes to get a feel for taking pictures and gradually work your way through to Manual mode, experimenting and learning how each setting affects your images. It’s also beneficial to read the camera manual, join photography courses, or watch tutorials to deepen your understanding of these modes. Practice is key; the more you shoot, the better you’ll understand how to control your camera to achieve the desired results.
For Further Training:
These online courses, ebooks, and cheat sheets cover every possible topic for beginner photographers. Currently 71% off for a limited time. The content is vast and complete while still being easy to navigate and understand.
It’s the most complete education available for a beginner photographer, brought to you by the most trusted names in photography.
Deal ending soon: The Confident Photographer at 71% Off
- - - - - - - - - - - - - - - - - - - - - - - - - - - - - - - - - - - - - - - - - - - - - - - - - - - - - - - - - - - - - - - - - - - - - - - - - -
This post From Auto to Manual: A Step-by-Step Journey Through Camera Modes appeared on PictureCorrect.
from PictureCorrect https://ift.tt/b9wJg4D
via IFTTT


0 kommenttia:
Lähetä kommentti