


Star trail photography captures the apparent motion of the stars across the night sky due to Earth’s rotation. This genre of photography requires patience, precision, and a keen eye for detail. Here are some essential tips to help you capture stunning star trail images.
Related reminder: only 1 day left for the Complete Landscape Guide at 58% Off
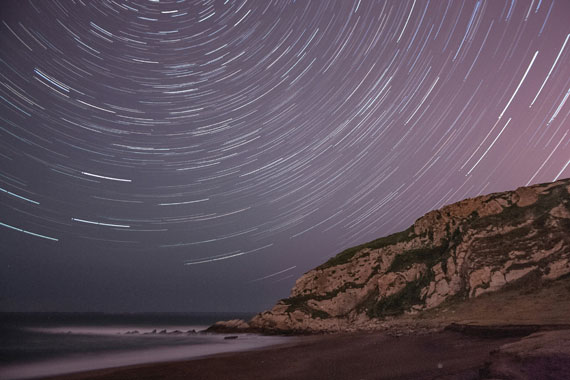
Photo captured by Javier Esteban
Choose the Right Equipment: A camera capable of manual mode, a sturdy tripod, and a wide-angle lens with a wide aperture (f/2.8 or wider) are essential for star trail photography. A cable release or an intervalometer to control your camera’s shutter remotely can also be highly beneficial.
Scout Your Location: Find a dark location away from city lights to minimize light pollution. Use apps or maps to identify areas with low light pollution and interesting foregrounds to add depth to your images.
Plan Your Composition: Use apps like PhotoPills or Stellarium to plan where the stars will move in the sky and how they’ll align with your foreground. Composition is key in star trail photography; consider how the trails will interact with the landscape.
Focus Manually: Autofocus is unreliable in the dark. Use manual focus and set your lens to infinity. You can also use live view mode to zoom in on a bright star and manually focus until the star is sharp.
Use the Right Settings: Start with a wide aperture (f/2.8 to f/4), a low ISO (200-400 to reduce noise), and long exposure times. You can either do a single long exposure (up to 30 minutes or more) or stack multiple shorter exposures (2-5 minutes each) to create the star trails in post-processing.
Long Exposure Noise Reduction: Turn on Long Exposure Noise Reduction (LENR) in your camera settings to minimize noise. Note that this will double your exposure time since the camera takes a second “dark frame” to identify and subtract noise.
Take Test Shots: Before committing to a long shoot, take shorter test shots to check composition, focus, and exposure. Adjust as necessary before starting your final sequence.
Shoot in RAW: Shooting in RAW format allows for greater flexibility in post-processing, enabling you to adjust exposure, white balance, and other settings without losing image quality.
Post-Processing: Use software like Adobe Photoshop or StarStaX to stack your images if you’re using the stacking method. This software can align and blend your images to create the final star trail effect.
Patience and Practice: Star trail photography can be challenging and requires patience. Don’t get discouraged if your first few attempts don’t turn out as expected. Practice makes perfect, and each session will teach you something new.
By following these tips and continually practicing, you’ll improve your skills in star trail photography and be able to capture breathtaking images of the night sky.
For Further Training:
If you are looking for more help with your landscape photography, you may want to check out this in-depth guide while it is currently 58% off. It contains 237 pages jam-packed with training, illustrations, and assignments for photographers seeking to take better landscapes.
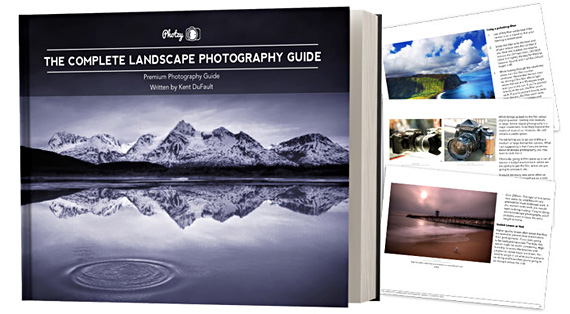
New: The Complete Landscape Photography Guide
It covers everything you need to know to take consistently great landscape shots – lens and gear help, developing your own style, post-processing guides, composition tips, how to get unique images, and much more.
Deal ending soon: The Complete Landscape Photo Guide at 58% Off
- - - - - - - - - - - - - - - - - - - - - - - - - - - - - - - - - - - - - - - - - - - - - - - - - - - - - - - - - - - - - - - - - - - - - - - - - -
This post Capturing the Cosmos: Essential Tips for Star Trail Photography appeared on PictureCorrect.
from PictureCorrect https://ift.tt/HhUXqsg
via IFTTT

0 kommenttia:
Lähetä kommentti