


Knowing how to take a good picture of the stars is not as complicated as it may seem. Now, there are things that would obviously make it easier to take the pictures, for instance having a telephoto or zoom lens would be very beneficial. But in the following steps you will learn the basics for photographing the night sky.
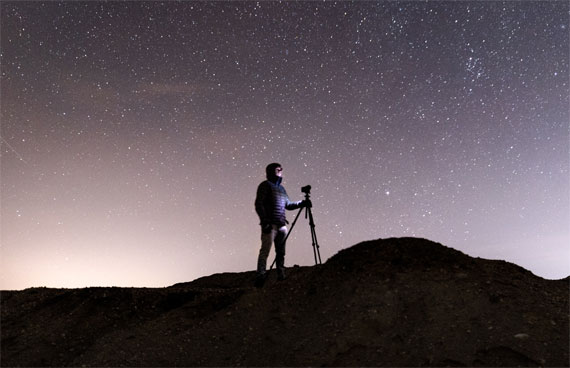
Photo by Vincent Ledvina
There are 4 steps that you should take for star photography:
- Mount your camera and set your ISO.
- Turn off Auto Focus.
- Set your shutter speed.
- Position yourself and your camera.
Mount Your Camera and Set Your Speed
It is absolutely necessary to use a tripod for nighttime photography because of the long exposure times that are required. Tripods give you the stability required for a clear and crisp picture. You will want to set your camera’s ISO between 200 and 800. This again allows for the cleanest and most crisp photograph you can get. It is also on this step that if you have a telescope or telephoto lens you should connect it.
Turn Off Auto Focus
The reason you turn off auto focus is that your camera may find it difficult to focus on anything in the night sky. So, instead of confusing your equipment, it’s better to just focus in on the sky yourself. I know this may seem odd but if you want to know how to take a good picture of the stars, then trust me—this will work.
Set Your Shutter Speed
You want to set your shutter speed to keep the lens open for as long as possible. The reason we do this is to allow as much light in as possible. Cameras differ on the length of time they allow. The times ranges anywhere between 2 and 40 seconds.
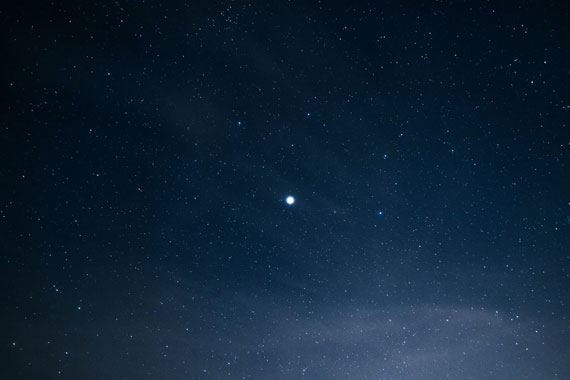
Photo captured by Sven Scheuermeier
Position Yourself and Your Camera
The last step in learning how to take a good picture of the stars is to position yourself in a prime location for a beautiful shot. You want to find a place clear of light pollution and also an area that gives you a clear view of the entire sky. Then find your beauty shot and aim the camera. It’s a good idea to use a timer for the shot or a cable release to avoid vibration with the shot. It’s also a great idea to take more than one shot. Take multiple pictures to guarantee a great photo.
When learning how to take a good picture of the stars, it’s important follow at least these above steps. However, the best advice I could give would be to take a course on the fundamentals of photography. These types of courses cover everything from exposure, aperture, and even composition and color.
About the Author:
Article written by Damian Ray, AbstractDigitalPhotography.
Go to full article: 4 Basic Steps to Take a Star Photograph
What are your thoughts on this article? Join the discussion on Facebook
PictureCorrect subscribers can also learn more today with our #1 bestseller: The Photography Tutorial eBook
The post 4 Basic Steps to Take a Star Photograph appeared first on PictureCorrect.
from PictureCorrect https://ift.tt/2HKFhyl
via IFTTT

0 kommenttia:
Lähetä kommentti