


This article is a general overview of the catalog organization lessons from the new Lightroom for Landscapes Program (currently 70% off) if you’d like to learn more on how to master the fantastic world of Lightroom.
One of the most powerful, but commonly overlooked, features of Lightroom is the ability to quickly cull and rate your images. By using a combination of flags, stars and color labels, you can develop a strong organizational system that will save you hours of time searching for images in the future—all while maintaining a neat and tidy catalog.
However, many photographers aren’t leveraging these fantastic tools in the most efficient way. I’d like to share my personal cull-and-rate workflow that has served me well for many years.
Flags
The purpose of flags is to quickly decide which images you want to keep in your catalog, versus which images should be set aside for removal. This allows you to better focus on organizing the photographs you wish to keep in the catalog without being distracted by the possible discards.

Photo by Domenico Loia
Remember: Lightroom does not remove your original source files (a.k.a. the actual RAW files) from your disk unless you specifically tell Lightroom to do that, so there’s no risk in removing your images from the catalog. The sooner you become more liberal with your culling, the easier your catalog will be to manage.
Use the PUX keyboard shortcuts to sort your “picks” from the “rejects”. P is for Pick, X is for Reject and U stands for Unflag.
The key purpose of the flagging system is speed. You’re quickly removing the wheat from the chaff, not making decisions about rank or how to organize. Later on, you can review your rejected images one final time before removing them from the catalog, so don’t spend too much time deciding between a pick and a reject. If you have to think about it, then it’s most likely a reject.
For an even faster workflow, enable your caps lock to activate “auto-advance”. This feature will automatically move to the next image as soon as a flagged state is assigned: either rejected or picked.
Also, make sure to use a library filter so that rejected images are removed from your grid view as soon as they are flagged.
Stars
With stars, you can start to create a hierarchy of images, ranking from your most favorite (five-star) to least favorite (one-star). However, deciding which of the five star levels to give a particular image can be challenging. For example, what does a three-star image have that a two-star image does not?
Also, this ranking system can be inconsistent. You may consider the first image you see a five-star, but what happens when you come across an even better photograph later on? You’d have to either go back and downgrade that first image to four stars, or deal with an inconsistent ranking hierarchy.

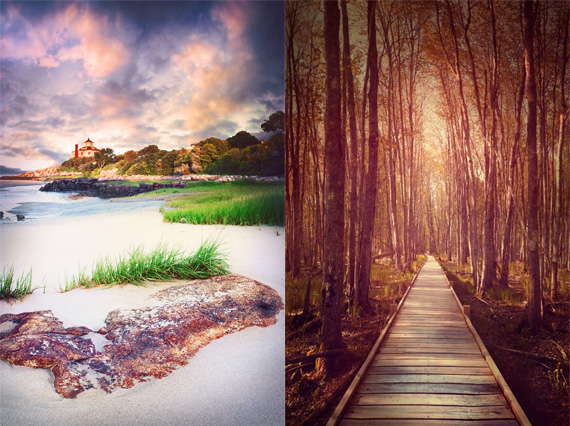
Photo by Kristopher Roller
Instead of trying to assign an image one of five possible star ratings (essentially asking yourself five questions for every photograph), I prefer to rank in several passes. This provides more consistent star ranking results, eliminates a lot of guesswork and saves a lot of time.
First, use a library filter to sort your grid view properly. You should only be looking at flagged images, or otherwise ensure that your grid is only populated with images you want to rank.
For the first pass, simply ask yourself: “Which images from this group are my favorites?” Then, rate those photographs a one-star.
Use the keyboard shortcuts, one to five, to assign a star rating to your selected images, and have your caps lock on to enable auto-advance.
Next, filter your library to only display images rated one star or greater, which will hide those images you decided to not to rate at all (the non-favorites).
Then ask yourself the same question: “Which images from this group are my favorites?” Assign those a two-star rating.
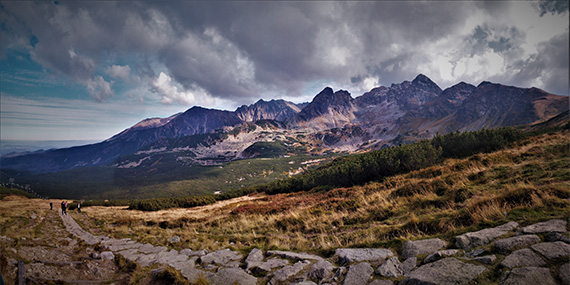
Photo by Joanna Keister
Repeat this process until you reach five stars, making sure to filter your library as you increase the star rating so you are not distracted by the “non-favorites” from each pass.
The goal here is to ask yourself a simple yes/no question: is this image a favorite among this group? This is far less intimidating than trying to assign one of five possible stars, and the resulting hierarchy will be much more consistent.
When finished, you can repeat this process with your unstarred images just to make sure they do not constitute a one-star rating. Unstarred images are for those that you want in the catalog, but do not plan on processing.
Color Labels
Color labels act as visual aids to help you quickly identify an image, and are best used to represent mutually exclusive subjects such as the file type (e.g. panorama, HDR, etc.). Color labels are optional, but can be extremely helpful in quickly identifying images that belong to a particular group.
Use the keyboard shortcuts six to nine to apply red, yellow, green and blue colors respectively. Purple does not have a keyboard shortcut.

Photo by Jaemin Don
Once you start assigning color labels, you can then use a library filter to populate your grid view with just that color. I find color labels particularly useful for organizing images by what stage in my processing workflow they are in. For example, I can instantly filter images that have been fully processed and are ready to print.
Once you develop your own workflow utilizing flags, stars and color labels, the process of culling and rating your images will be quick and seamless.
For Further Training:
This article is a general overview of how to better organize your images in Lightroom, but barely scratches the surface as to what is possible. The full in-depth program will walk you through all of the extraordinary tools and techniques that Lightroom Classic has to offer.
Paint light with a brush, carving out a path that leads the viewer through your frame.
Lightroom for Landscapes is currently 70% off today if you want to take a look. The offer also comes with 3 bonuses: full workflow videos, creative assignments and lifetime access with updates.
Deal ending soon: Lightroom for Landscapes at 70% Off
Go to full article: How to Quickly Cull and Rate Your Photographs in Lightroom
What are your thoughts on this article? Join the discussion on Facebook
PictureCorrect subscribers can also learn more today with our #1 bestseller: The Photography Tutorial eBook
The post How to Quickly Cull and Rate Your Photographs in Lightroom appeared first on PictureCorrect.
from PictureCorrect https://ift.tt/3qqXsM7
via IFTTT

0 kommenttia:
Lähetä kommentti