


This article is a general overview of the profile lessons from the new Lightroom for Landscapes Course (currently 70% off) if you’d like to learn more on how to master the fantastic world of Lightroom.
When you want to adjust the colors of your photograph in Lightroom, most will typically go straight for the HSL panel. This will get you satisfactory results—most of the time.
Eventually, though, you’ll come across an outlier image that just doesn’t seem to play nice with the HSL panel.
For example, you want to shift the reds more towards orange, but the sliders aren’t picking up on the exact pixels you wish to change.
Or perhaps your HSL adjustments are too broad and you’re shifting other hues close to red that you want to remain untouched.
Either way, your color processing is off the mark. It can become frustrating.
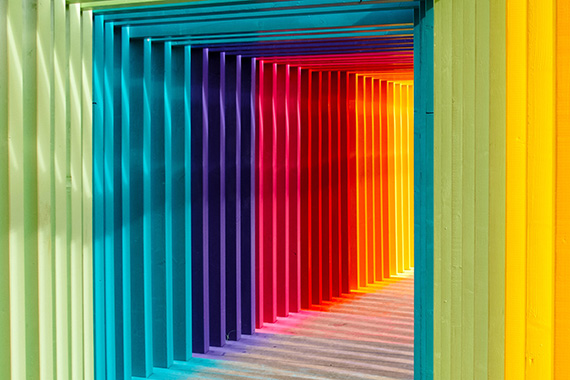
Photo by Robert Katzki
What if you could decide which pixels are considered to be a specific hue? What if you had more power to include (or exclude) areas from your color adjustments?
In comes profiles, which let you go “beneath the surface” and determine how the colors in your RAW file are interpreted and displayed on your computer.
How Color Profiles Work in Lightroom
Choosing a profile is a lot like choosing a film stock for analog photography. It determines how your colors and tones are interpreted by Lightroom from the RAW file data. The RAW file needs to be “converted” by a RAW processor in order to be displayed visually—and the profile plays a role in how your colors and tones are translated.
For example, the profile can determine if a particular pixel is either primarily red or orange. Then the HSL panel (and your other color processing tools) will target those hues depending on what pixels have been assigned to that particular color.
So the practical use of profiles extends beyond creative effects. Since they control how your colors and tones are interpreted by Lightroom, you can change which pixels are being affected by your color processing tools.
For example, if you want to adjust the blues in the sky, the HSL panel may not pick up on those pixels if the hue is not “blue” enough. By changing your profile, you can also change the inherent hue of the pixel itself, which will allow your “blue” targeting tools to more easily recognize those pixels.
Profiles are Retroactive
Another fantastic benefit of camera profiles is that you can always change them at any time during your processing workflow. Sinc profiles work “under the hood” to define your colors and tones, you won’t reverse or otherwise change any processing you’ve done to your image.
This is one reason why profiles are preferred to presets, since with presets you run the risk of removing any processing you’ve done when you select a new preset.
How to Choose the Best Color Profile
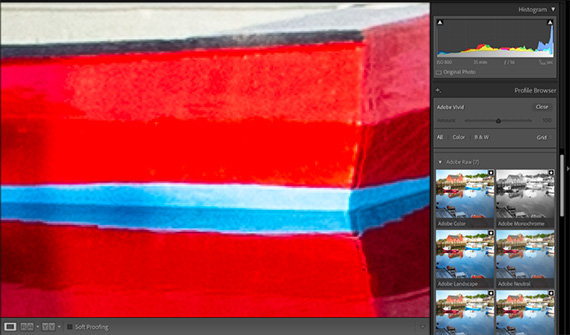
Since a profile determines how your colors are translated from the RAW file, they can also be used to enhance the detail and texture of those colors—especially if they are saturated.
In the example image below, I zoomed into a very vibrant red boat. When my profile is set to Adobe Vivid, there is very little local contrast within that red color. The detail lacks interest and appears to be clipped.
However, note what happens when I make a simple switch to the Camera Faithful profile. See how much more texture and variation of lightness there is within that red color?
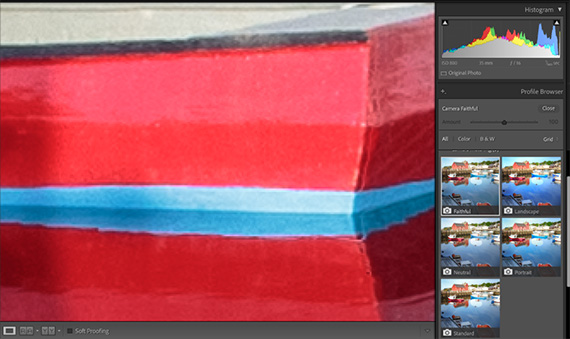
I can always add local saturation later to make this red as vibrant as Adobe Vivid, but now I have that additional light and shadow detail to work with, which was not present originally.
When choosing a profile, you should always consider the quality of your hues (how much detail is present) as opposed to the visual impact (or “wow-factor”) that your colors have. This will not only give you a higher quality image, but provides a solid foundation for your color processing later.
For Further Training:
This article is a general overview of how to choose the best profile in Lightroom, but barely scratches the surface as to what is possible. The full in-depth program will walk you through all of the extraordinary tools and techniques that Lightroom Classic has to offer.
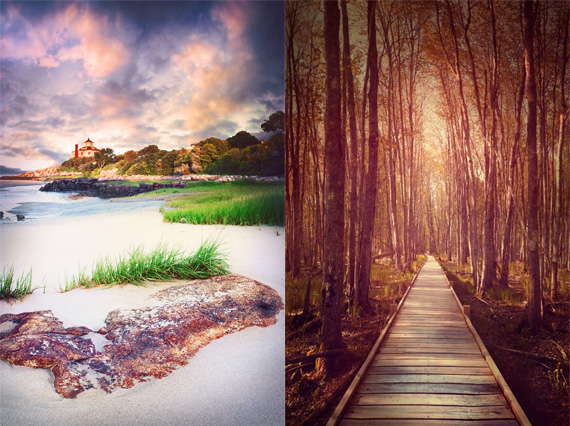
Paint light with a brush, carving out a path that leads the viewer through your frame.
Lightroom for Landscapes is currently 70% off today if you want to take a look. Learn a proven system for creating extraordinary, artistic photographs with complete confidence in Lightroom.
Deal ending soon: Lightroom for Landscapes at 70% Off
Go to full article: How to Choose the Best Color Profile in Lightroom
What are your thoughts on this article? Join the discussion on Facebook
PictureCorrect subscribers can also learn more today with our #1 bestseller: The Photography Tutorial eBook
The post How to Choose the Best Color Profile in Lightroom appeared first on PictureCorrect.
from PictureCorrect https://ift.tt/3iBUyBt
via IFTTT

0 kommenttia:
Lähetä kommentti