


Representing the next generation of image editing, GenErase is an advanced tool that elevates the standard for erasing and refining visual elements in photographs. It not only removes undesirable visual distractions from your images but also applies content-aware AI techniques to replace these elements intelligently. This process results in a composition that is both focused and devoid of distractions.
GenErase’s unique capability is to uphold the integrity of your photos by automatically filling in the erased areas with textures and elements that seamlessly match the surrounding context, all thanks to the power of AI. GenErase excels at effortlessly eliminating objects like litter, street signs, utility poles, vehicles, graffiti, crowds, and more, preserving the inherent beauty of your composition.
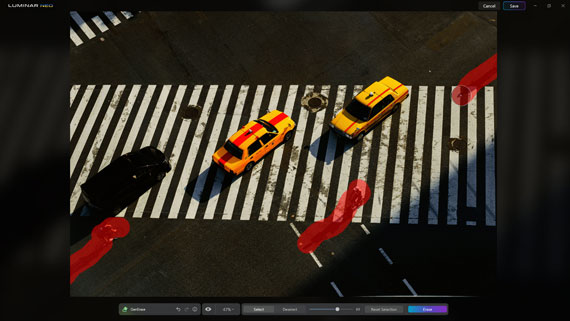
Preview Icon: To observe the outcomes before and after, click the preview icon, represented by an eye symbol.
Zoom Feature: Adjust your view using the zoom slider or the left and right bracket keys to magnify or shrink the view of the image.
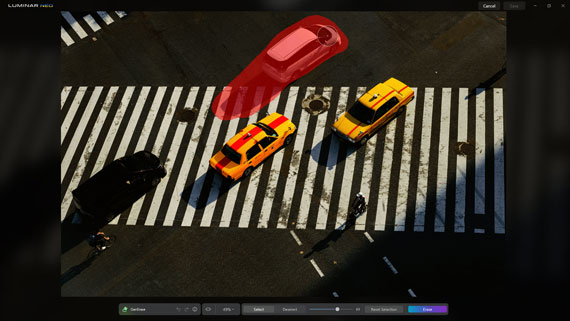
Select: When you need to replace an object, activate the “select” option, fine-tune the brush size, and paint over the region you wish to substitute. It’s advisable to be generous with your selection, providing the tool with more intricate details to enhance accuracy.
Deselect: Once an object is selected, enable the “deselect” option, refine the brush size, and paint over the area you want to exclude from the selection.
Reset Selection: Following the application of GenErase, the object remains selected. If the desired outcome isn’t achieved, you can reapply the erase tool by selecting it again. If you wish to erase a different object, reset the current selection and create a new one.
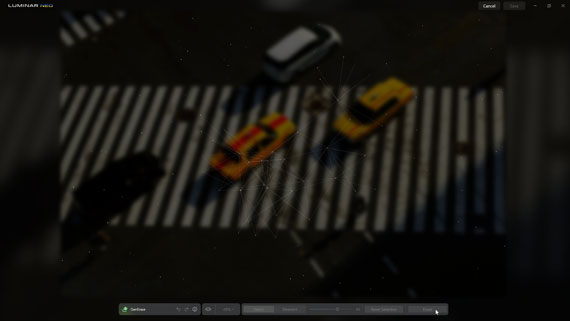
Erase button: To utilize GenErase and eliminate the selected object while also intelligently replacing unwanted visual distractions in your images, simply click the erase button. This innovative tool goes beyond essential removal, harnessing content-aware AI techniques for a refined result. You can continue to select the erase button to cycle through different outcomes, fine-tuning your edits until you achieve the desired result.
Cancel Button: If you opt not to implement the alterations, simply click the cancel button.
Save Button: When content with the GenErase outcomes, click the save button to confirm the changes. This will generate a new image saved in TIF format, renamed with the GENERASE extension, and added to the Genitive Creations folder.
Applying GenErase
Below is a detailed, step-by-step guide for replacing undesired objects in an image with GenErase.
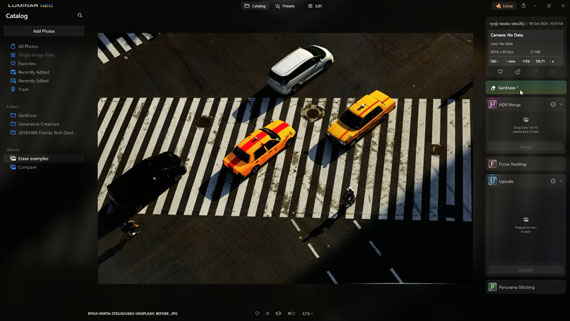
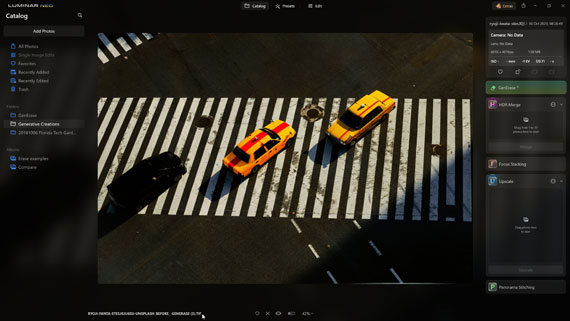
1. Begin in the Catalog view and choose an image with objects you want to replace.
2. Adjust the brush size and select the unwanted object generously. Precision is not required. You can deselect a selection by clicking the Deselect button.
3. Click the Erase Button to initiate the object replacement. You can repeatedly select the erase button to explore different outcomes, fine-tuning your edits until you achieve the desired result.
4. To switch to a different object, select the Reset Button and pick the desired object. For optimal results, handle individual objects separately.
5. Confirm your changes by clicking the save button.
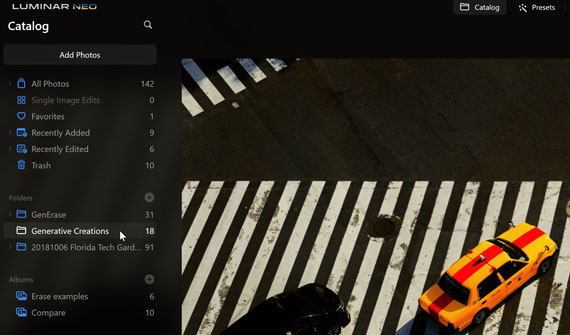
6. The new image will be saved in the Genitive Creations folder.
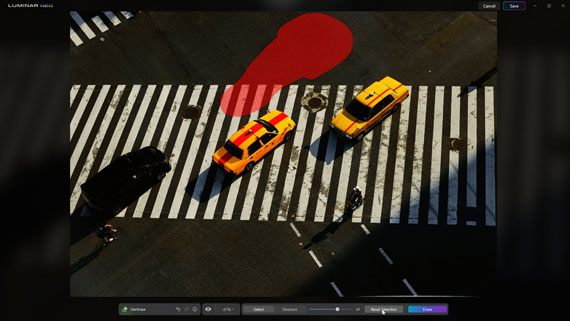
Before and After

In essence, GenErase revolutionizes the way photographers curate their images, offering an AI-powered tool that seamlessly excises distractions and reinstates the intended focus of their work. Its user-friendly interface and intelligent replacement technology ensure that your images retain their natural essence, uninterrupted by visual noise. Embrace the art of clean, focused photography with GenErase—where your vision meets the pristine reality of image editing.
Deal ending soon: GenErase in Luminar Neo Photo Editor
- - - - - - - - - - - - - - - - - - - - - - - - - - - - - - - - - - - - - - - - - - - - - - - - - - - - - - - - - - - - - - - - - - - - - - - - - -
The post How to Use GenErase in Luminar Neo appeared first on PictureCorrect.
from PictureCorrect https://ift.tt/zY3spu0
via IFTTT

0 kommenttia:
Lähetä kommentti