


Are you new to the fascinating world of photography? Or perhaps, you’ve been experimenting with your camera for a while, but have only relied on the “auto” mode thus far? If so, the recent tutorial video by photographer Paul Farris is could be helpful. For the sake of brevity and convenience, we will delve into the most crucial points from his tutorial that will help you get started with manual photography:
Ditching the Auto Mode: Embrace the Exposure Triangle
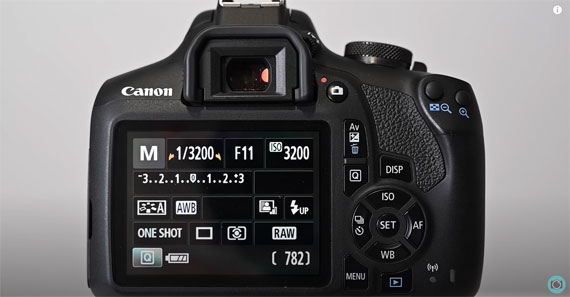
Paul begins by making a compelling argument for leaving the auto mode behind, suggesting beginners jump straight into manual mode. He emphasizes the greater degree of control over your camera’s aperture, shutter speed, and ISO settings that manual mode offers.
These three settings – aperture, shutter speed, and ISO – collectively form what is often referred to as the “exposure triangle.” In simple terms, the exposure triangle is the balance of light that a camera captures when taking a photograph.
Understanding Exposure
Exposure, as Paul explains, begins when the camera shutter opens and ends when it closes. If the image is too dark (underexposed) or too bright (overexposed), you can adjust the exposure by manipulating how long the shutter remains open. For a brighter image, slow down the shutter to let more light in. If the image is too bright, increase the shutter speed, allowing it to open and close more quickly, thus limiting the amount of light captured.
However, the shutter speed is only one aspect of controlling exposure. Aperture and ISO also play significant roles.
ISO and Aperture
ISO controls the camera’s sensitivity to light. A higher ISO means more light sensitivity, but it can also introduce noise into the image. Paul suggests keeping ISO as low as possible, ideally around 200, to maintain cleaner, sharper images.
Aperture refers to the size of the camera lens opening when a picture is taken. A smaller F number signifies a larger aperture, allowing more light to enter and strike the sensor. Paul recommends using the widest aperture, such as F 3.5, particularly when learning.
Putting it All Together
Paul beautifully demonstrates the use of these principles in a practical setting, shooting early morning scenes in manual mode. His first shot, taken without adjusting the settings, results in a severely underexposed image. Using the light meter on the back of the camera, he adjusts the shutter speed until the meter indicates a well-balanced exposure, leading to a markedly improved second image.
Paul underscores that mastering shutter speed, along with aperture and ISO, allows photographers to capture quality images in a broad range of lighting situations, from bright sunny days to dark indoor spaces.
- - - - - - - - - - - - - - - - - - - - - - - - - - - - - - - - - - - - - - - - - - - - - - - - - - - - - - - - - - - - - - - - - - - - - - - - - -
Did you appreciate this newsletter? Please help us keep it going by Joining Our Patreon Supporters
What are your thoughts on this article? Join the discussion on our Facebook Page
PictureCorrect subscribers can also learn more today with our #1 bestseller: The Photography Tutorial eBook
- - - - - - - - - - - - - - - - - - - - - - - - - - - - - - - - - - - - - - - - - - - - - - - - - - - - - - - - - - - - - - - - - - - - - - - - - -
The post Manual Mode Demystified: A Tutorial for Beginner Photographers appeared first on PictureCorrect.
from PictureCorrect https://ift.tt/Q7N8vOr
via IFTTT

0 kommenttia:
Lähetä kommentti