


When you hear the word workflow, you automatically think about the editing process. However, there is a workflow when it comes to taking photographs too. It’s the few simple things you think about while getting ready to take your photographs.
These steps are in the order I think about my photographic workflow, but you can certainly do these in any order.
1. Consider the situation. What sort of situation am I in? Each situation will call for different ways for me to take the photographs and will have different ways on how I interact with the subject matter. How I set up my compositions. How long can I spend with the subject? What attention span does the subject have? How creative can I be? What lens(s) am I going to use?
2. Next, I consider the composition. Will portrait or landscape work better? Are there foreground elements or other elements I can use for framing or leading lines? How is the background? Does the background/foreground clash with my subject?
3. Then I consider motion and depth of field. If I am shooting fast action – I may want to freeze the action or pan and show motion blur. If I am shooting portraits or macro nature, I may want to have a deep depth of field. Knowing which I am trying to capture, motion or depth of field, lets me know what I will be using to control light. If I am using shutter speed to control motion, then I will be using aperture and ISO to control light. If I am using aperture to control my depth of field, I will be using shutter speed and ISO to control light.
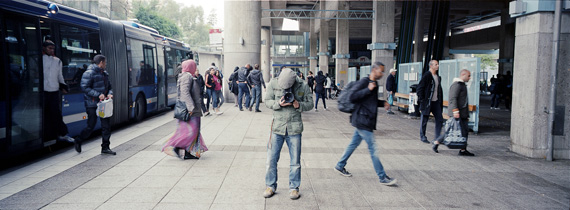
Photo by Jesper Yu
4. Flash on or off? The first thing I like to do is decide if I’m going to use my flash or not. If I’m going to use a flash, more than likely it will be an external flash. On the rare occasions when I use onboard flash, I use my Prof. Kobre Light Scoop to bounce the onboard flash and to soften the background shadows.
5. Set my White Balance. I usually shoot in AWB. However, if it’s really sunny outside, if I’m shooting in the shade, photographing in a banquet hall, or inside a gymnasium, I’ll set a different white balance setting. Depending on how harsh the lighting conditions and the surrounding, I may even set a custom white balance.
6. Finally – I set my ISO. I usually start around 400 and go from there. If I’m outdoors and it’s really sunny, I’ll back off to 200 or 100. If I’m shooting indoors under low lighting, I’ll bump up to 800. I try not to shoot over 1000.
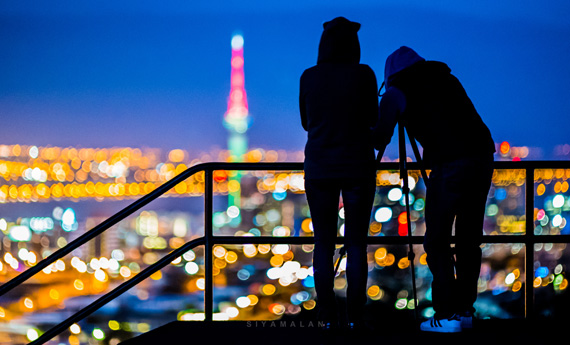
Photo by Siyamalan
This is a simple workflow for photography. It helps you take the few moments you need to compose your scene carefully and also gives you the time to think about what and how you are going to be shooting. Next time you are out and about shooting, give it a try.
About the Author:
Professional photographer Loreen Liberty (litewriting dot com) has been taking photographs since her early teens, and has been in the professional industry for the past nine years. After many successful years as a wedding and portrait photographer, Loreen decided to turn her attentions to teaching photography full time. “It gives me more time to practice my craft and be artistic for myself.”
Go to full article: Tips for Setting up a Shot in Photography
What are your thoughts on this article? Join the discussion on Facebook
PictureCorrect subscribers can also learn more today with our #1 bestseller: The Photography Tutorial eBook
The post Tips for Setting up a Shot in Photography appeared first on PictureCorrect.
from PictureCorrect http://bit.ly/2R7F1im
via IFTTT

0 kommenttia:
Lähetä kommentti