


Related note: only a little while left for the Pre-order Sale on Luminar 3 with Libraries
We’ve all been there. You come back from your latest photo trip, eagerly upload your images to your computer, and then realize that they’re just too dark! Photos that are too dark, or underexposed, but are otherwise good used to be a bit of a problem to fix. Sure, you can just pull the exposure slider up, but the results aren’t often that great, and your lighter areas would lose detail.
It would be great if there was an easy way to lighten your dark photos, wouldn’t it?
Well, there is!
With Luminar, brightening dark images becomes simple, and gives you great results in just a few mouse clicks.
It’s simple to load your image into Luminar, and here’s one I’ve chosen:
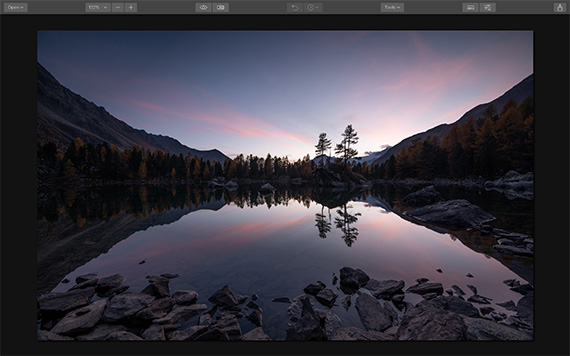
Pretty, but just a little on the dark side. You can’t see the details in the trees and rocks at the edge of the lake, but we don’t want to lose the colors in the sky, which is what would happen if we just upped the exposure.
In the screenshot below, you can see the adjustments I made. First, I increased the exposure a little, up to 0.19, then dropped the highlights. I increased the shadow slider up to 47 and increased vibe and saturation to give the colors more pop:

Filters
Here’s the before/after split. The image before adjustment is on the left, and the adjusted one is on the right:
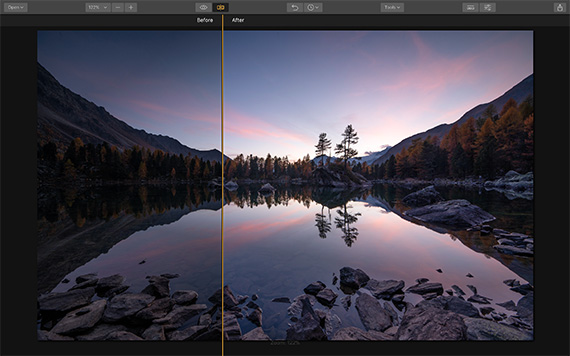
The detail is drawn out much more, without removing the colors, or ruining the early morning light.
These adjustments took me less than 15 seconds to do, so it proves that you don’t have to spend hours using layers and masking to make some adjustments to your images.
The second photo we’re starting with is this one:
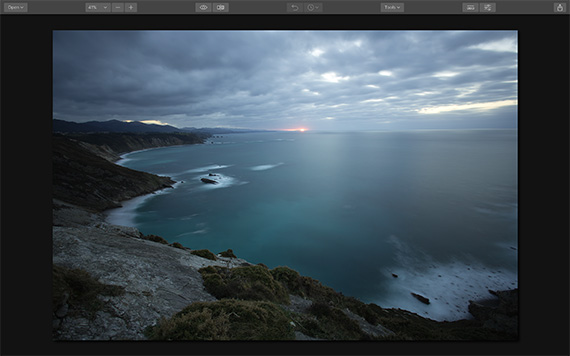
Again, it’s a bit too dark, yet we don’t want to lose the clouds.
This time, instead of adjusting manually, I used Luminar’s Accent AI filter, which evaluates your image to find out exactly where it needs adjusting. All you do is adjust the slider to show as much filter strength as you wish. I had it at 62 and added a couple of manual adjustments by lightening the shadows and boosting the saturation a little.
Here’s the before and after split:
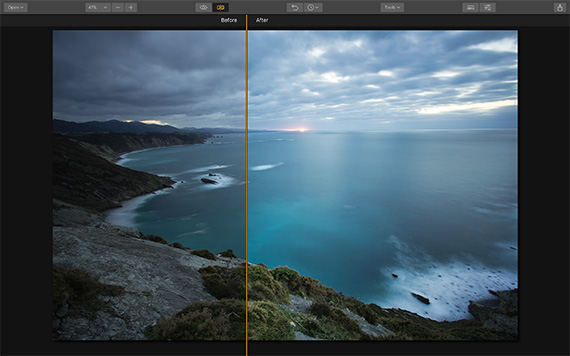
Much more color and detail in the rocks and plants, a nicer color to the sea, and we still have the dramatic skies. Accent AI is found on the filter menu on the right-hand side of Luminar, and it takes seconds to make adjustments this way.
Hopefully, this little guide will inspire you to start experimenting on your own images that are too dark. These two ways to enhance your images take only seconds to do and are great if you’re a beginner who’s a bit unsure about how to edit or if you’re a busy pro with no time to spare for complicated edits.
Luminar 3 with Libraries Pre-order Sale Ending Soon:
The new version of Luminar will start shipping to customers on December 18 and adds the ability to organize and edit multiple images simultaneously with the new Library panel. This addition transforms the photo editing software into a comprehensive, all-in-one imaging package.
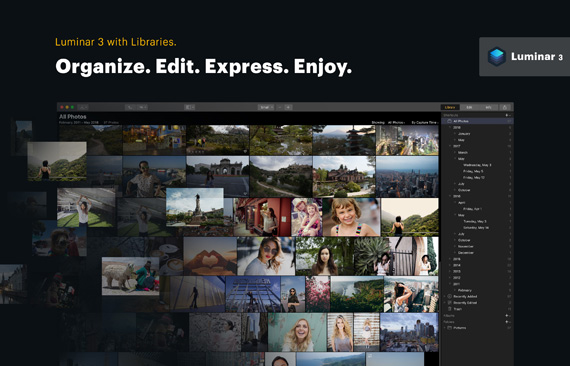
Luminar with Libraries (Click to See How it Works)
Luminar 3 is a sophisticated image editor and library, which uses artificial intelligence to allow anybody, working with digital images to make better photos with intuitive and time-saving workflows. Luminar 3 makes processing, managing and editing photographs quicker and easier than with conventional software packages.
Deal found here: Luminar 3 with Libraries Pre-order Sale
Go to full article: How to Lighten Dark Photos in Luminar: Quick Tutorial
What are your thoughts on this article? Join the discussion on Facebook
PictureCorrect subscribers can also learn more today with our #1 bestseller: The Photography Tutorial eBook
The post How to Lighten Dark Photos in Luminar: Quick Tutorial appeared first on PictureCorrect.
from PictureCorrect https://ift.tt/2SDjdXT
via IFTTT

0 kommenttia:
Lähetä kommentti